Let’s make such beautiful nail art at home!
The Tools You Need to Prepare
- Acrylic Nail Brushes

Acrylic brushes are essential when we are using acrylic powder to extend. How can we get perfect acrylic nails? If you're a beginner and not clear about what size you should use, Kolinsky Acrylic Nail Brush is a good choice for you. We provide nine sizes and two kinds of brush handles--rosewood and acrylic. You can find the most suitable brushes here.
- Nail Art Liner Brushes

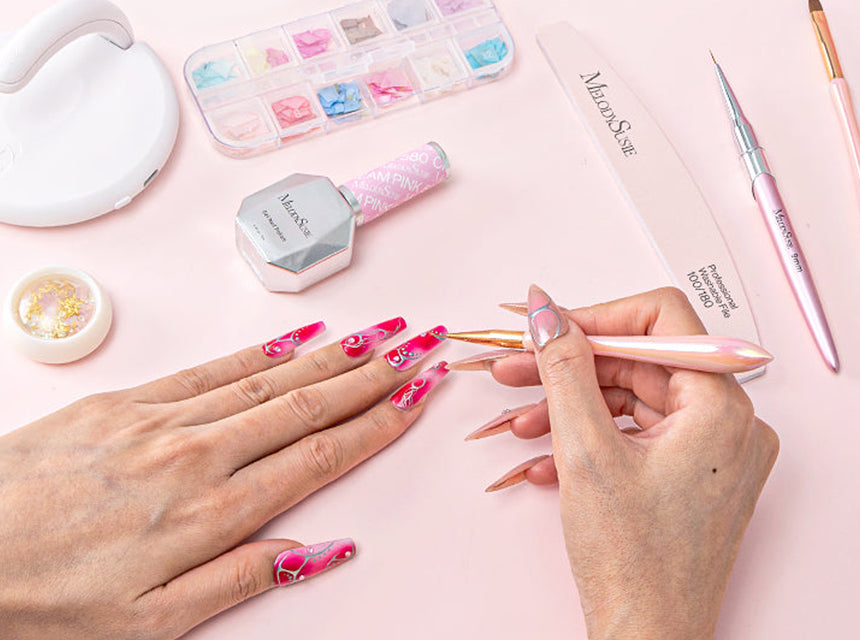
Detail brushes are used to outline the shape of the petals and the lines easily. No need to choose, 3 Pieces Golden Nail Art Liner Brushes are available for all basic needs.
- Nail Gel Polish

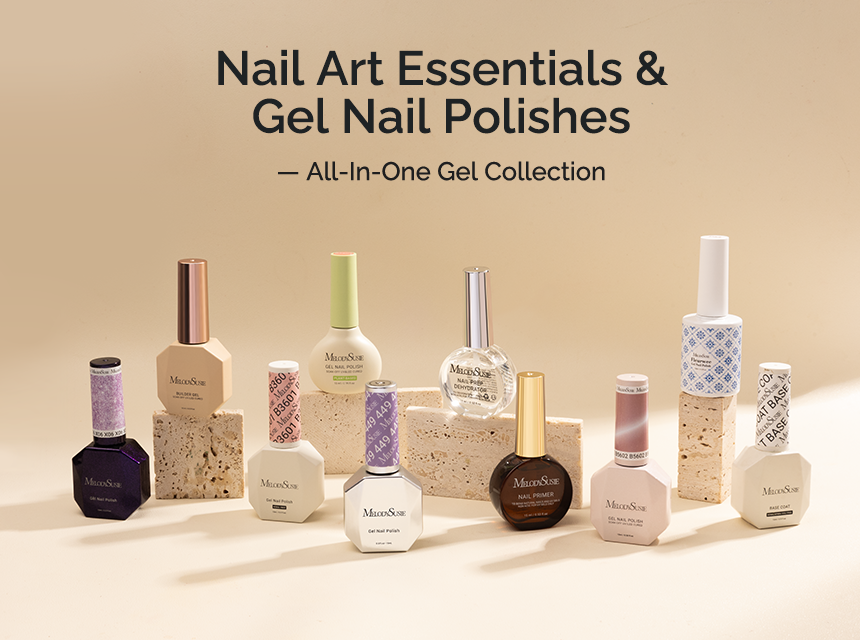
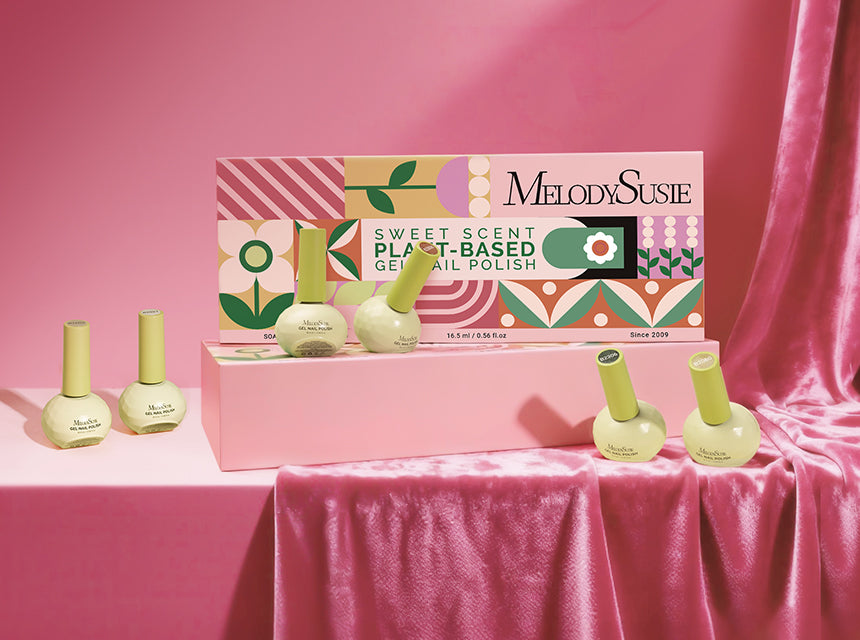
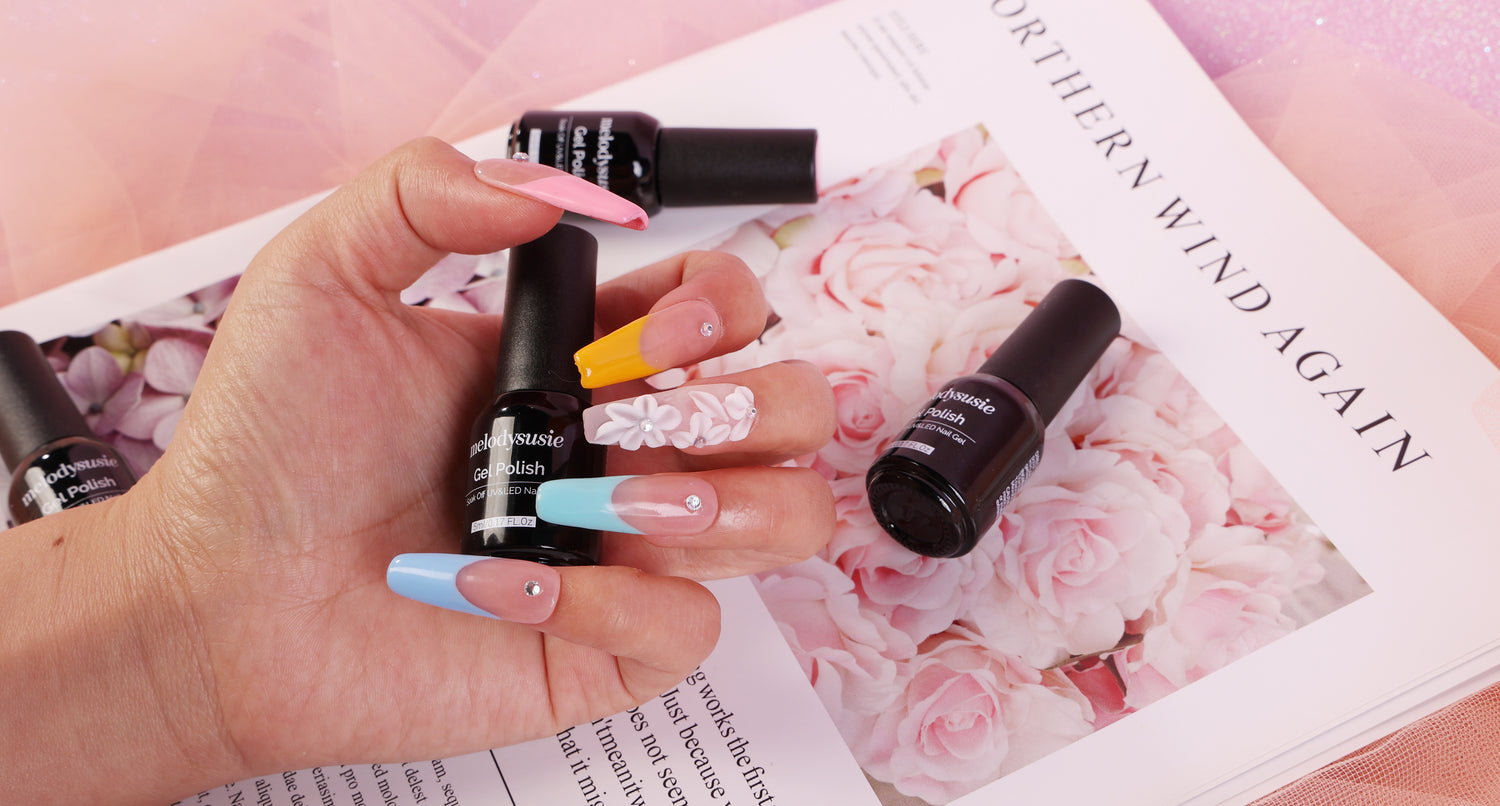
Choosing a high-quality nail gel polish is essential, it can determine the final coloring effect of your nail art and the overall performance. MelodySusie's nail gel polish not only has various colors but more importantly, our texture is highly achieved.
- Nail Art Lamp

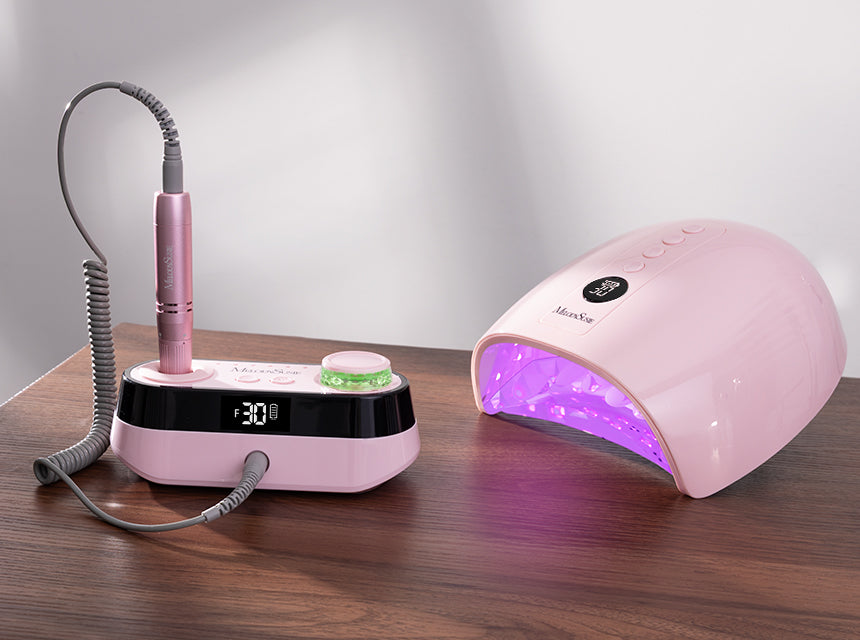
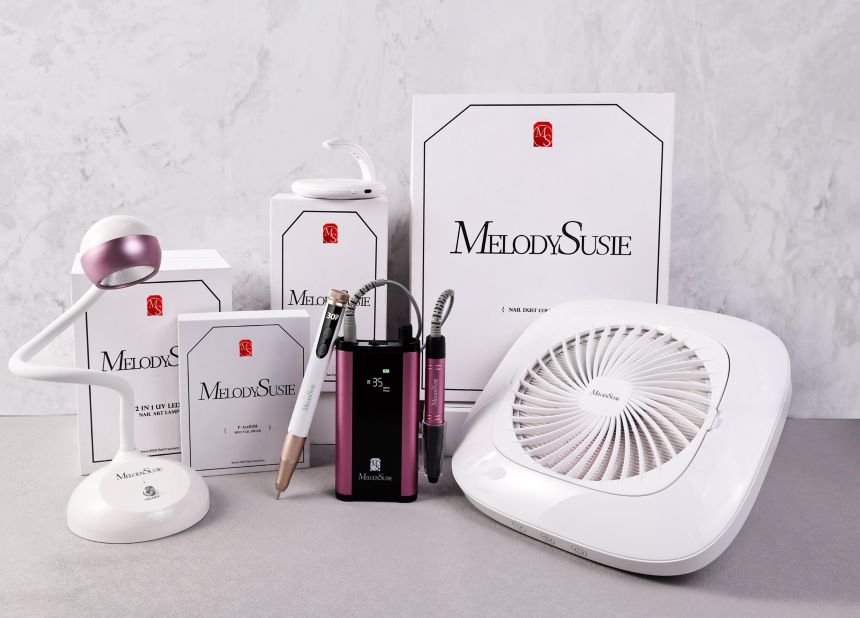
If you're still using a traditional nail lamp, you might consider changing to a 2 in 1 nail art lamp, which is more flexible and you can hold the nails that need to be dried. If you're a beginner, this one is also perfect for being your first nail lamp.
Step-by-Step Tutorial
Step 1: Use the file for nail buffing
Step 2: Use liquid monomer to moisten the brush

Step 3:Dip the appropriate amount of acrylic powder

Step 4:Spread it on your nail using the body of the acrylic brush

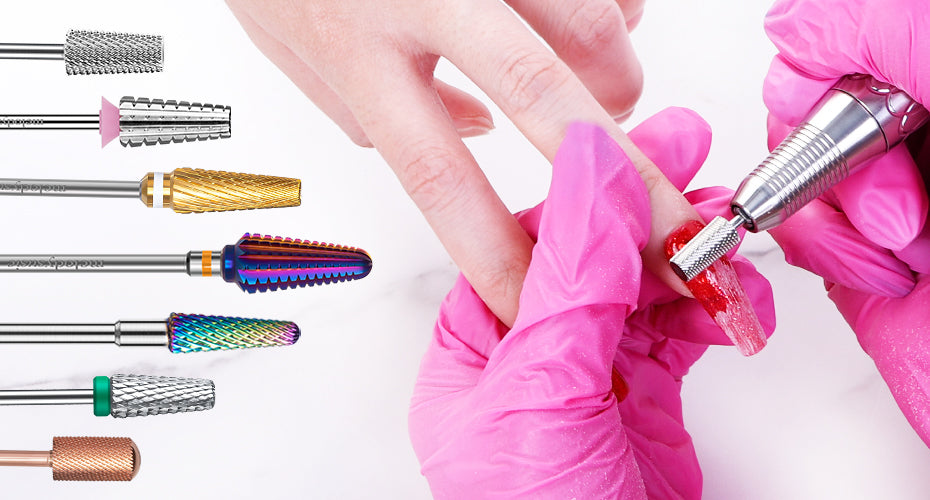
Step 5:Use a nail drill or file to smooth the nail surface

Step 6:Draw elegant lines on the nails

Step 7:Crave some cherry blossoms on your nails with crave pattern gel

Step 8:glue your favorite accessory

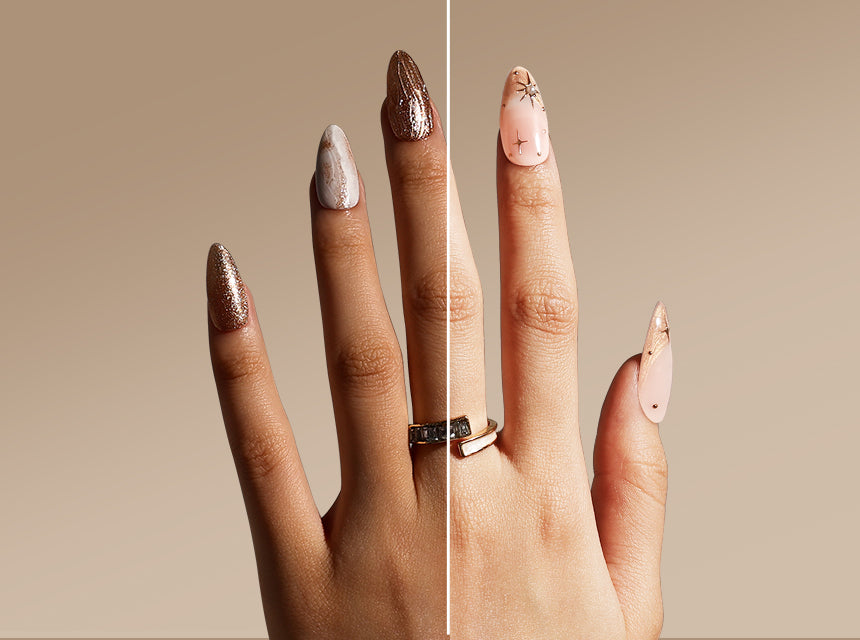
Amazing! Now the beautiful cherry blossoms are perfectly shown on your nails.

Tips: Don't forget to dry with 2 in 1 nail art lamp after each step, which is our new nail art lamp to revolutionize your manicure journey.
We also have SUMMER SALE now, discover more discounts to create your amazing nails.
Look for more manicure trends and tutorials? click these blogs.
Do Your Spring Nails at Home


Leave a comment
All comments are moderated before being published.
This site is protected by hCaptcha and the hCaptcha Privacy Policy and Terms of Service apply.