


Acrylic nails are a great way to add elegance and length to your nails. However, at one point or another, you’re going to want to remove them. Removing acrylic nails is a common encounter in the nail business, though not every salon does nail removal the right way. This can end up damaged nails and even injury. The process must be approached with care to maintain nail health and durability.
Whether you are looking for a way to remove acrylic nails peacefully at home or you want to improve your own methods.
The Gentlest Way for Acrylic Removal
If you’re not a nail pro, have no fear. You can still remove your acrylic nails at home by following the process we’ll be sharing. There is no need to pick and pry at acrylic nails when the process is done properly. Whether you’re a manicure enthusiast or just need a quick DIY, our step-by-step guide will fill you in on everything you need to know.
What You Need:
- Acetone
- Warm water (optional)*
- Petroleum jelly
- Nail file/buffer
- Orange sticks
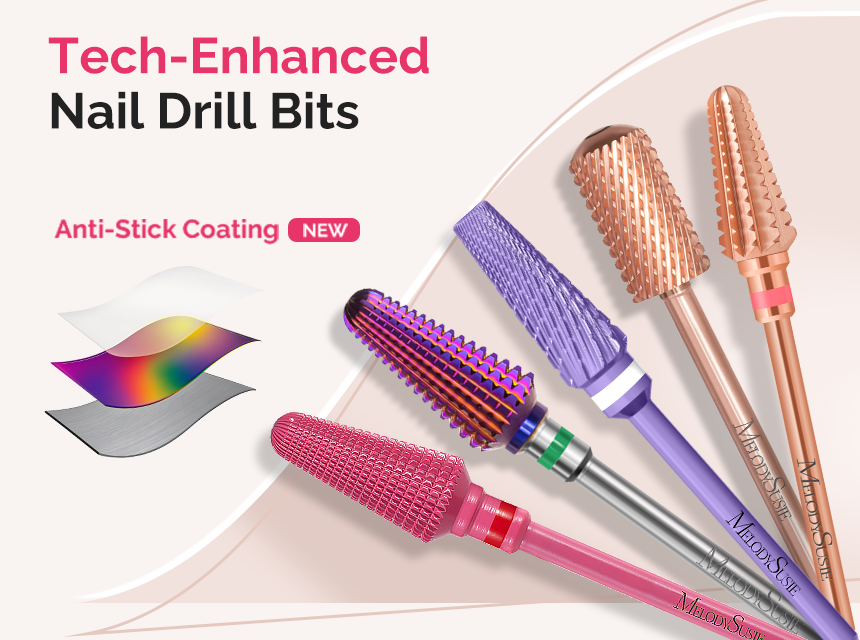
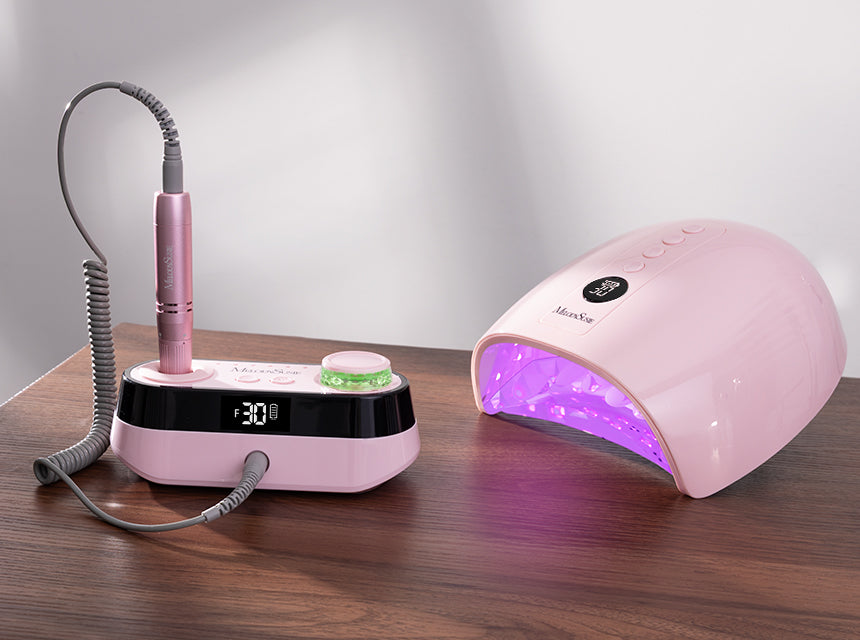
- Electric nail drill
- Edge cutter
- Cotton balls
- Cuticle oil
*For those sensitive to acetone, consider creating a 1:1 solution of acetone and warm water instead.
Step-by-Step Process
— Step 1 —
Cut down the excess length of your acrylics. While you can use a regular nail clipper to do this, it is suggested to use an edge cutter to maintain an even edge. Suggested tool: Stainless Steel Edge Cutter

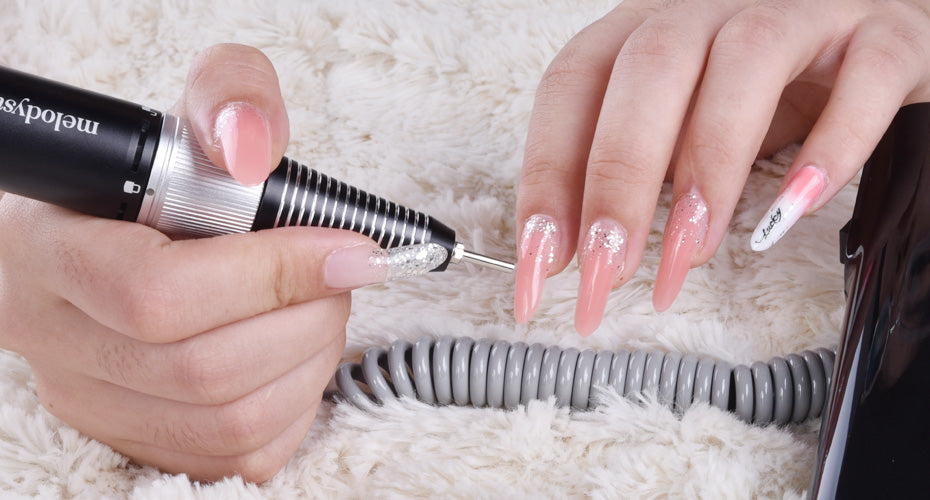
— Step 2—
File away the top coat and nail polish to better expose the acrylic and prevent a mess of color. It is recommended to use a coarse grit file or an electric nail drill to effectively & efficiently remove the layers. Take care to not injure the skin around the nails with the file. Suggested tool: Scarlet Electric Nail Drill & Ceramic Nail Drill Bits

— Step 3 —
Use petroleum jelly to coat the skin on the fingers as well as around the cuticles. This is to ensure protection from the drying & potentially irritating effects of acetone on the skin.
— Step 4 —
Prepare the acetone in a small bowl or two small bowls to soak nails. Make sure the nails are submerged in their entirety to increase the effectiveness of the soak & soften the whole acrylic application. Soak for 30-45 minutes. *Optionally, you can choose to check the nails every 10 minutes to gradually scrape off acrylic as it softens.

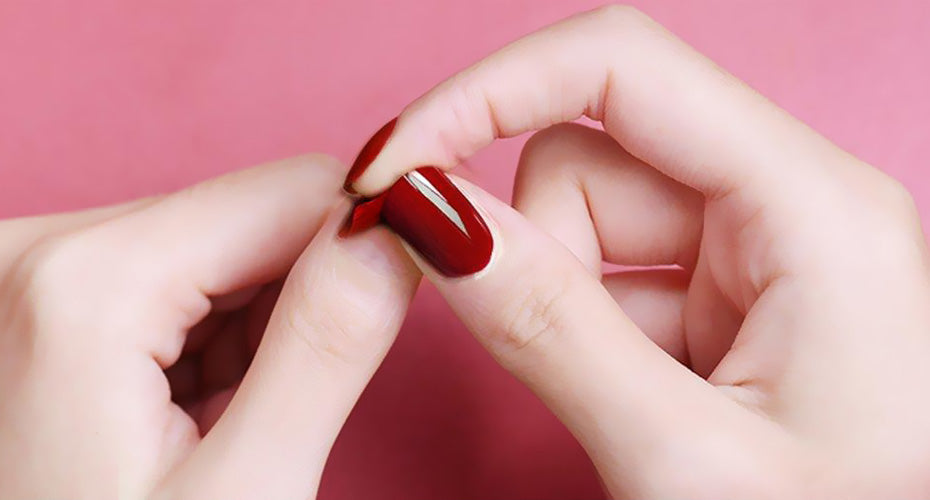
— Step 5 —
After the nails have been soaked in acetone, the acrylic will be softened. At this point, you can pull off the nails. If needed, you can use the flat end of a stick to help loosen up the acrylics near the cuticles. There should be no need to use force. If there is some resistance from the acrylic, resume soaking the nails once more for 10 minutes and try again. Suggested tool: Cuticle Pusher Gel Polish Remover

— Step 6 —
If there is still a slight amount of acrylic left on the nails, you can gently file away the excess using a nail buffer. Make sure to do this while the acrylic is still softened. If the acrylic becomes too hard during this process, you can soak a little bit of acetone in a cotton ball to soften problem areas along the way.
— Step 7 —
Tend to the natural nails with nail clippers, file, and buffer to achieve a nice shape. Work gently as the acrylic and acetone may have worn away a few top layers of the nails. It is suggested to file & buff in only one direction to prevent damage.
— Step 8 —
Hands should then be washed gently with soap to remove any acetone from the nails and skin.
— Step 9 —
Apply cuticle oil onto the nails for essential rehydration. Acetone is drying to the skin, so rehydrating with oil is necessary. After all, is said and done, the nails should be left to rest without exposure to acrylics & polishes for at least a week. This will allow the nails to regenerate the natural top layers.

If you carefully follow these steps, you’ll be able to remove acrylics with little to no damage done to the nails. It is of utmost importance that the process is not rushed. Take things slow and never apply strong force because this can result in a serious injury to the nail or nailbed. Now you never have to feel unnecessary pain and discomfort again when it comes to acrylic nail removal!
---------------------------------------------------------------------------
You may be interested in those articles as well:
Acrylic Nails Tutorial - How to Apply Acrylic for Beginners
Full Guide to Nail Dust Collector 2020
Everything You Need to Know About Electric Nail Drill Maintenance at Home
The Full Guide To Nail Drill Bits | Shape Explained
Buying Guide to UV and LED Nail Lamp
How to choose a good electric nail drill
