


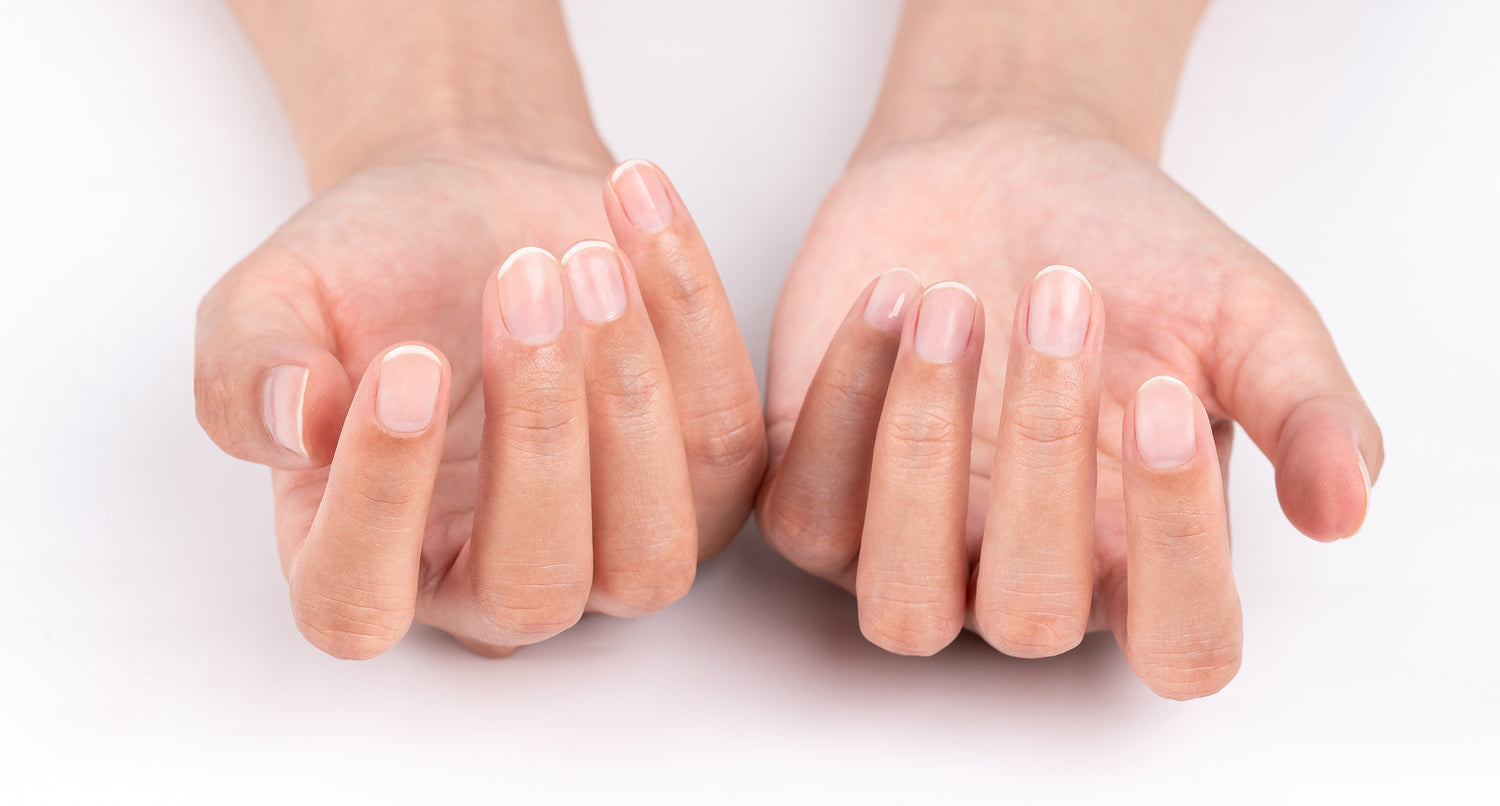
Are you constantly picking off gel nail polish? When the edges of your nails start to peel, are you content to pick off every little piece of peeling gel? These bad habits can be very damaging to your natural nails.
This is because every time you peel off gel nail polish, you also peel off the layer of the nail plate. Over time, your nails will become thinner, weaker, and more fragile. Once this damage is done, it can take months for your nails to recover. It can also affect the results of your next manicure. Therefore, it is important that we remove our nail art in a healthy and safe way so that we minimize sacrificing the health of our nails for the sake of beauty.
In this article, we'll discuss 6 common manicure removals for healthy and safe nails.
Let's follow the step-by-step tutorial:
Gel Nails or Dip Powder Removal
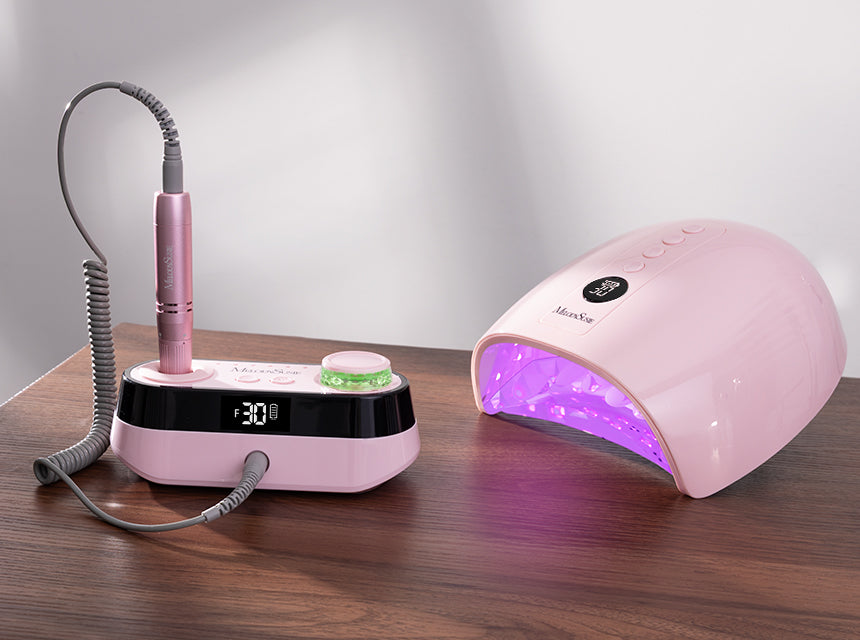
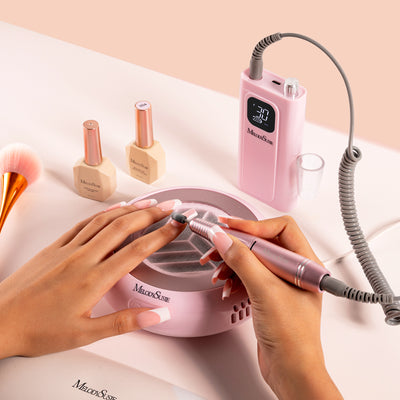
The procedure for removing gel nails and dip powder nails is similar. It is important to note that the choice of nail drill bits and the speed should be adjusted according to the type of nails and whether you are doing on natural nails or nail tips. It is recommended to start with a low RPM and slowly adjust it according to the desired effect and work efficiency to achieve the most suitable result.
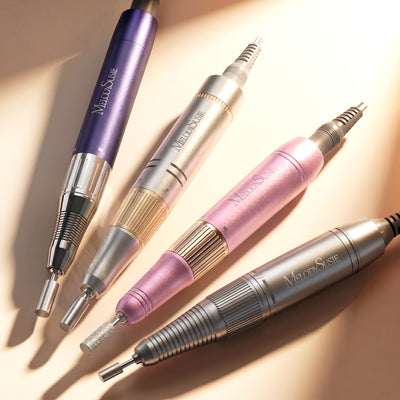
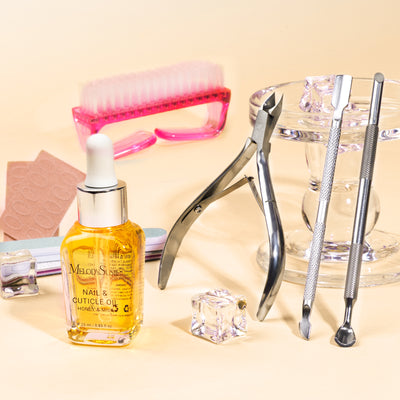
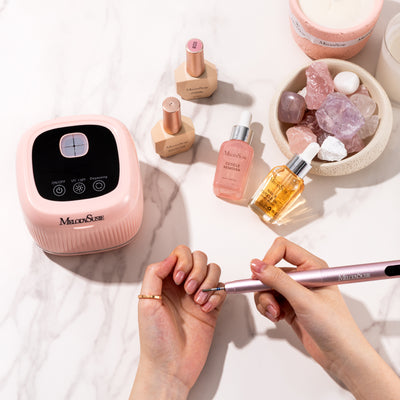
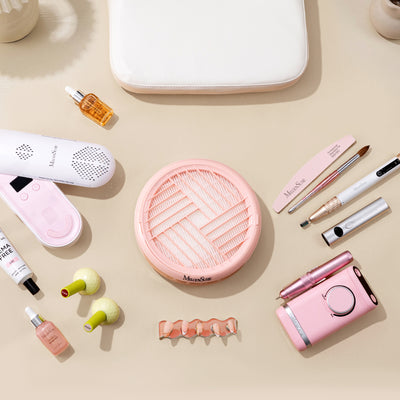
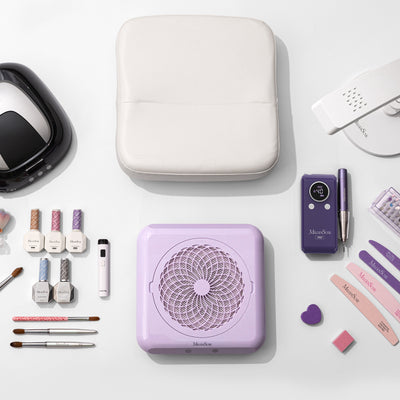
Tools to use: nail drill, nail drill bits, dust collector, buffer.
How to remove:
- Step 1. Place the dust collector underneath the nails to be removed for easy desktop cleanup.
- Step 2. Select the appropriate bits and speed.
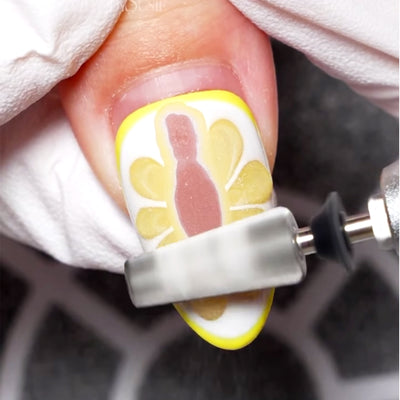
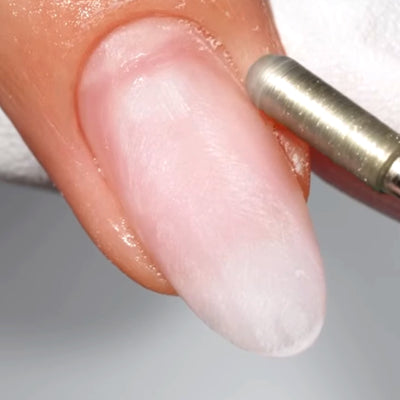
- Step 3. Remove all the gels carefully and gently buff your nail.
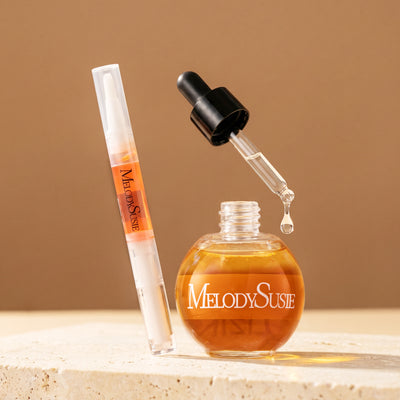
- Step 4. Remember to apply a generous amount of cuticle oil to the edges of your nails after completing the previous steps.
Use a nail drill to gently remove gel nails or dip powder nails without worrying about harsh chemicals, reducing damage to nails and surrounding skin. However, the use of nail drills requires a certain degree of skill from the operator, who should master the angle and strength, choose the right bit and speed, and not need to apply too much pressure.
Acrylic or Gel Extension Removal
We can use the same way to remove acrylic, gel extension and gel-x. A nail drill is very effective in removing acrylic nails. This is because the nail drill uses a fast-spinning motion to fil, making it easy and fast to file off the acrylic. The process is safer, gentler on the nail bed, and will give your nails a professional look.
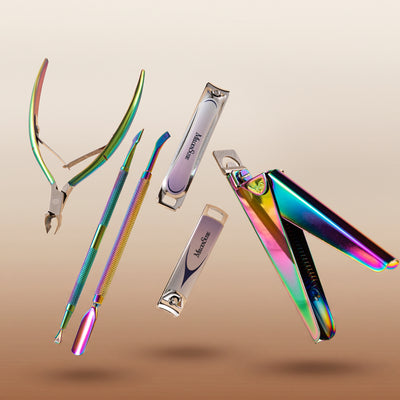
Tools to use: nail drill, nail drill bits, dust collector, nail clipper
How to remove:
- Step 1: Use a nail clipper to cut your nails as short as possible. This could reduce the amount of filing your nails. You can also use a nail drill to cut your nails directly by choosing the appropriate nail drill bits.
- Step 2: Use a nail drill to file the acrylic nails, choosing the right bit and RPM. For the selection of the bit, you can refer to the article: A Comprehensive Guide - Top 5 Nail Drill Bits for Effective Gel Removal. We recommend that experienced manicurists use a coarse or even extra coarse bit at 25,000-30,000 RPM to remove the acrylic, as this will greatly increase the speed of removal. It is also important to avoid filing one point for a long time to avoid heat buildup.
- Step 3: File until a thin layer is left, choose a softer bit and speed to clean up for safety. Or wrap a cotton ball soaked in acetone and wait 10 minutes to remove any remaining acrylic or gel from the nail surface with a steel pusher. If it starts to hurt when you scrape, re-soak it with acetone. Repeat this process until you can gently scrape off the remaining acrylic or gel.
- Step 4: Gently file the nail surface to remove the remaining acrylic or gel.
- Step 5: Finally, you can apply cuticle oil to revitalize your nails.
However, the nail drill can be a bit technical, especially for beginners. If this is your first time using a nail drill, you can try practicing on a nail tip first to find the right angle and speed. Over time, you'll get the hang of using the nail drill and you'll be able to remove all your acrylics cleanly and quickly.
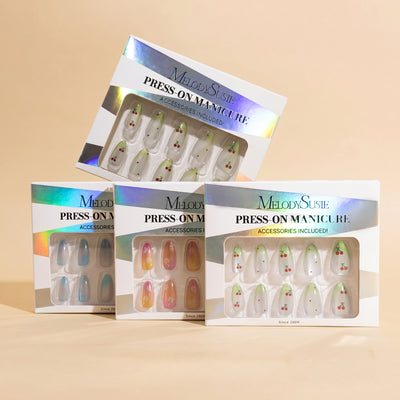
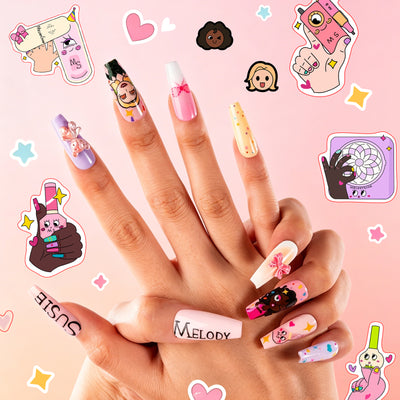
Press On Nails Removal
Press-on nails are popular nowadays because they are convenient and reusable, saving you a lot of money and time sitting at the nail salon. It's important to remove them frequently without damaging your nails and cuticles.
Tools to use: a small bowl, warm water, liquid soap, orange wood stick or metal pusher
How to remove:
The water and soap method is the best way to remove press-on nails especially if you want to reuse them in the future.
- Step 1: Fill a bowl with warm water.
- Step 2: Soak your nails in a mixture of warm water and soap for 10 to 15 minutes. The soap and warm water will break down the gel, and some nails may begin to peel during the soaking process.
- Step 3: After soaking, you can try pulling out press-on nails with an orange wood stick but do not force it. If it hurts, stop and continue soaking your nails. Once you start pulling or forcing off the press-on nails, you can easily damage the nail bed.
- Step 4: Clean your nails and the remaining jelly gel on the nail tip if you want to reuse it.
- Step 5: After removing the press-on nails, clean your hands and apply hand cream and cuticle oil.
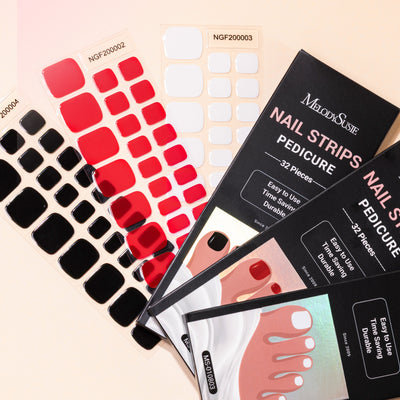
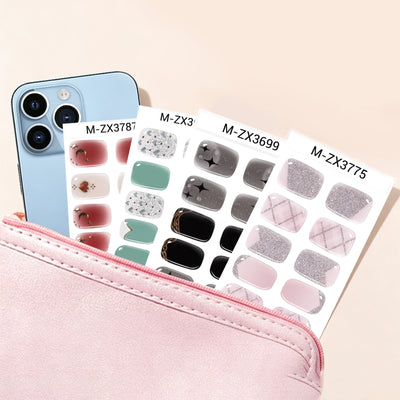
Semi-cured Gel Removal
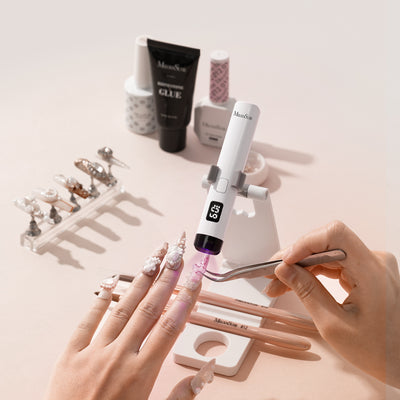
Semi-cured gel nails are pre-made nails that are partially cured (60%) beforehand with a UV lamp. They are made from real gel nail polish and are pliable and stretchable for a perfect fit on all nail sizes. They no longer need to be filed or shaped with a nail file, but will need to be applied to the nail and then cured again with a UV lamp.
Removing semi-cured nails is quick and easy. Simply take the same steps as you would to remove the press-on nails, soak them in warm water, and then use an orange wood stick to slowly and gently push the semi-cured gel nail along the edges. Stop if you feel resistance, soak again, and then try to tease the gel sticker away a bit to allow the space between the semi-cured gel nail strip and the nail bed to soak in.
Some other important steps can help you maintain the health of your nails.
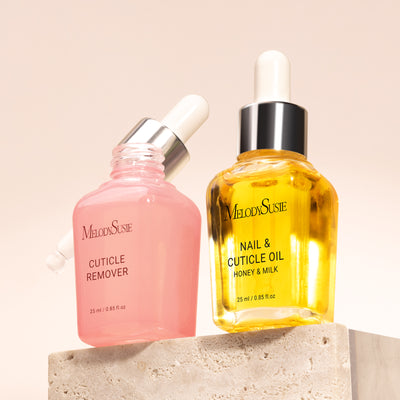
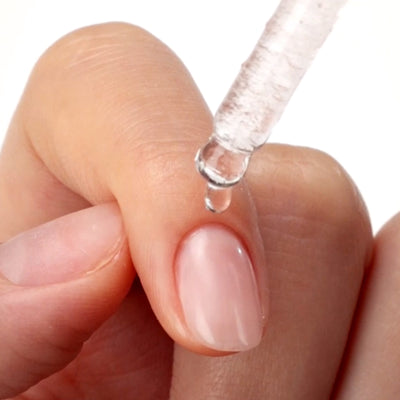
- Regularly use topical oils and hand creams for cuticles, nails, and hands. This can improve the appearance of your nails and prevent further damage.
- Take care of your cuticles.
- Make sure you use eco-friendly, healthy, and clean nail polish.
- Sterilize your manicure tools.
- Don't develop bad habits such as picking your nails, flicking your nails, or pulling out barbs.
- Definitely stop biting your fingers!
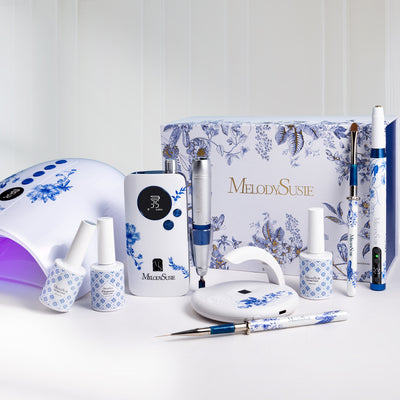
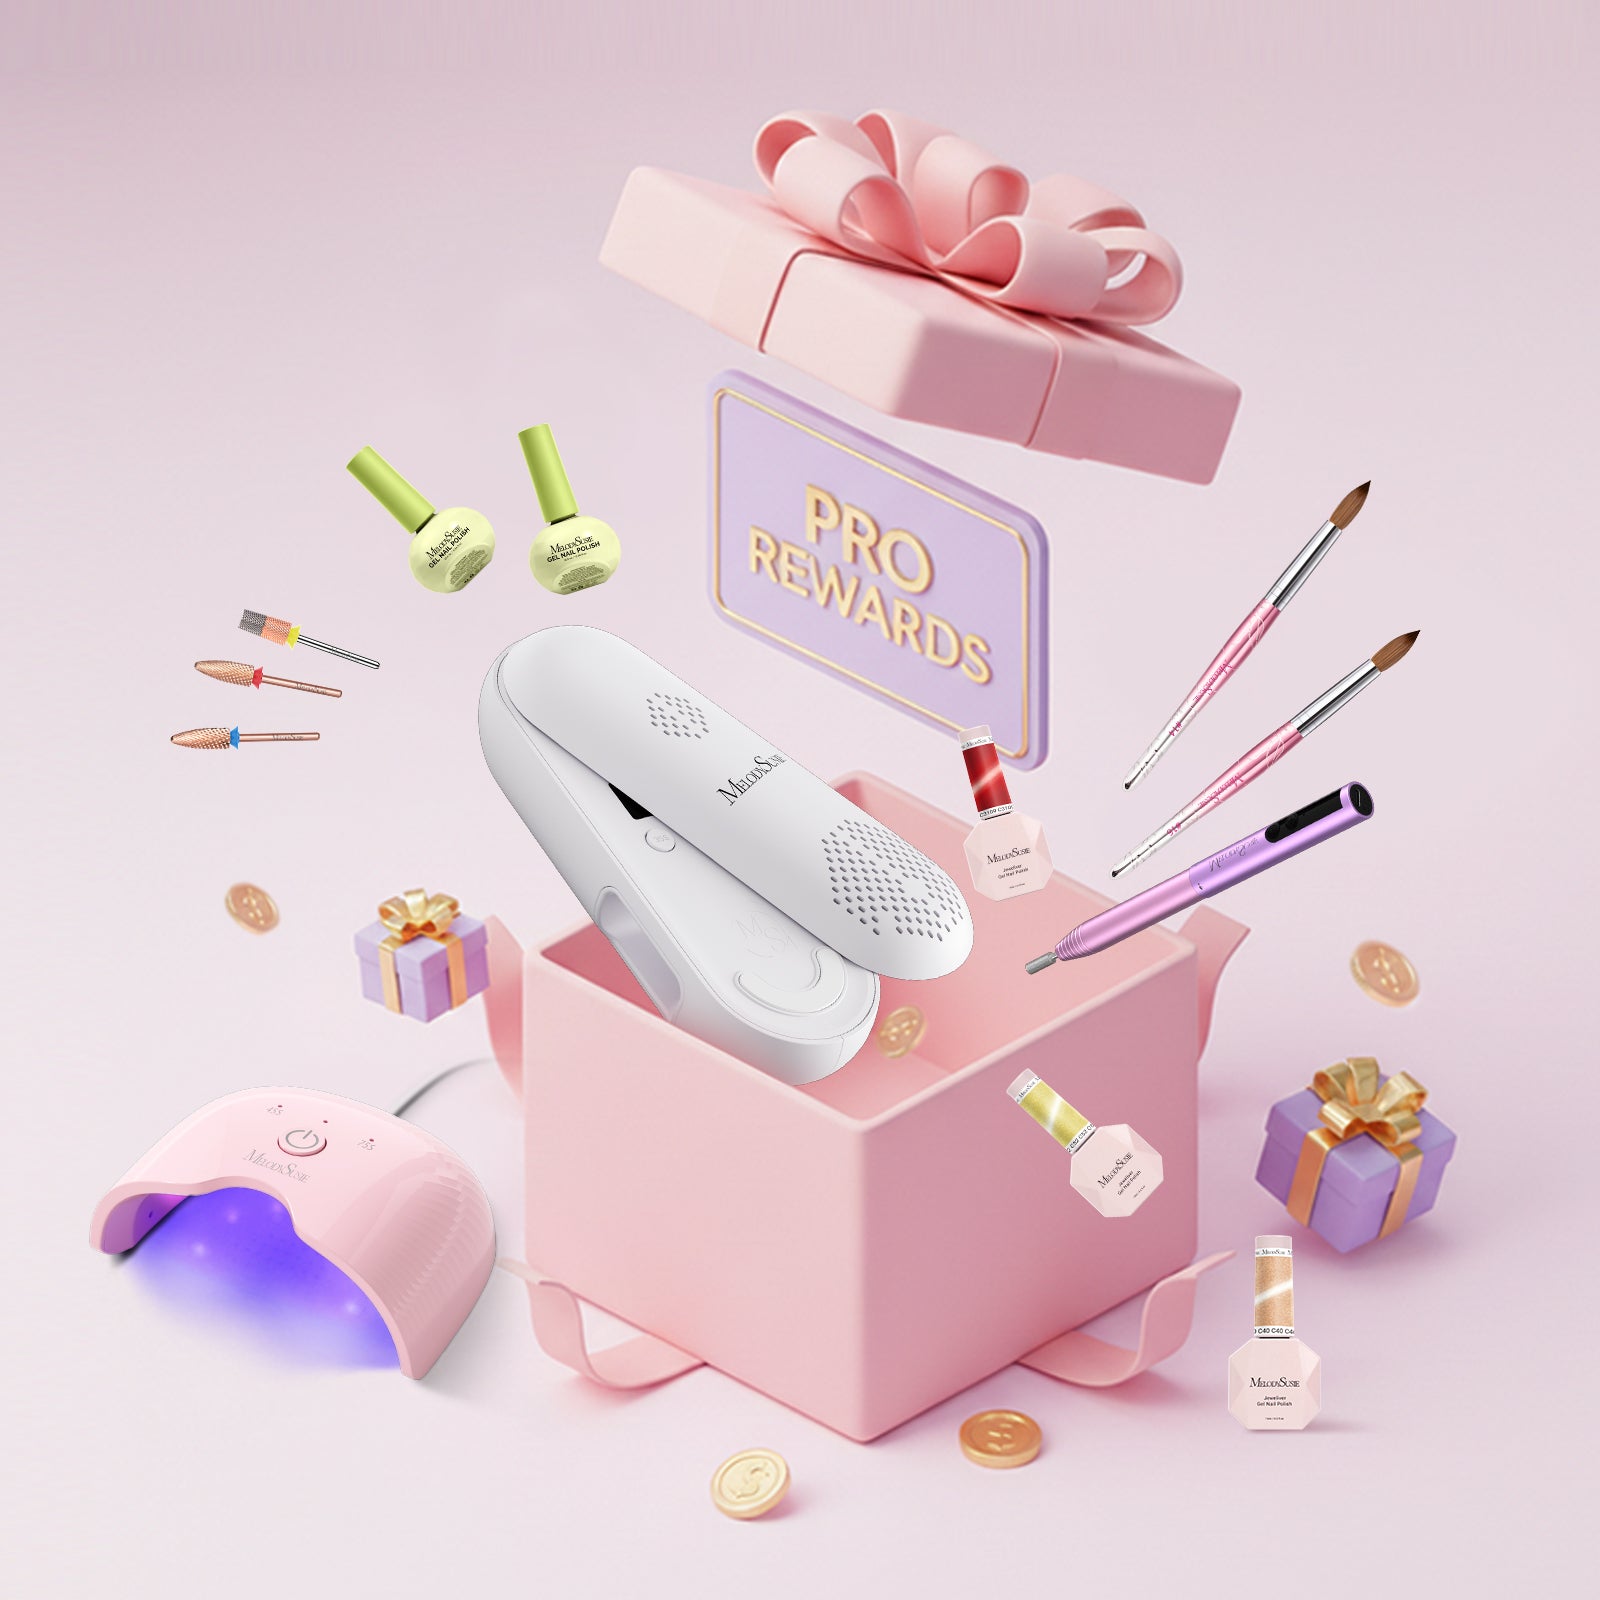
Removing the manicure correctly keeps the nail plate in perfect condition, and you can carry your nails beautifully from time to time without harming it. MelodySusie is committed to providing a more professional and safe nail experience for our clients, with both the tools and theoretical knowledge to help you remove your manicure healthily and safely.
Have you ever had an experience of damaging your nails by not removing them properly?
You are welcome to share your experience and any thoughts in the comments section.


Leave a comment
All comments are moderated before being published.
This site is protected by hCaptcha and the hCaptcha Privacy Policy and Terms of Service apply.