What new skills have you acquired during the pandemic? Cooking new dishes, cut your hair by yourselves or you are just like me, getting a salon-level manicure on your own? If it still seems a bit challenging or you are not sure what to prepare, then this is the full guide you or actually yours nails need for a refresh.

1. A nail clipper for the prep work
Actually, even if it is not for beauty purpose, you will need a good nail clipper to trim your nails for health purpose.
Tips: Don’t start yours nails from the middle, just slowly begin from the side edges and cut it according to your needs.
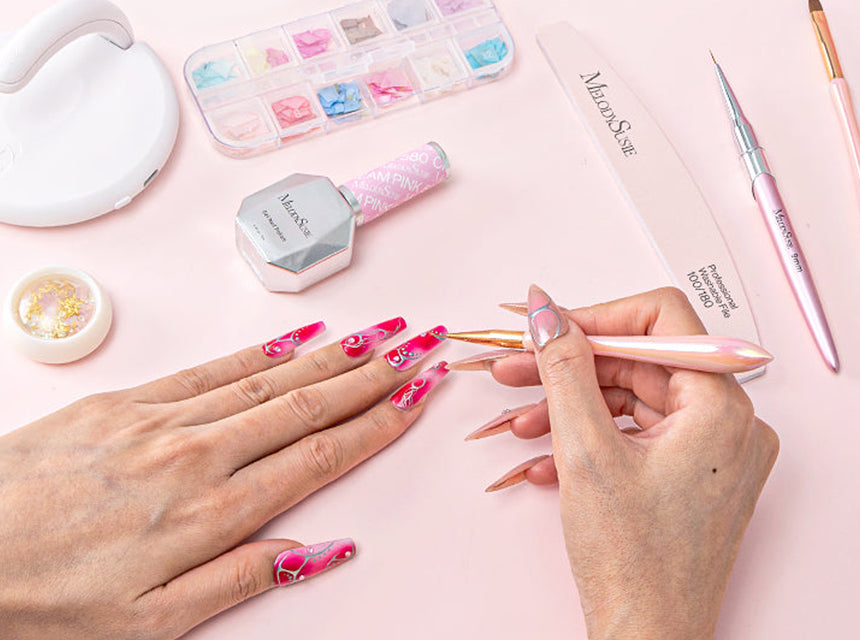
2. A nail buffer or a nail file for shaping your nails
Before we get started, here are some basic knowledge:
1) Both are classified as nail accessories
2) A nail file is used for shaping the free edge of the nails.
3) A nail buffer is used to clean your nails, make them shinier look and to smooth the surface.
4) Nail files are graded according to the grit per square inch. The higher the number, the softer the file grit; the lower the number, the coarser the file grit. For instance, 80 grit is extra coarse while 4000 grit is the smoothest.
5) Normally we choose the 180 grit, a medium file, good for nail plate preparation.

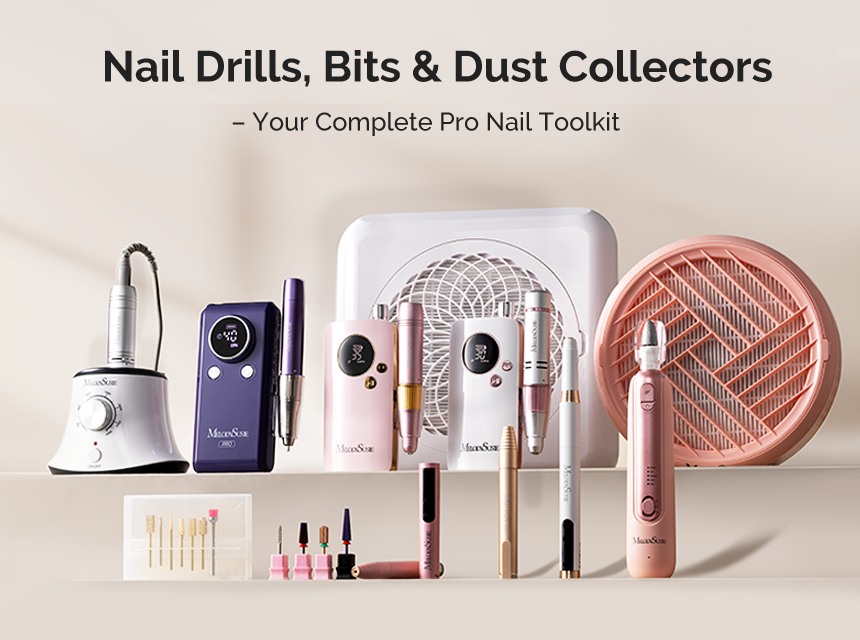
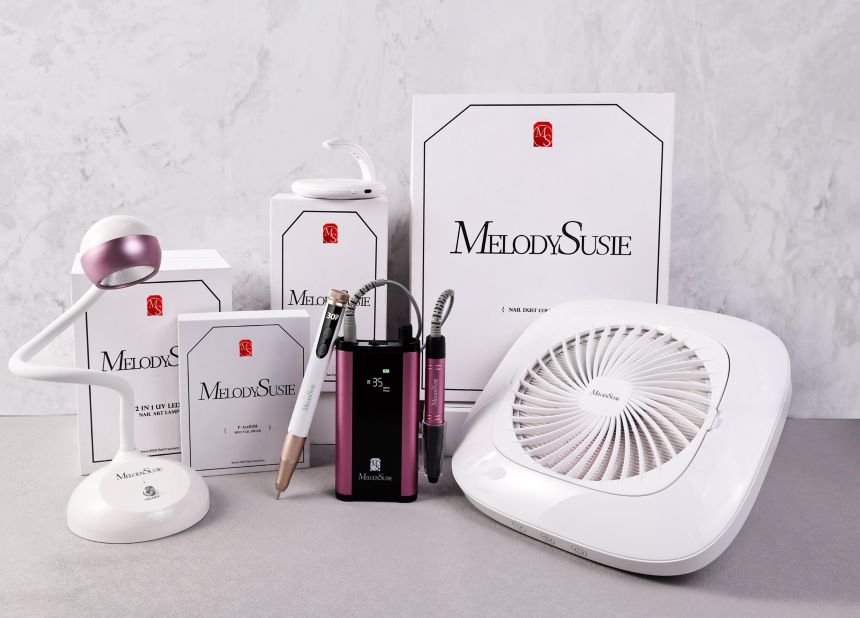
3. An E-file for saving time and energy
This tool suggestion is for someone who’s looking for an advancement of plain painted nails like acrylic nails or other nail extensions. An electric file will help you to save time and energy, and more importantly, to precisely get the job done. Just one thing, E-file does require more skills and practices to avoid damages.
Tips: To start with, you can pick a beginner-friendly electric file, the key factors you may look into include:
1) Buy from a trusted brand, they do guarantee the quality and customer service
2) If it is not for salon-level high-demand operation, then 0-25000/30000 RPM will be enough for you.
3) Two rotation direction switch would be important if you are left-handed.
4) If you’re just having fun and not sure if you’re doing nails often later on, then it is totally fine to get an entry-level nail drill that’s popular among all the novices.
5) If you’re planning for long-term use and wanna try out different nail styles, then you’d better invest a bit more from the beginning to get a reliable manicure partner.
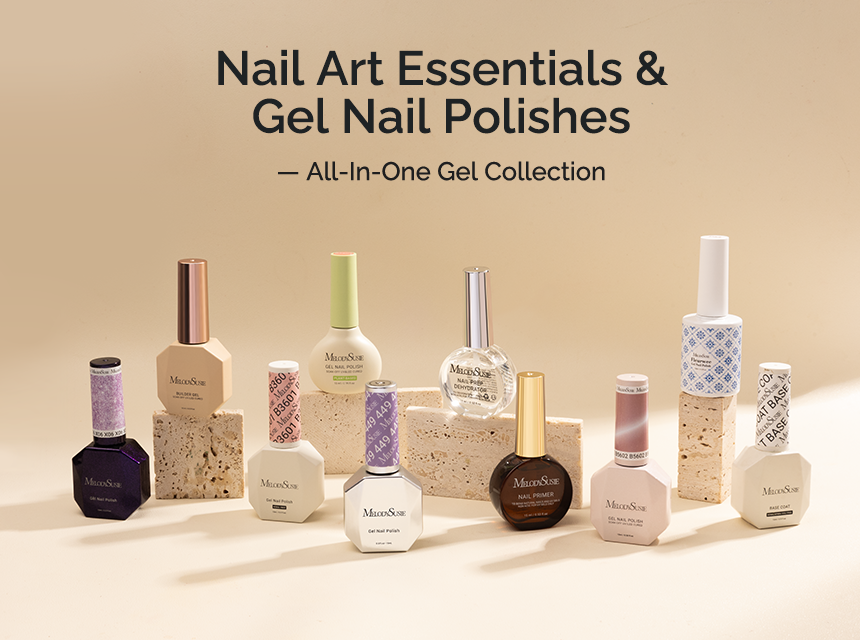
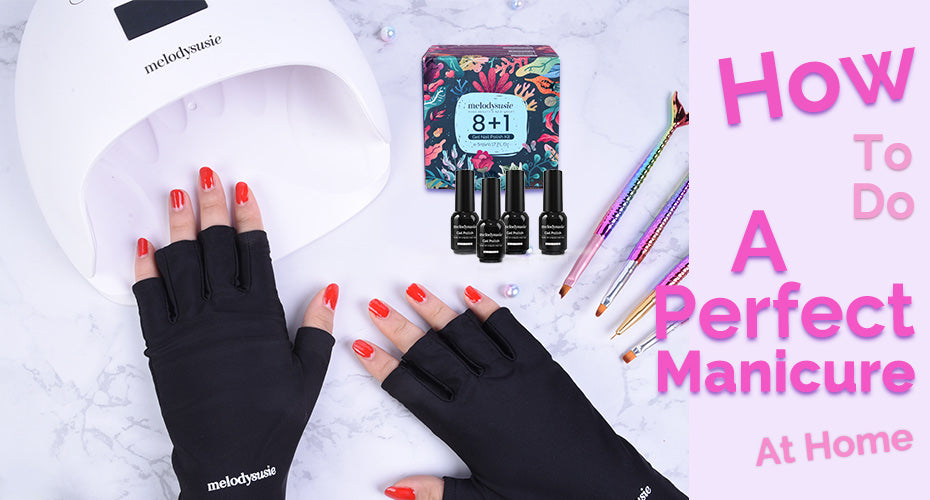
4. Gel nail polish set, paint as you prefer
Lol without nail polish, what we have done can only be called a nail care but not a manicure, we need colors! We need creation and art!

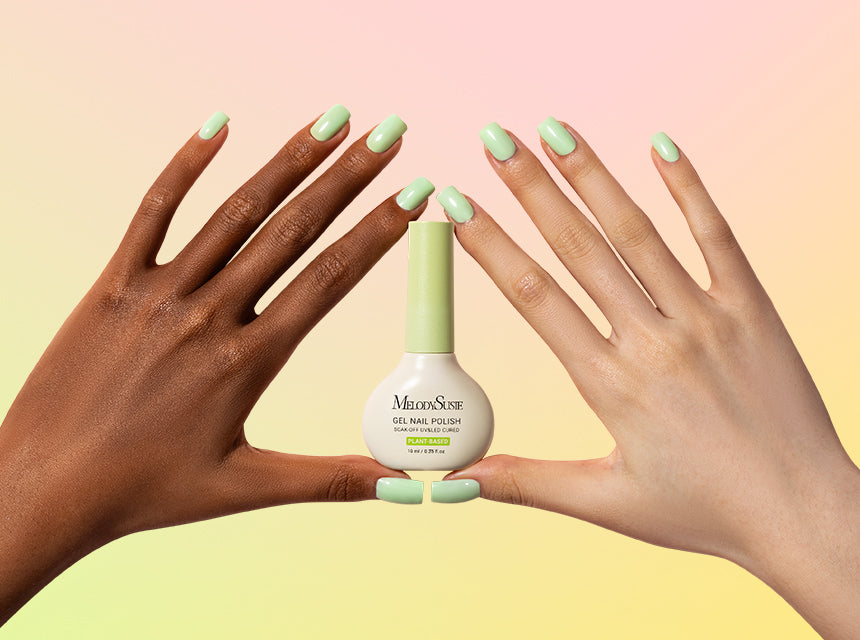
I guess when talking about doing your manicure, you must have a lot color options in your mind, pink ombres, pure dark green or blue, red is also classic. No worries, think of the style you’d like to present, the outfit you want to go with, or the easiest way, try to get a full collection of many colors as possible – that’s exactly what I did. Finally I can indulge myself with a nail polish feast, but you know what, together I spend no more than going to a nail salon for once!
Steps for painting gel nail polish:
1) Clean your nails. Clean and dry nails are essential for gel polish to adhere correctly. After buffing, wipe your nails with alcohol soaked cotton or fabric to get rid of any extra debris.
2) Apply thin layers. For better results, try to do 3-4 thin coats rather than to do 2 thick coats.
3) Cap the Free Edge. Have you wondered why your DIY nails always last shorter than that of salon? Well, the key is to cap the free edge - paint the end of the nail. This will prevent the gel polish from lifting and you’ll have an ever long-lasting manicure.
4) Cure with the right lamp. A good nail lamp would save your time and harden your nails fast and effectively.
5) Remove extra gel polish before curing. If you don’t want your finger skin feel burnt while curing in the lamp, do remember to wipe it away BEFORE curing.
6) Completely cover color with top coat. Just as in step 3, this will help to make a long-lasting manicure with better result.
7) Hydrate! Don’t ignore your hand skincare while doing your nails.
Tips: You can also wear UV Shield Gloves to block ultraviolet light from lamps to better protect your skin.
5. Top and Base Coat Set
This is just trying to remind the beginners, don’t forget especially the top coat to seal your nail polishes, otherwise you would keep wondering why the finish is sticky and easily stained with your fingerprints. Plus, you can choose between glossy and matte top coat, glossy is never wrong, while matte ones make the color more mysterious and unique. Some nail polish set also contains a free top coat, in that way you can save some money, too.
6. A nail lamp for best curing effect
Now it comes to the two major types of lamp of UV and LED, you may have already gone through tons of comparisons and differences of them, but you do have a win-win choice – a dual cure UV/LED lamp.
Tips:
1) Find a right size nail lamp, since you are buying one for at-home use, so it is okay if it is not small or portable. To save some time, you may consider a bigger lamp that you can fit your five fingers in at once.
2) The curing time, normally you just follow the instruction, or a bit longer to ensure a better result.
Wow congratulations! You finish reading the guide, and just one step away from a perfect at-home manicure – do it now!
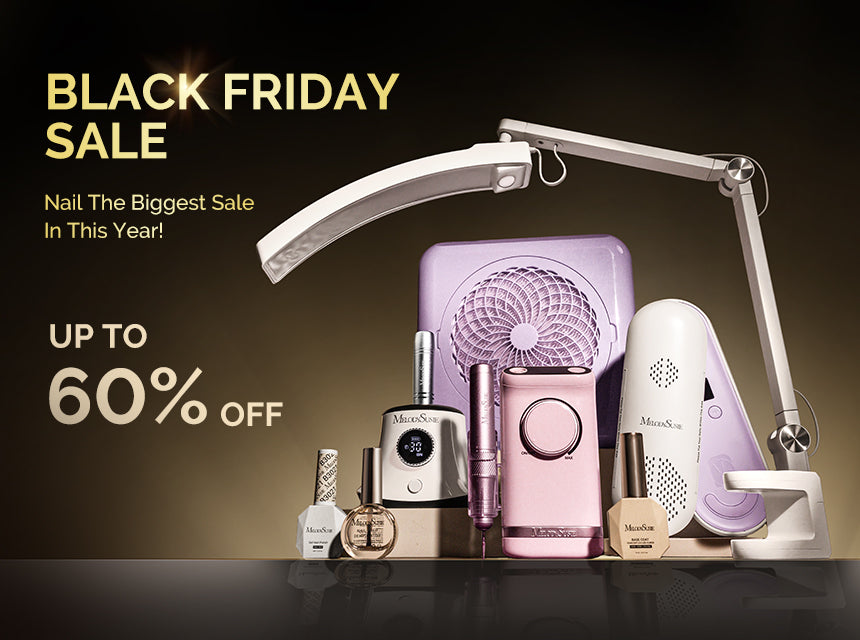
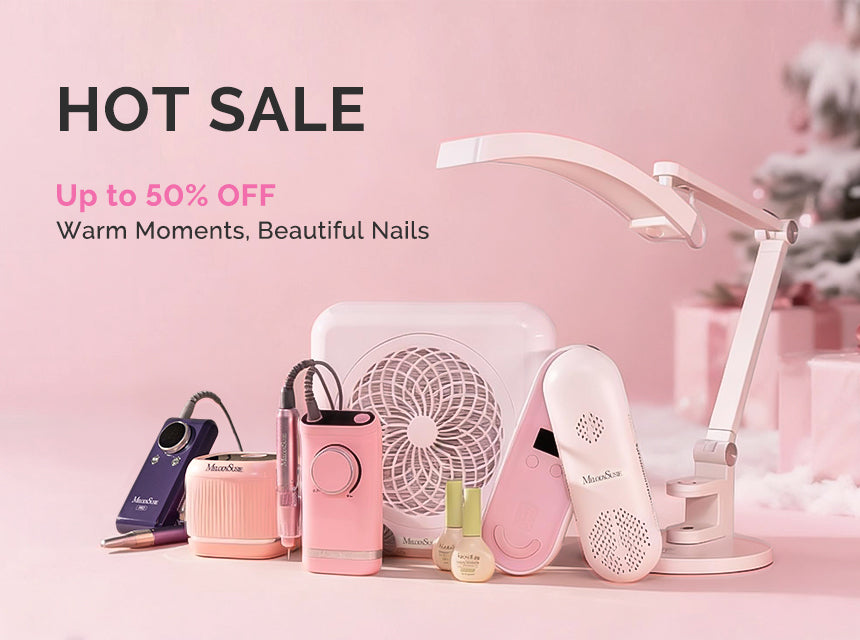
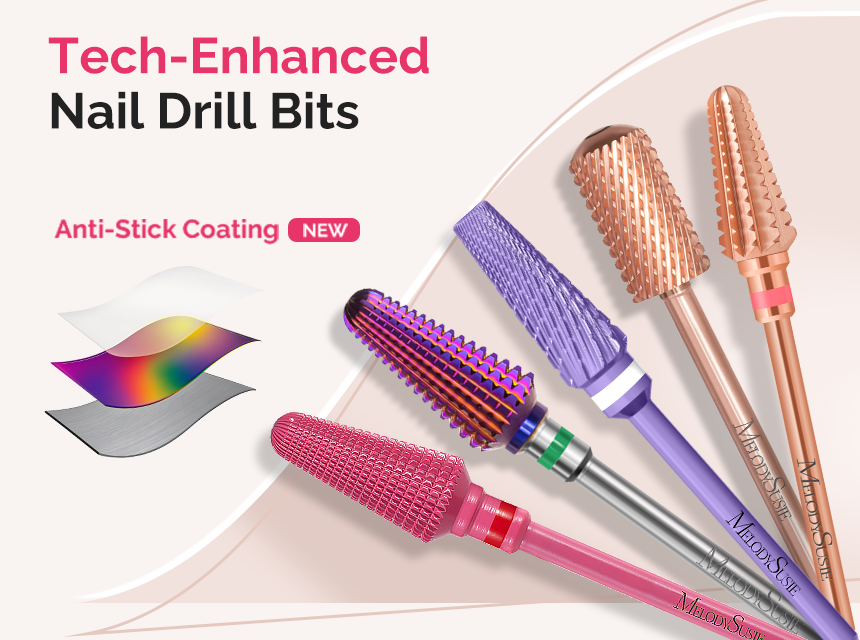
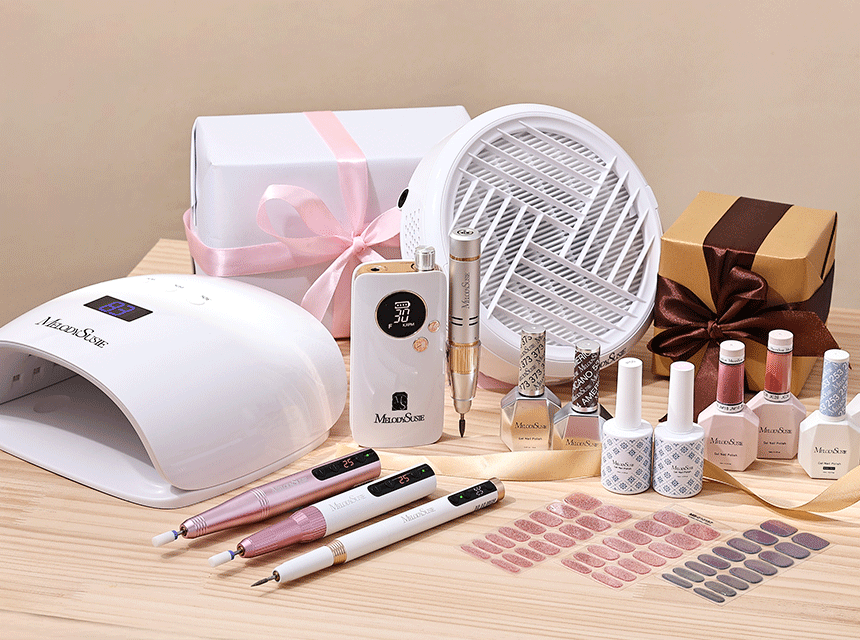
For your nail adventure, Melodysusie has prepared a lot of nail tools and products for you. Wanna save some time from adding items by one by to your shopping cart, try our bundles at a great deal, just click and explore now!



Leave a comment
All comments are moderated before being published.
This site is protected by hCaptcha and the hCaptcha Privacy Policy and Terms of Service apply.