


For nail art, precision and creativity are the keys to crafting stunning, intricate designs that leave a lasting impression. And what's the secret behind achieving those breathtaking nail art masterpieces? Well, it all starts with the brush in your hand. Choosing the right brush for your design is crucial to achieving that flawless, professional look you desire.
However, when you start doing nails, whether it is professionally or just casually for yourself, you’ll soon notice that there are quite a few different brushes out there. It can be hard to know exactly what each one is used for as some of them can look a bit crazy.
In this blog, we'll explore how to select the best nail brush for your specific design needs. Never hesitate to choose a nail art brush again!
Match the Right Brush to Your Design
On the market, you'll find a variety of brushes, which can be broadly categorized into six types. These brushes are versatile, catering to all your nail art needs, from applying gel polishes and creating 3D designs to painting and nail extensions. Let's pair the brush with your nail design.
1. Gel Brush

The gel brush stands as the primary choice in nail art, particularly when applying solid gel polish, facilitating the creation of finer and more accurate nail strokes. Additionally, it serves well for applying both liquid gel polish and UV Builder Gel for nail extensions. There are mainly two kinds of gel brushes, one has oval-shaped bristles, and another has flat bristles.
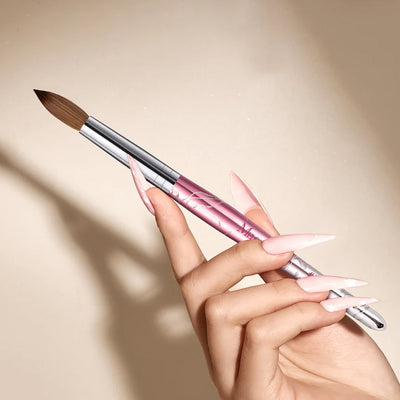
2. Acrylic Brush

Acrylic brushes provide precision and control when sculpting and shaping acrylic nails. Acrylic nail brushes crafted from pure sable hair offer the ideal combination of smooth application, soft bristles, durability, and easy maintenance. Melodysusie has introduced an acrylic brush featuring 100% pure sable hair and a comfortable rosewood handle for an exceptional user experience.
3. French Brush

A French manicure offers a clean, elegant, and charming appearance to your nails. However, for many nail art enthusiasts, achieving that perfect smile line can be quite challenging, especially when attempting their first French manicure. Enter the French brush, a specialized tool designed explicitly for effortless French manicures. It's an exceptionally beginner-friendly nail accessory that enables you to achieve flawless French nails in just two simple steps! What's more, this versatile tool allows you to easily create various French styles, including Square shapes, U-shaped, and C-smile shapes.
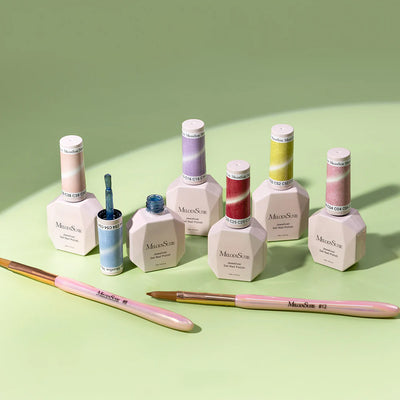
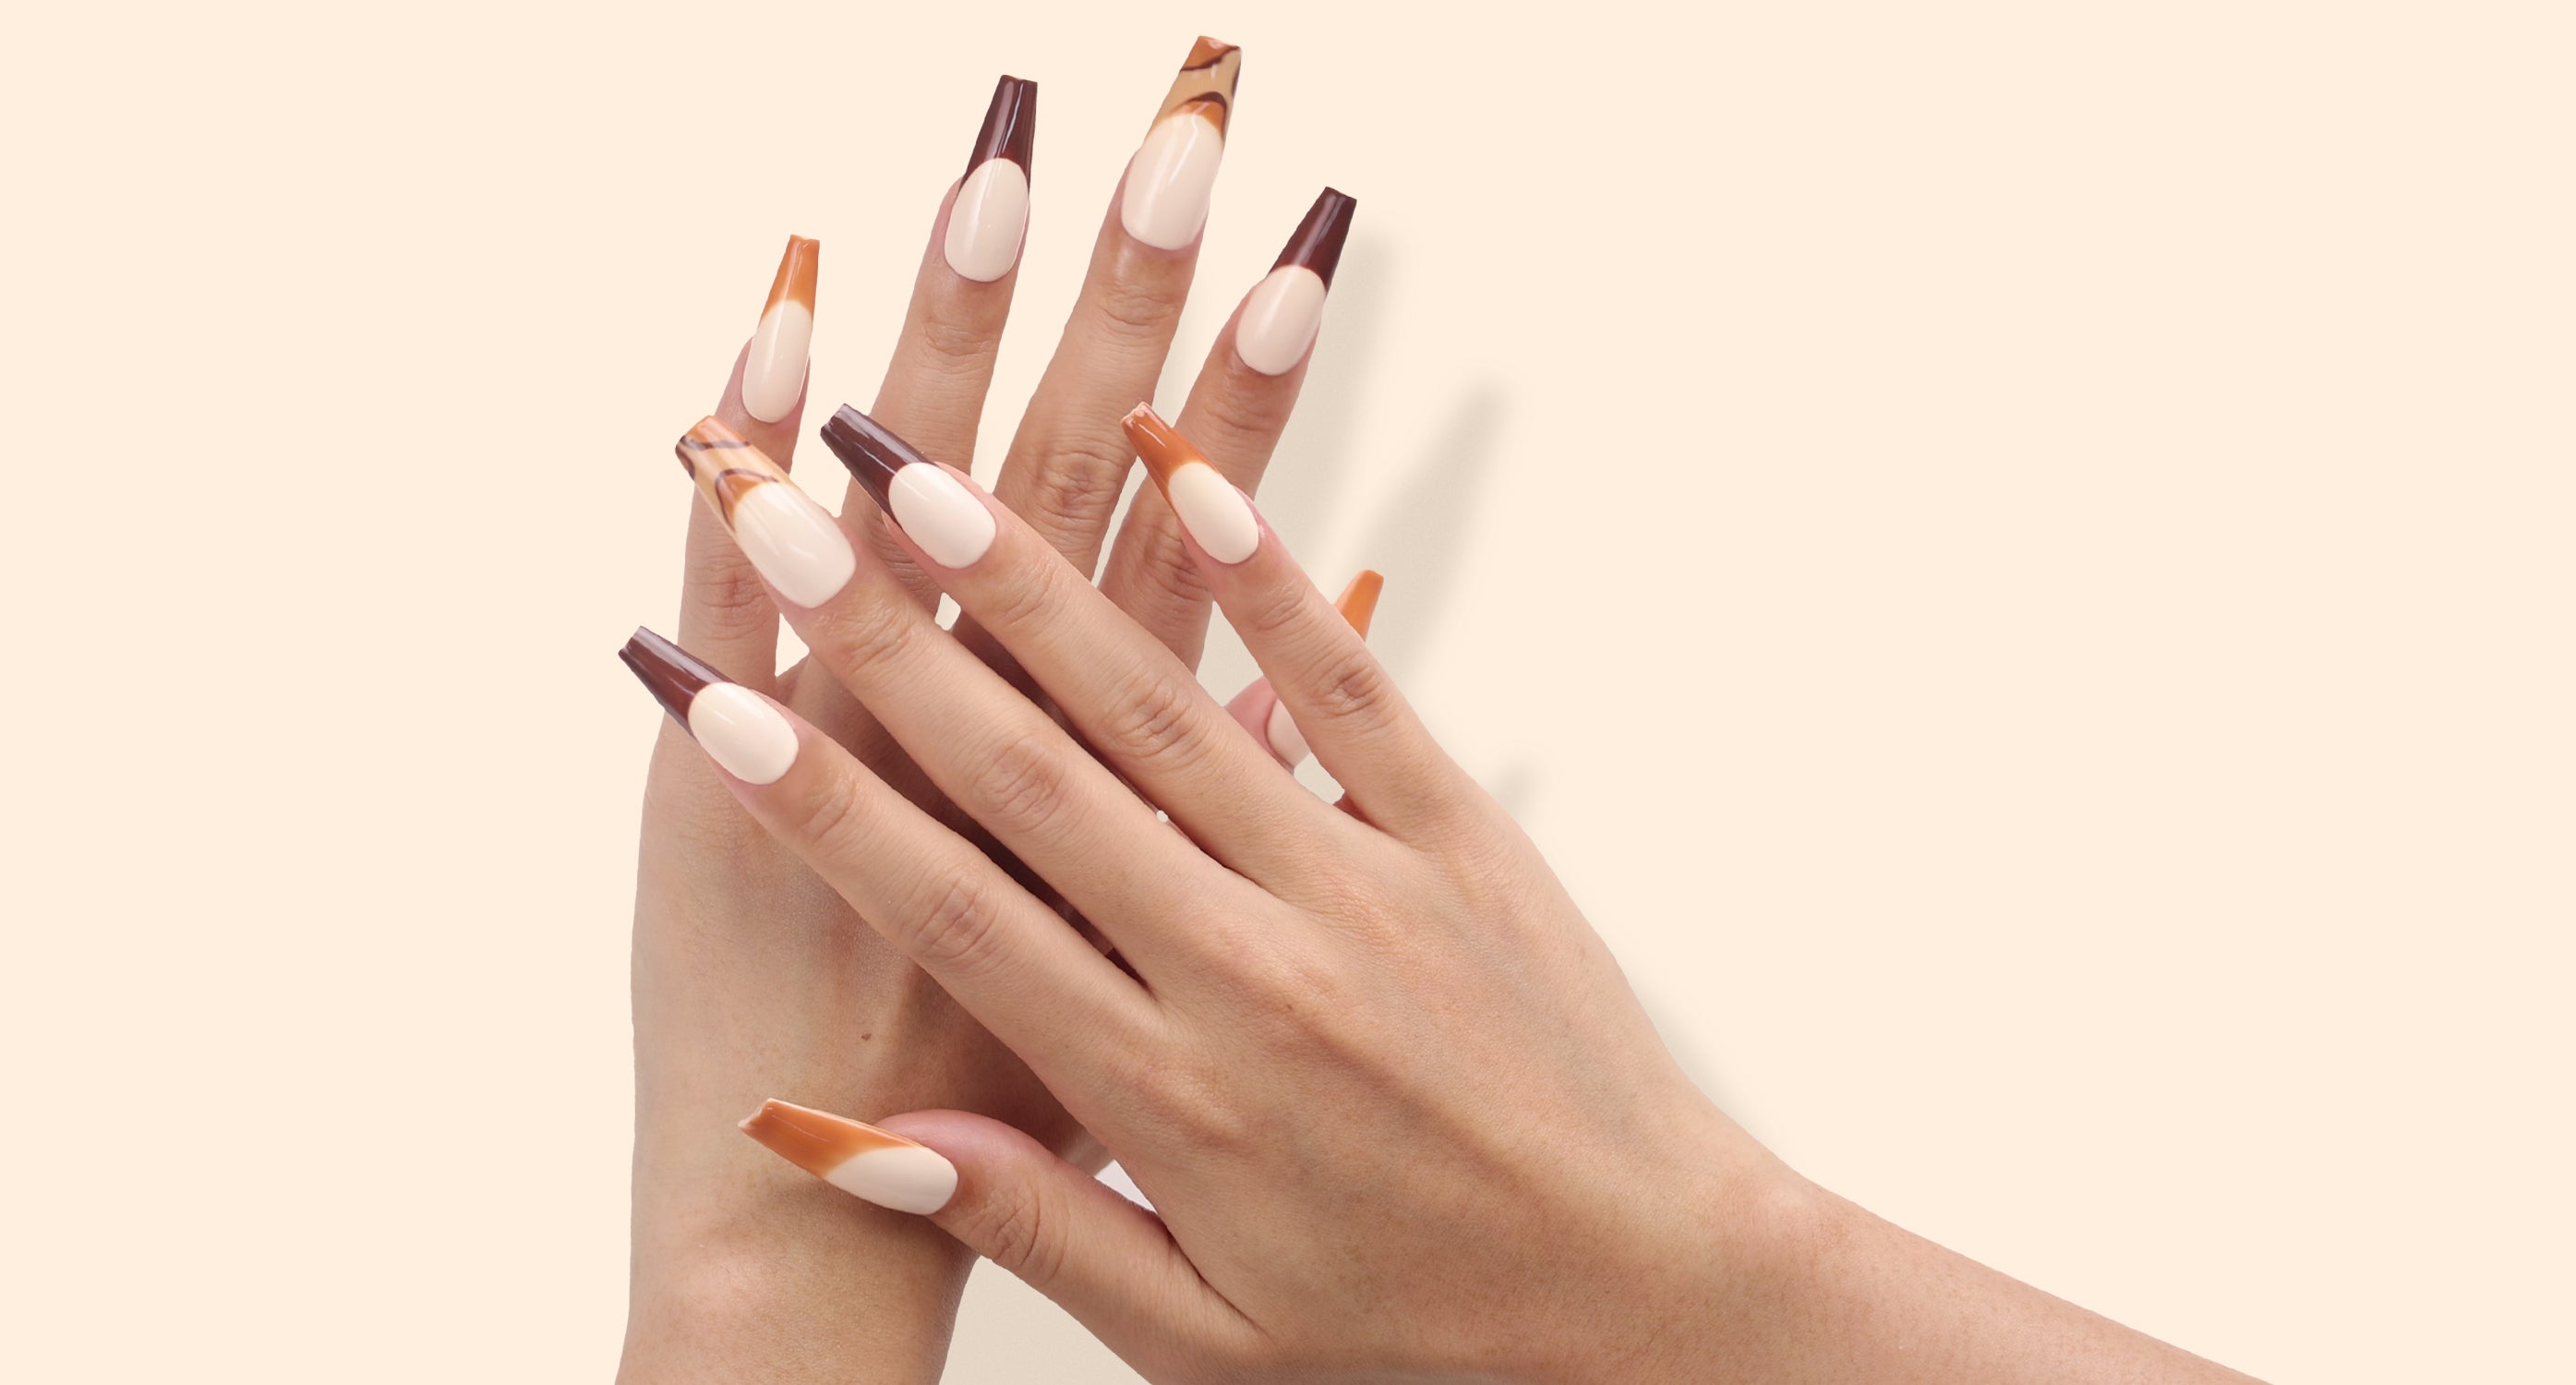
4. Gradient Brush

Smudge gradient nail art is a captivating and trendy nail design technique. The transition from one color to the next is often done with a smudging or blending technique, allowing for a gradual shift in shades. The oblique brush head of the smudge brush allows it to fit the nails more comprehensively. After applying the base color on your nail, take the gel polish you want to smudge on top of it. Then use the flat brush to gently move and tap the gel polish to create your desired patterns.
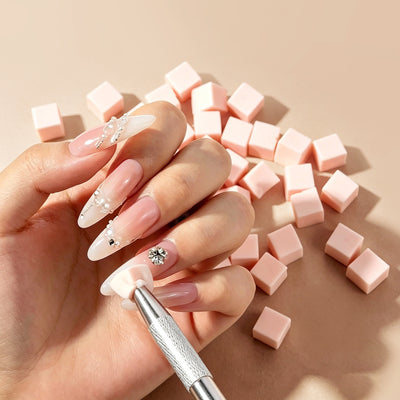
5. Nail Brush For 3D Design

Unlike traditional flat nail art, 3D nail design adds depth, texture, and intricate details to your nails, allowing you to wear miniature works of art at your fingertips. Round brushes are versatile tools that come in various sizes. They're known for their precision, making them ideal for creating precise dots, flowers, and small patterns.
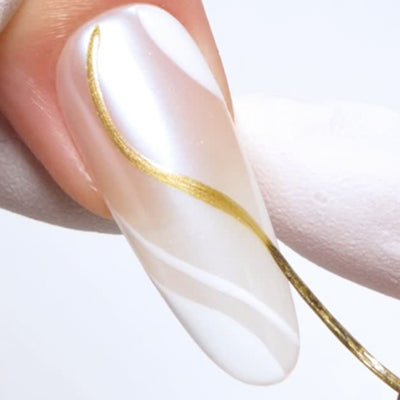
6. Liner Brush

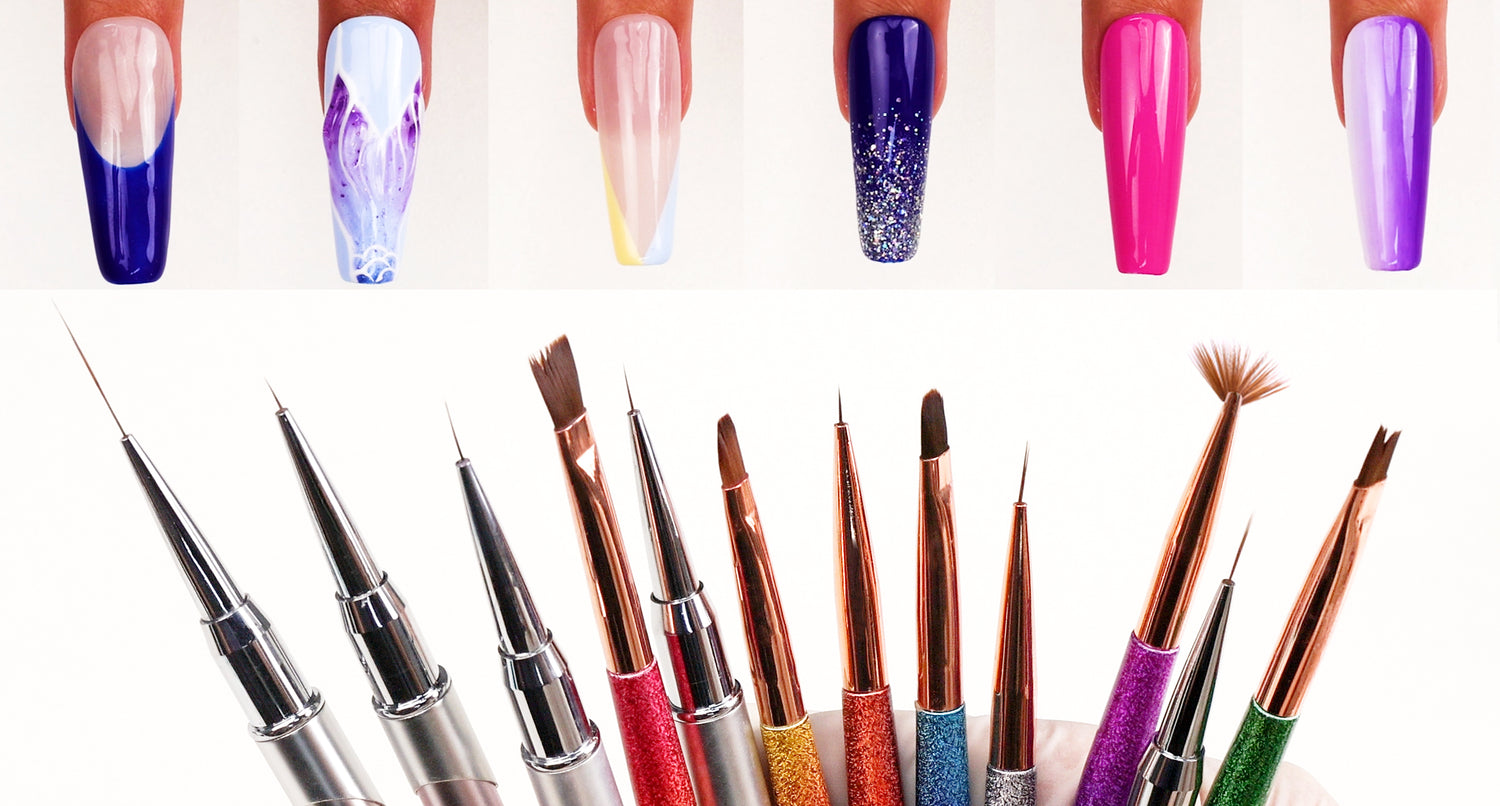
Liner brushes have a distinct appearance among nail art brushes, with their line-shaped design and fine bristles. They come in various lengths for different tasks: short for intricate work, medium for edges and color filling, and long for straight lines on long nails. And the liner brush is also perfect for blending gel polishes thanks to its pointy tips.
Caring for Your Nail Brushes
1. How to prep a new acrylic brush?
Preparing a new acrylic brush before use is essential to ensure that it works effectively. Here are the steps to prepare a new acrylic brush;
- Check for loose bristles and defects, trim any loose ones.
- Wash the brush with warm water to remove any protective coating.
- Dip in acrylic medium in 5 minutes and soften the bristles, making them more pliable and easier to work with.
2. How to clean your nail brush?
Regularly cleaning your nail brush, especially after each use, will help maintain clean and healthy nails while prolonging the life of your nail brush.
- Dip in acrylic/gel medium in 15 minutes and soften the bristles
- Remove the acrylic/gel residues
- Soak in warm water
- Leave the nail brush to air dry completely in a clean, well-ventilated area.
3. How to store your nail brush
Remember these key precautions for proper storage: keep it clean and dry, store it upright, provide ventilation, avoid direct sunlight and heat, keep brushes separate, and periodically inspect for cleanliness and condition.
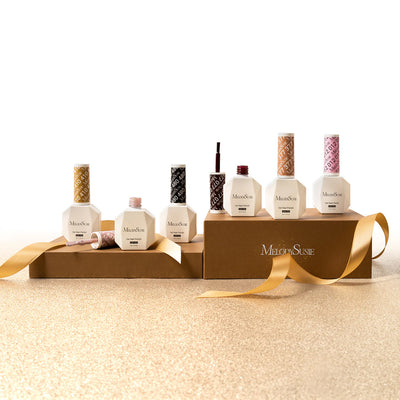
MelodySusie New Nail Art Brushes
MelodySusie has released two must-have nail art brush sets, the gradient nail art brush set and the nail art liner brush set. Whether you're a beginner or a professional, these nail art brush sets are easy to use and achieve a variety of nail art designs. Ready to try them? Click here to get them first. Start your journey of nail art creation now.
Leave a comment
All comments are moderated before being published.
This site is protected by hCaptcha and the hCaptcha Privacy Policy and Terms of Service apply.