Time to embrace summer with the trendy press-on nails! They're affordable, convenient, and come in a variety of designs, so you can change them up as much as you want.
However, finding the right fit and application technique can be tricky for some people. But no worries! This blog teaches you how to apply press-on nails like a pro. Let's get ready to rock stylish nails at home with confidence.
Measure Your Nails
When it comes to press-on nails, we know about the convenience of pre-made sets in various sizes and shapes. However, each set of MelodySusie handmade press-on nails is specifically made to fit the individual nail size, ensuring an ideal fit and superior comfort. This level of attention to detail is designed to provide a truly personalized experience for our customers. Here's the easiest way to measure your nails at home using transparent tape!
1. Use transparent tape, place it across the largest part of your nail.

2. Mark the 2 sides of you nail on the tape with a pen.
3. Remove the tape and measure it with a ruler.
4. Measure each nail and compare it with a nail sizing guide image.
Get Your Natural Nails Ready
Before you start applying your handmade press-on nails, it's essential to prepare your natural nails by cleaning them thoroughly and pushing back the cuticles and shaping them as needed. Make sure your nails don’t have nail polish, acrylic or gel enhancements. Making sure your natural nails are ready is crucial to the longevity of your press-on nails.
1. Pushing back the cuticles.


Apply Handmade Press On Nails
We offer a range of glues that represent the different lengths of time your nails can stay on - 1 day, 3 days, 5 days, or 12+ days. When you buy our handmade press on nails, you can choose the adhesive tabs according to the occasion and mood.
The following shows you how to apply handmade press on nails with adhesive tabs.
1. Put adhesive tabs on your nail first to find the size that fits your nail the best.

2.Stick adhesive tabs directly to your nails or stick them to the inside of the tips.

3. Try yo put it as close to the cuticle as you can for a good connect and then use the little top to pull it off..

4. Line up your tip with your cuticle area and make sure it’s straight and then press it down onto the nail, push for a good 20s to make sure there is no air pockets. Then repeat this process for each nail.

5. Then repeat this process for each nail.
6. Show off time.

Nail Glue? Or Jelly Glue?
When it comes to choosing between a temporary solution or a longer-lasting effect, we have options for you.
If you're looking for a temporary solution, the Sticky Nail Sheet (Jelly Glue) included in your package is a perfect option. You can choose from a duration of 1, 3, or 5 days to suit your needs.

For a more durable effect, we recommend using the Nail Glue, which may last up to an average of 12 days.

Here's how:

1. Apply a small drop of glue to your natural nail, spreading it evenly from the cuticle to the tip.
Note: Be careful not to apply too much glue to avoid any drips.
2. Repeat the same process under the press-on nail to ensure complete coverage.
3. Carefully slide the press-on nail under your cuticle and press firmly for approximately 10-15 seconds.
- Important Takeaway: Starting with your Pinky finger is a good idea. Alternatively, you can save your thumbs for last since they are most frequently used for pressing.
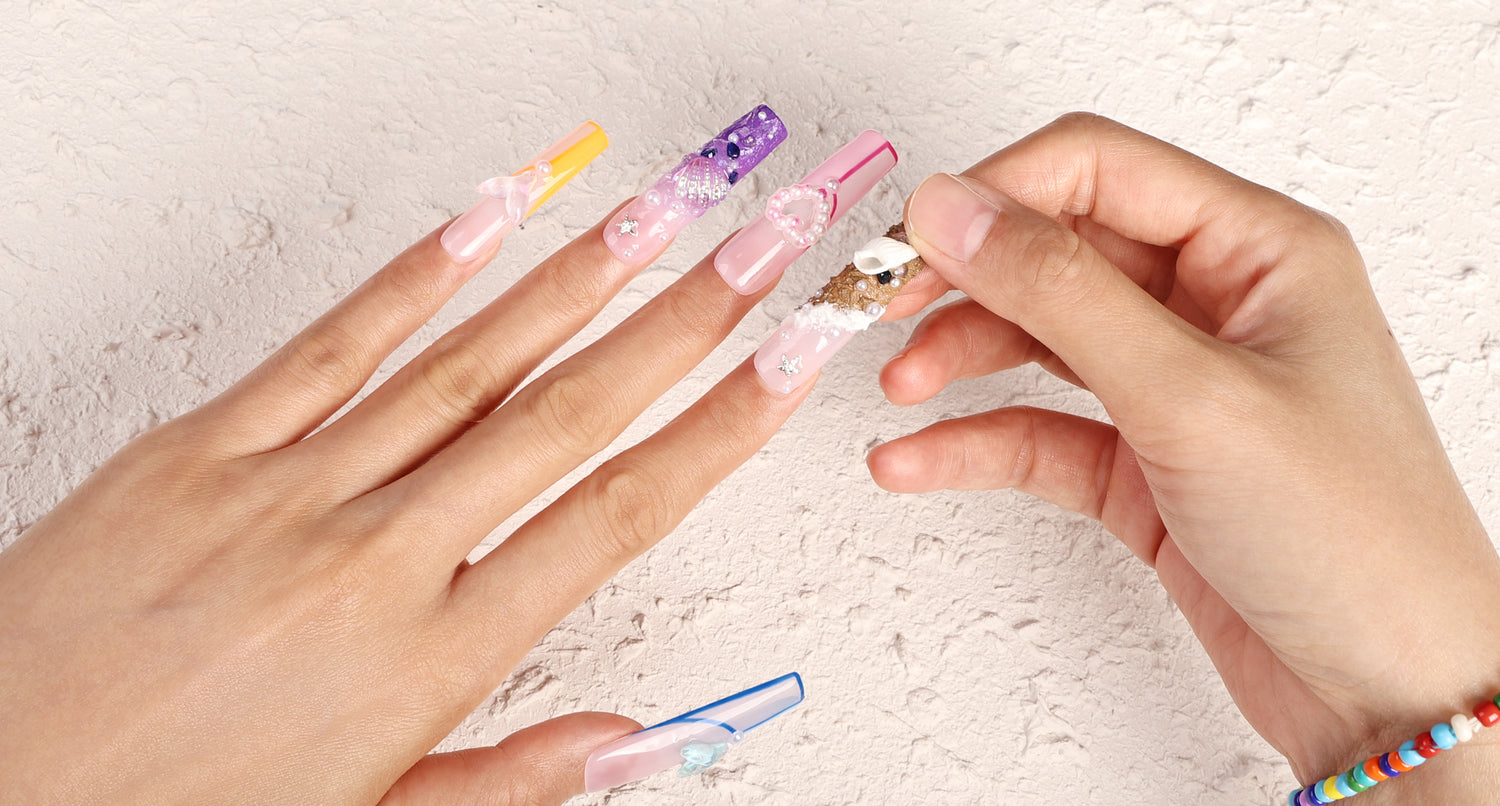
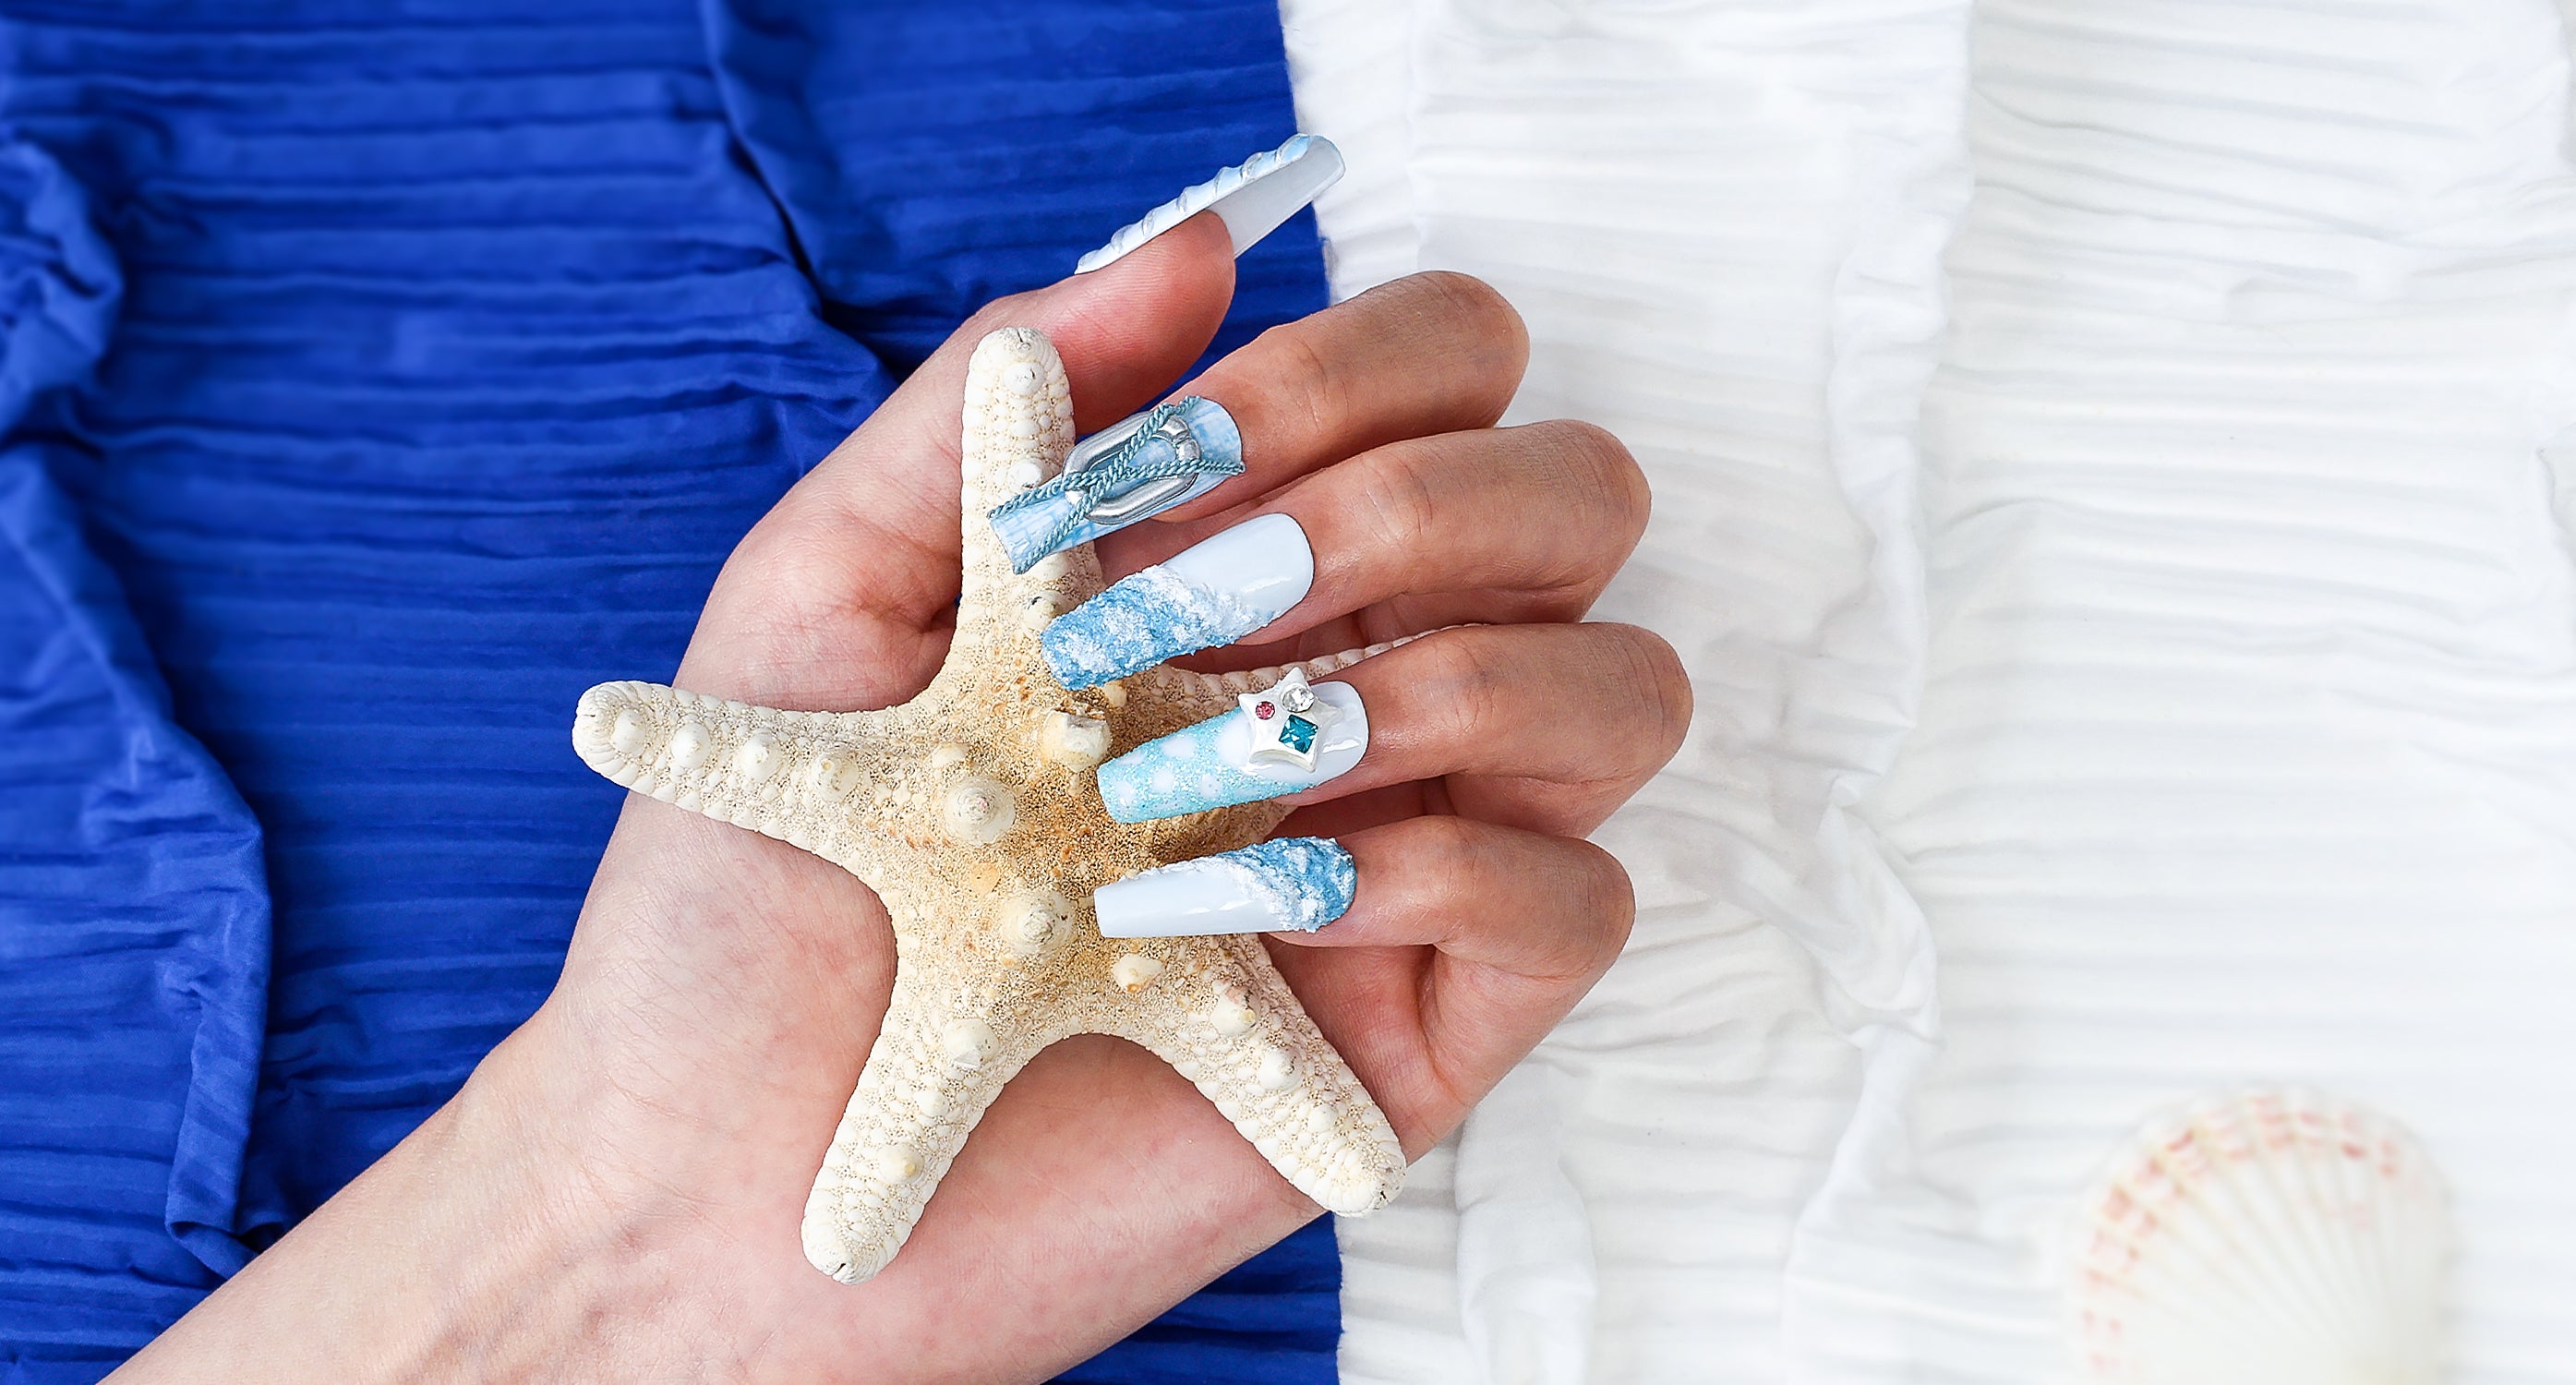
Finally, for all the mermaid lovers out there who adore the enchanting allure, don't miss out the newest collection of mermaid-themed handmade press-on nails inspired by these mystical creatures. Each nail is beautifully adorned with intricate designs that capture the essence of the sea and mermaid elements.
Let's dive into MelodySusie captivating mermaid collection now by clicking here and discover your perfect set of nails that will truly make a splash!
Click below and explore more about Custom Press On Nails.
1. Introducing MelodySusie Handmade Press-On Nail
2. Behind the Scenes: MelodySusie Press-On Nails Creating Process
We also welcome you to share and discuss your thoughts in our comments.


Leave a comment
All comments are moderated before being published.
This site is protected by hCaptcha and the hCaptcha Privacy Policy and Terms of Service apply.