


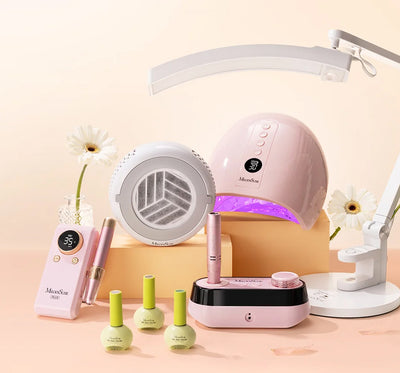

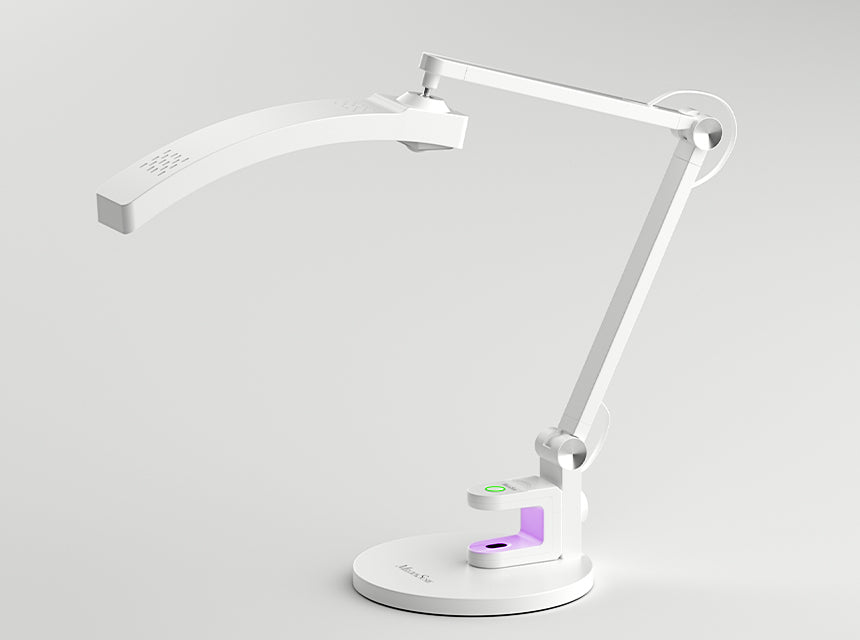
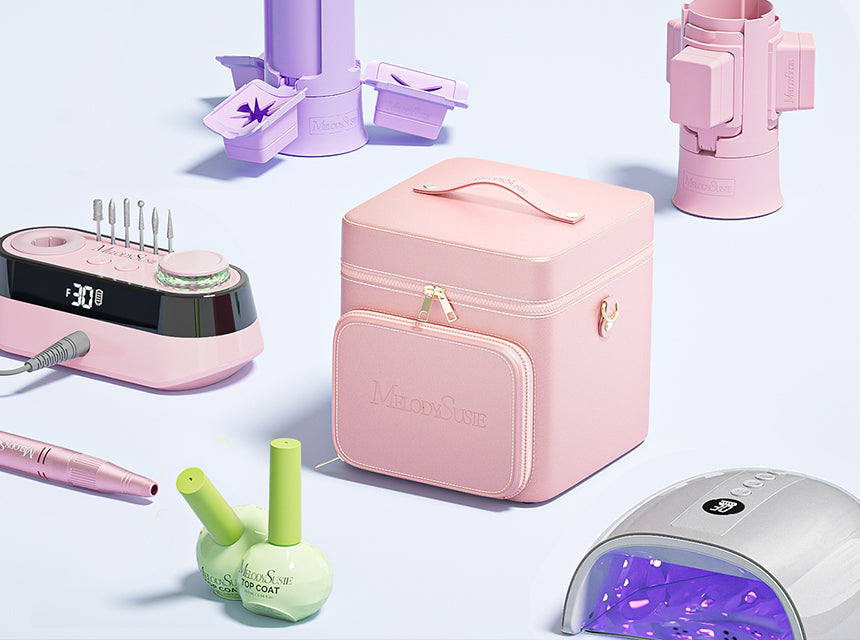

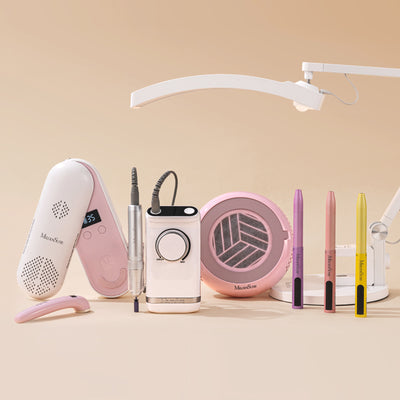
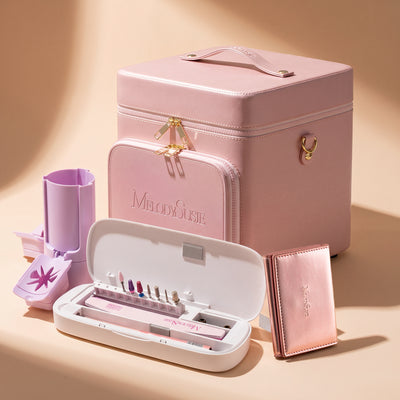
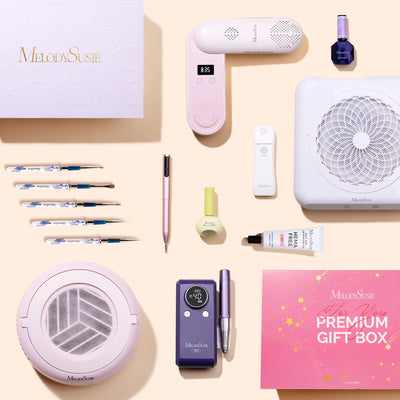

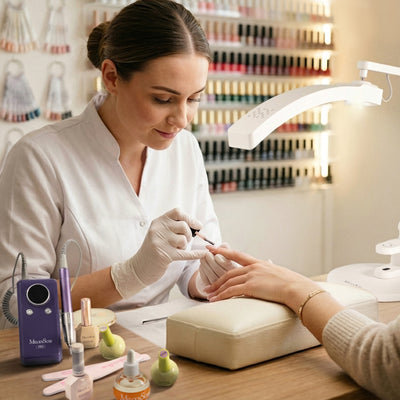
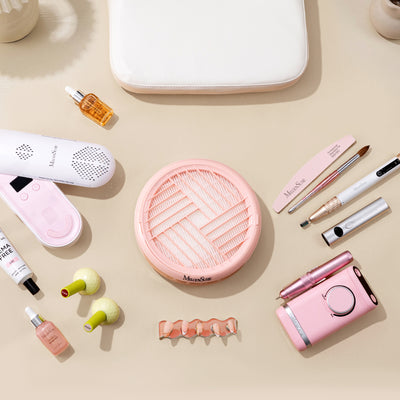
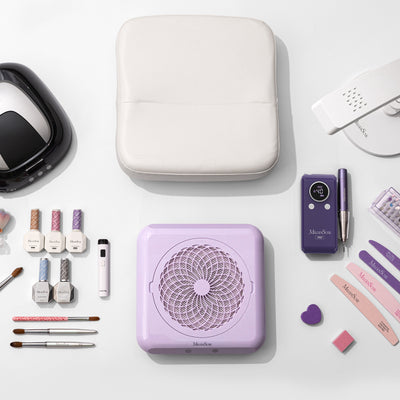


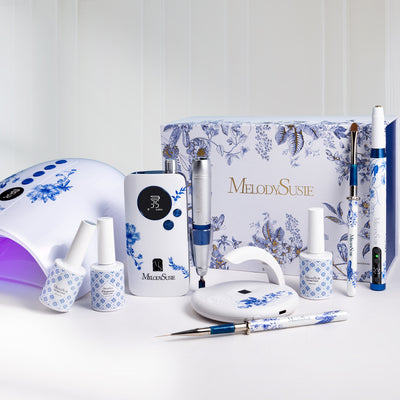


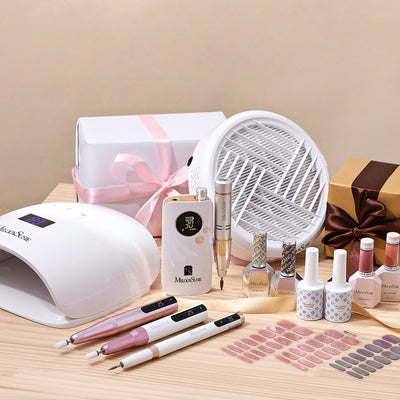


As much as we love a fresh, chip-free gel manicure, we know how much of a hassle the removal and application process can be if we use the wrong tools. The Scamander Full Set was designed to speed up the process, and can be used by both professionals and beginners. Our kit comes with a powerful nail drill set (with over 300 bits included) to help remove the toughest gel polishes and artificial nails, a dust collector to ensure a clean surface and a UV light and protective gloves for effective gel polish application.
This article will guide you on how to make the most out of the Scamander Full Set as well as providing some safety tips.
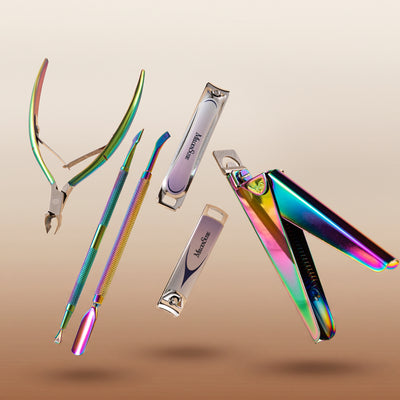
Step 1: Use the Stainless-Steel Cutter to Remove False Nails
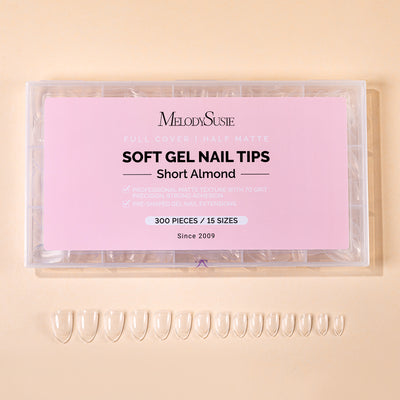
If you or your client is wearing any acrylic nails, be sure to remove the tips before buffing out the gel colour. Our stainless-steel edge cutter is a multifunctional tip and acrylic clipper that’s ergonomically designed to snip off even the toughest of false nails.

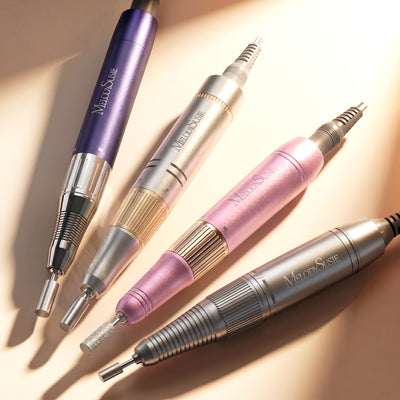
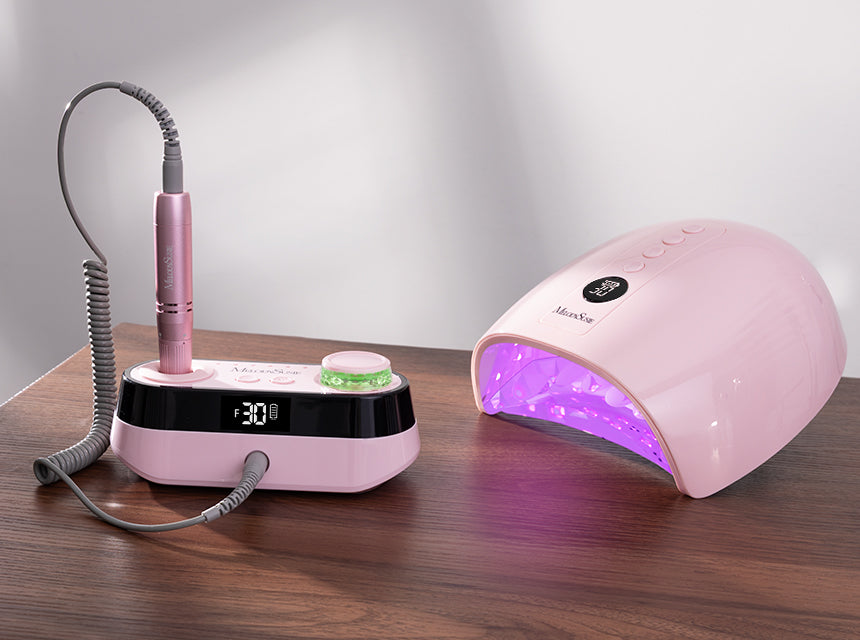
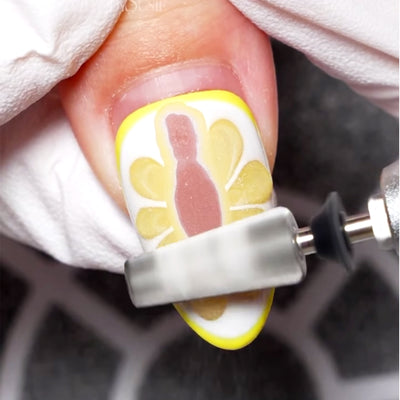
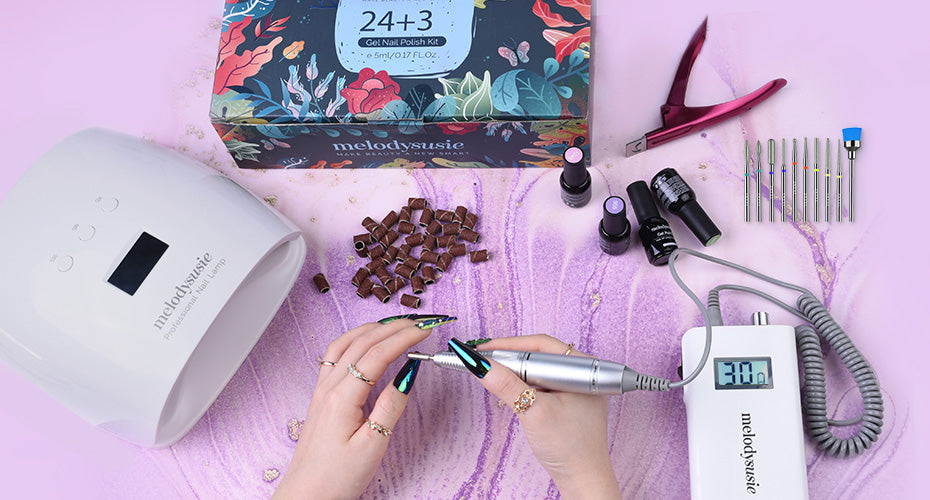
Step 2: Carefully Use the Scamander Nail Drill Remove the Gel Polish
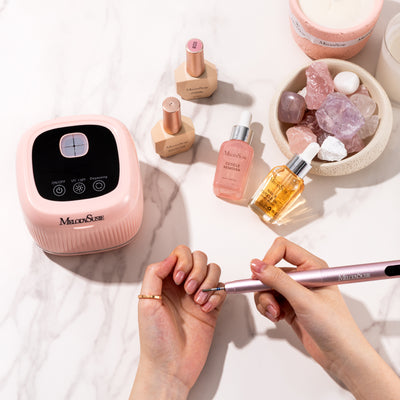
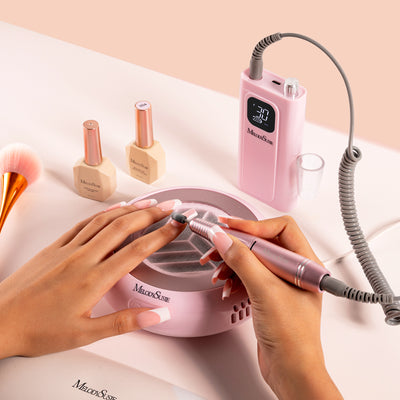
When using the nail drill be sure you use the correct speed and bits to ensure safety and effectiveness. Depending on the area of the nail, you must choose the right speed and use the right nail bit - one that is strong enough to remove the gel polish colour, but gentle enough to prevent damaging the natural nail surface. Don’t forget to use the Nail Dust Collector to clean up any mess.
For the cuticles: Use a slow speed. The cuticles are the most sensitive parts of the nail, so you want to take extra care to avoid ripping, pain and possible infection when opening up the nail bed.
For the nail surface: Use a fast speed to buff through the strong gel polish or acrylic nail. This area is usually the toughest to work through, so we recommend using sanding bands to ensure a quick and effective removal.
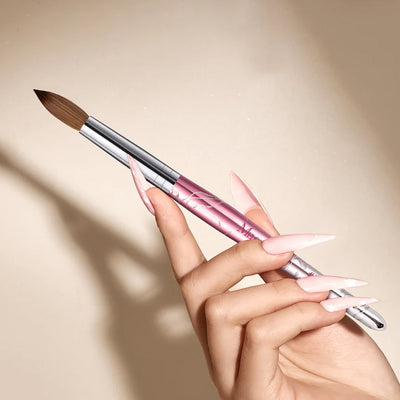
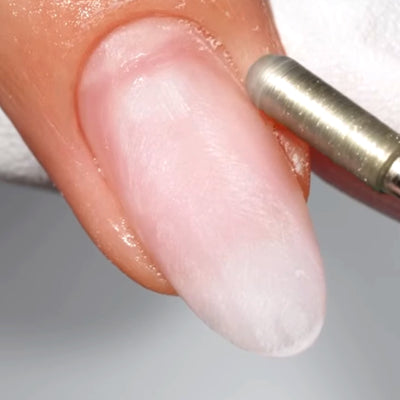
Once you have completed the removal with the nail drill, buff out the natural nails for a nice clean surface for your gel manicure.

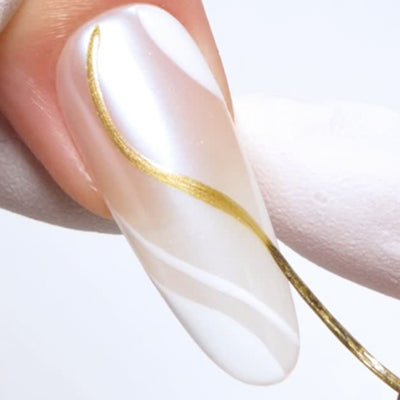
Step 3: Apply a New Coat of Gel Polish
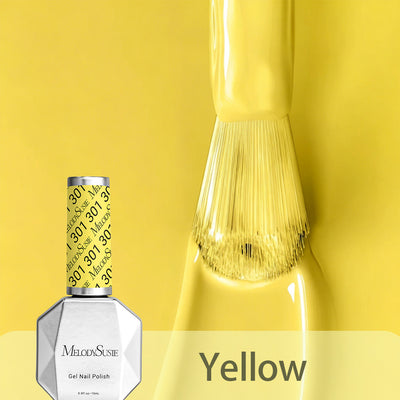
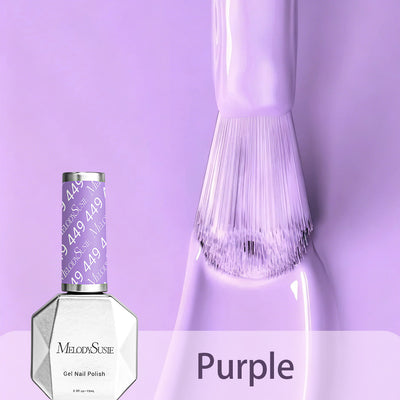
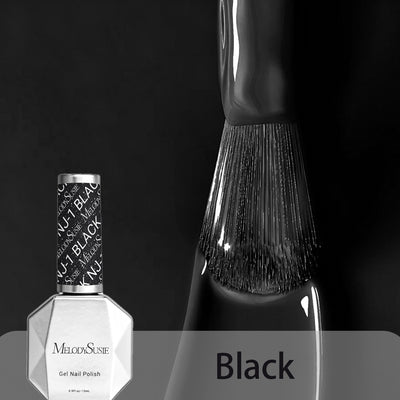
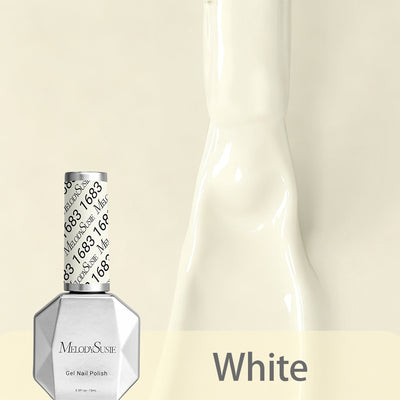
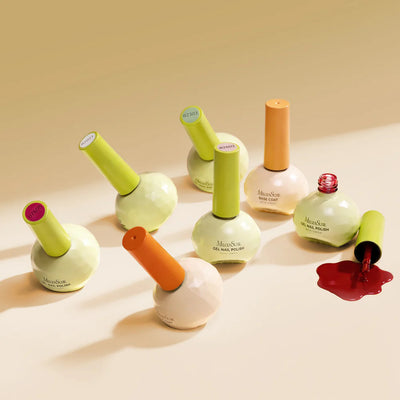
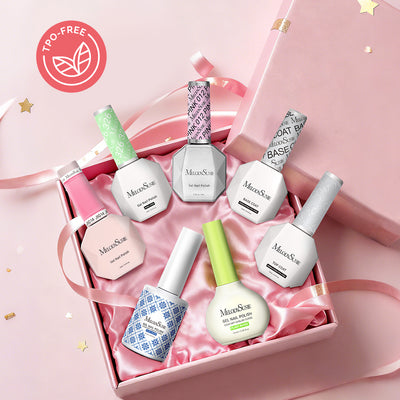
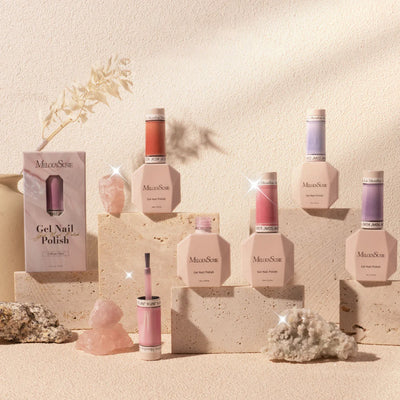
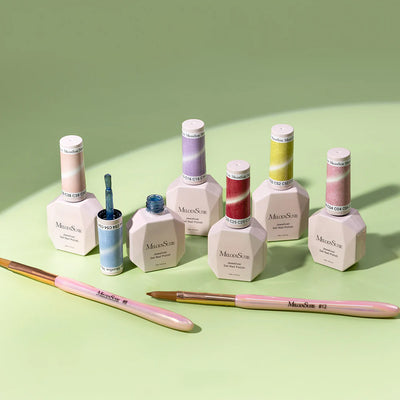
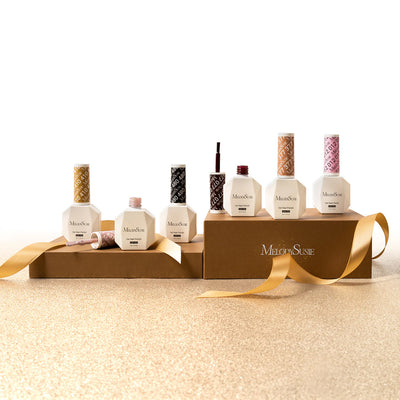
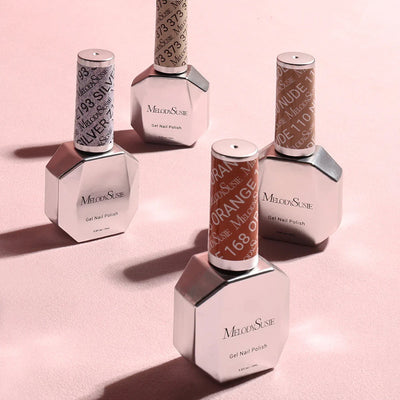
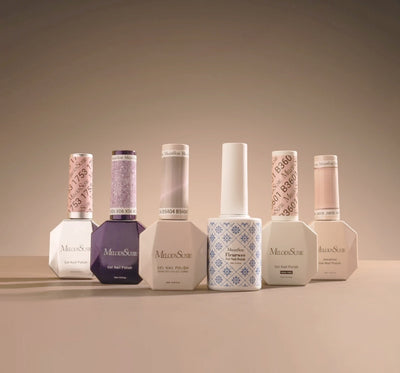
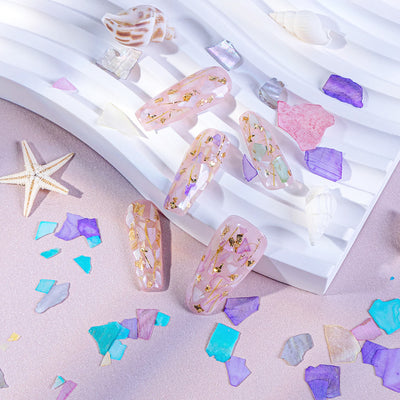
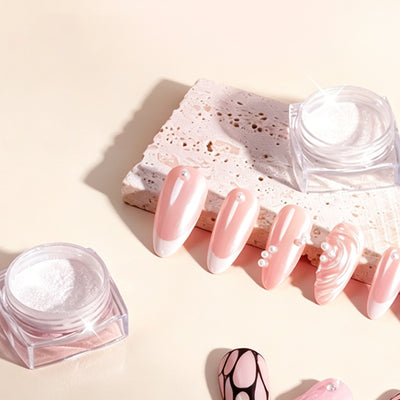
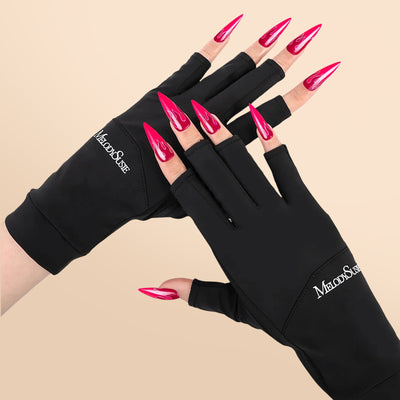
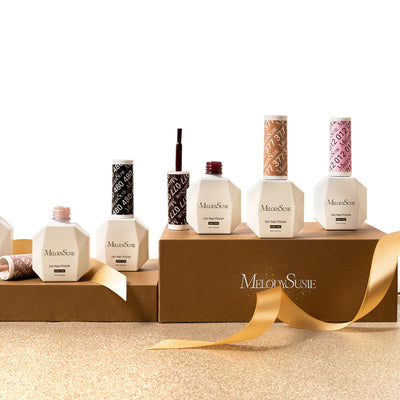
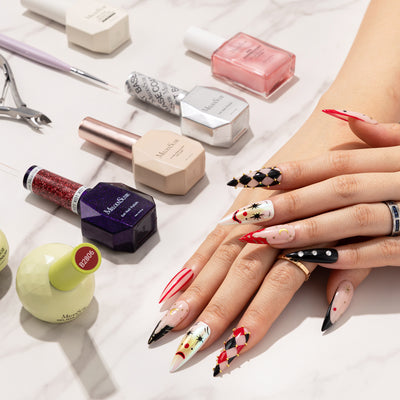
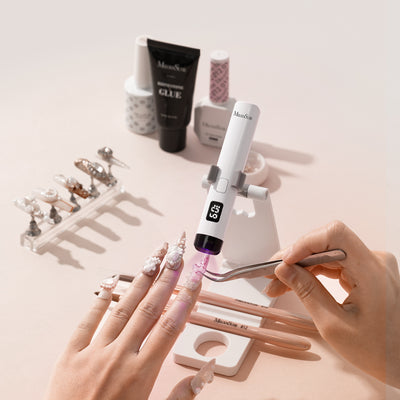
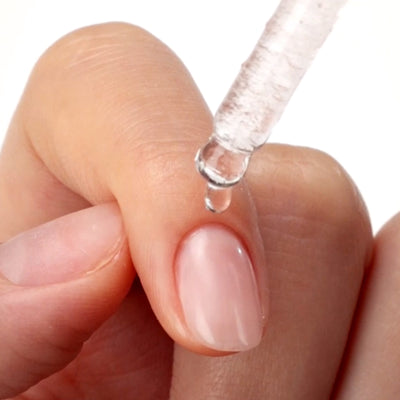
Before applying the gel polish, be sure to first put on the UV protective gloves. Then pick out your favourite colour to wear, such as one of the polishes from our new Spring Break, a collection of bright and fun nails colours for Spring/Summer 2021. The gel polish kit also comes with a base coat, top coat and matte top coat.
Just apply the gel base, two coats of the selected gel colour and the gel regular or matte topcoat. Every time you apply a coat of gel polish, be sure to place the freshly painted hands under the Nail Lamp to set the polish. Once that’s all done, you can remove the gloves and enjoy your brand-new gel manicure.

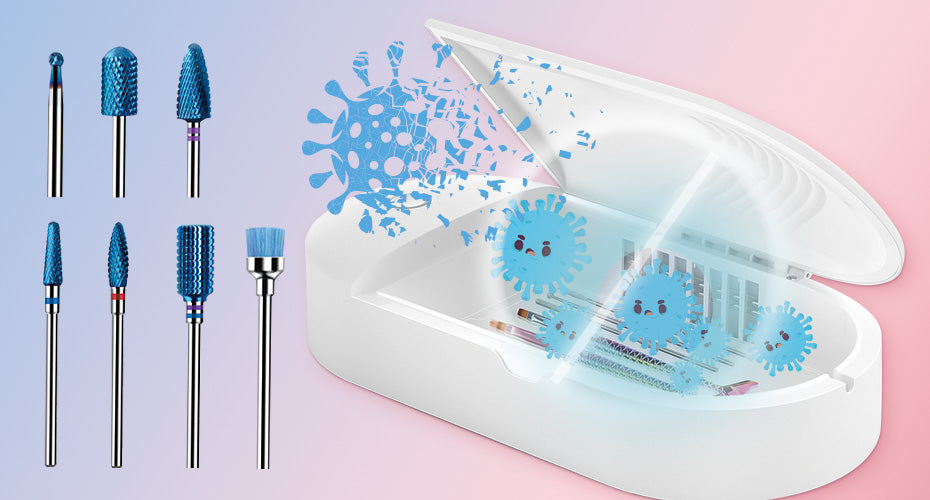
Talked about manicure processes, you may look for great nail bits and a box to store them! Click here for our best nail bits and sanitizer box set!
Related article you might like:
Leave a comment
All comments are moderated before being published.
This site is protected by hCaptcha and the hCaptcha Privacy Policy and Terms of Service apply.