Do you feel your nails are too short to apply nail polish?
Do you admire someone’s long and beautiful nails?
Do you think that extending your nails is difficult, so you have to pay a lot for it at the salon?
Ta da!
MelodySusie provides you a super easy way to DIY long nails at home!
1. Clean Dead Skin

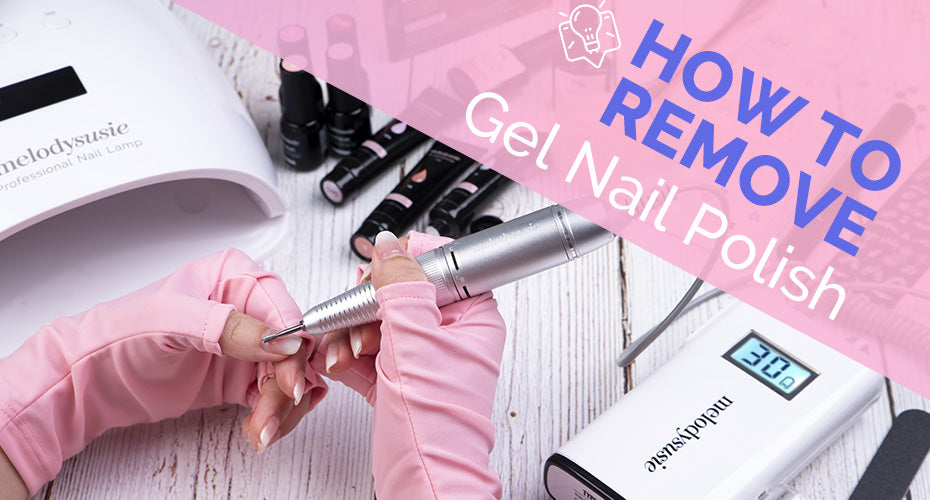
Use Scamander Nail Drill and a Cuticle Bit to Remove your nail cuticle area dead skin in order to make your nails look smooth and clean. Turn the nail drill to speed "03" shown on the nail drill screen, this "03" speed is suitable for a beginner. No worries, removing dead skin using our tools is safe and comfortable.
2. Nail Buffing

Take out 6 Colors Nail Extension Gel Kit. Using a Nail File to flat and buff the nail surface in order to make the following gel stick properly.
3. Apply Base Coat

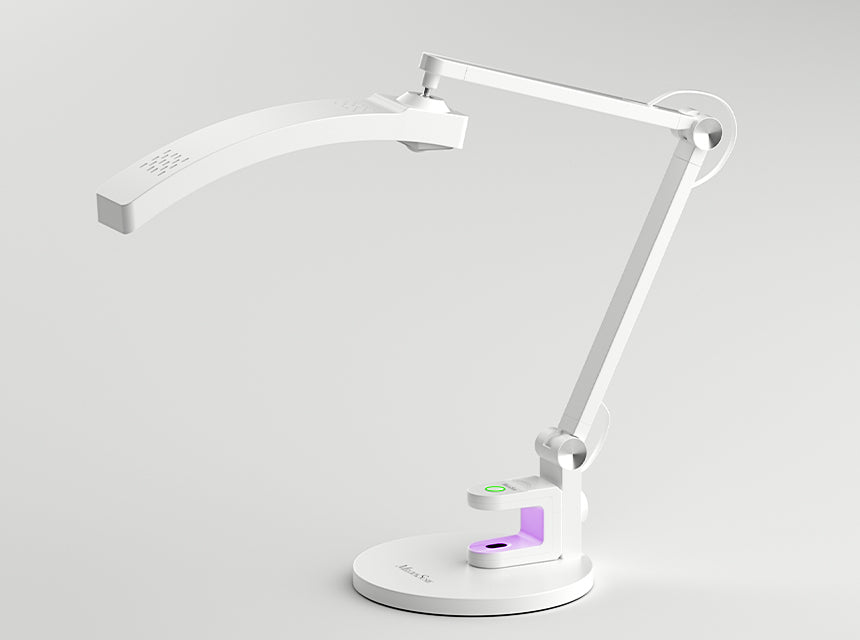
Apply Base Coat to protect original nails and cure nails for "30s" under our Portable UV/LED lamp. Don’t forget to put on UV Shield LYCRA Gloves to prevent your beautiful hands from UV harms.
4. Choose Plastic Nails

We provide a box of different-size plastic nails. Choosing the plastic nail that matches your every single nail.
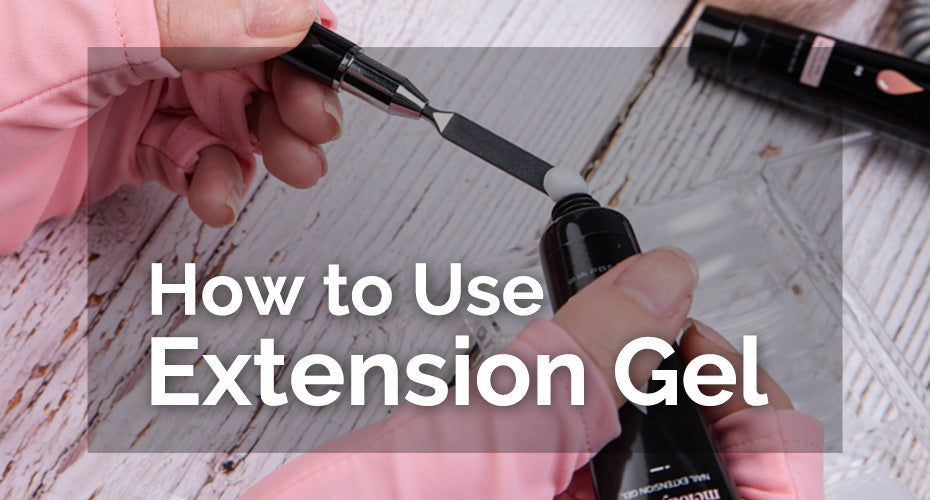
5. Apply Extension Gel (Polygel)

OR

Press out the extension gel on the tool first then apply to the plastic nail or directly apply it to the plastic nail.
6. Shape the Gel

OR

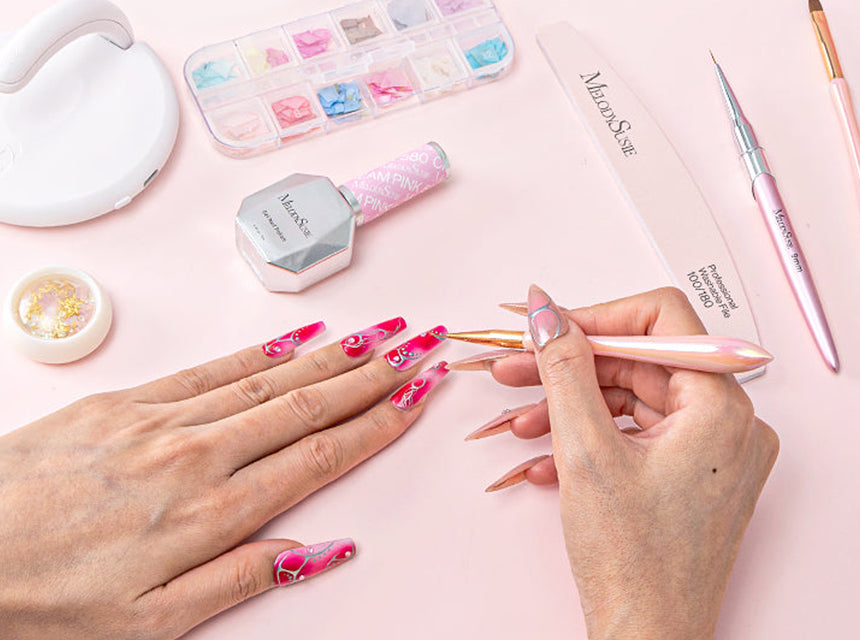
Using the brush to flatten the gel and shape it based on how long you would like to extend your nail. We provide 2 brushes for you to apply the gel. One is a normal brush, dip some alcohol or water before using it. The other one contains liquid inside, it can be used directly to apply gel. Please do not apply too much gel or your nails will be too thick.
7. Put the Plastic Nail onto Your Nail

Put the plastic nail on the top of your nail and press it. Clean the additional gel with a wet brush. Cure it “60s” under a nail lamp. Remove the plastic at the end.
8. Shape the Extended Nail


Buff nail to your desired shape and use cuticle bit to clean the nail edge.
9. Apply Gel Nail Polish


Apply Polish and cure it "60s", then apply the gel color scecond time and cure another "60s". We recommend you to apply gel polish 2 times to reach the best appearance. At the end, apply the top coat and cure it "60s".
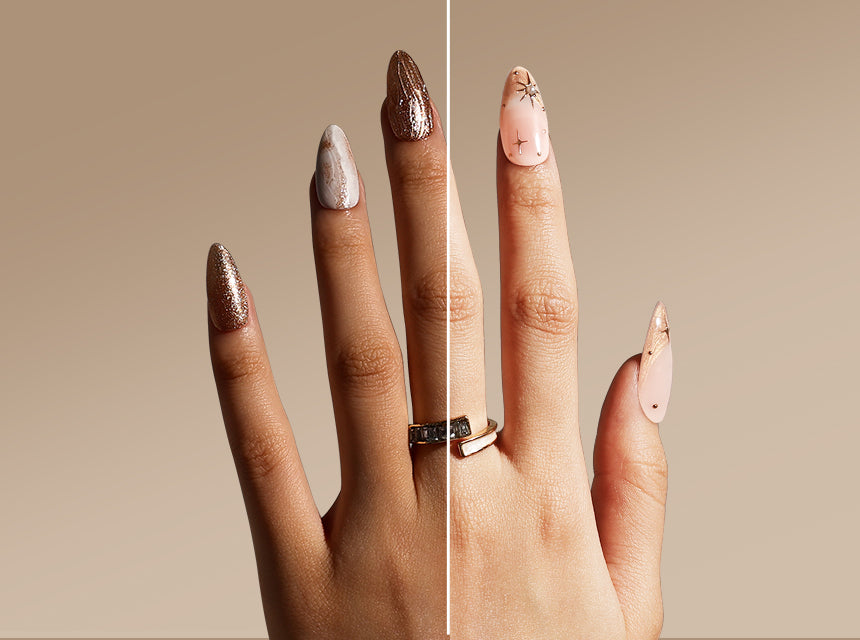
10. Enjoy Your Beautiful Nail

6 Colors Nail Extension Gel Kit
6 Colors Nail Extension Gel Advance Kit
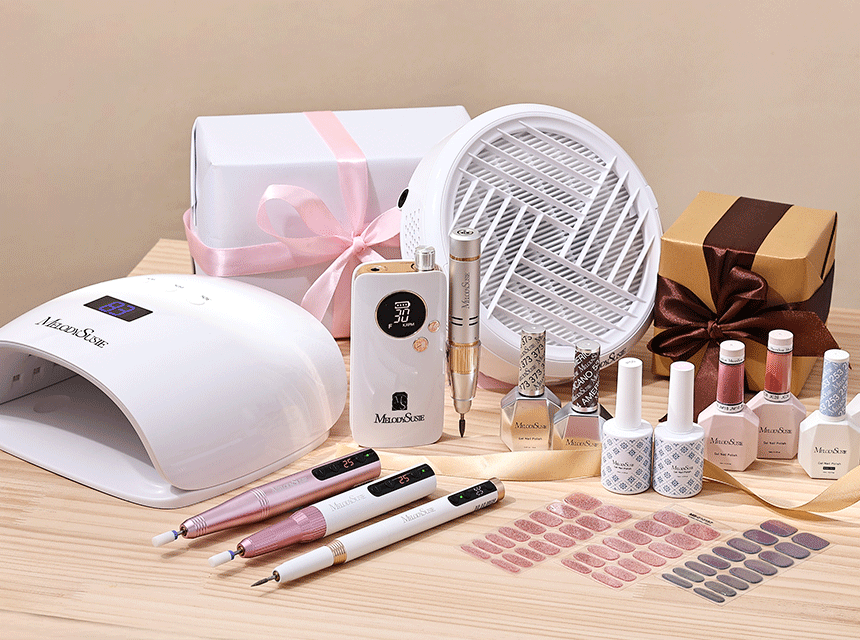
This Set Contains:
- 6 Colors Nail Extension Gel Kit
- Scamander Rechargeable Nail Drill 30,000RPM-White
- Tungsten Carbide Coarse Dust-A-Side Nail Drill Bit (1pc)
- Tungsten Carbide Under Nail Cleaner Nail Drill Bit (1pc)

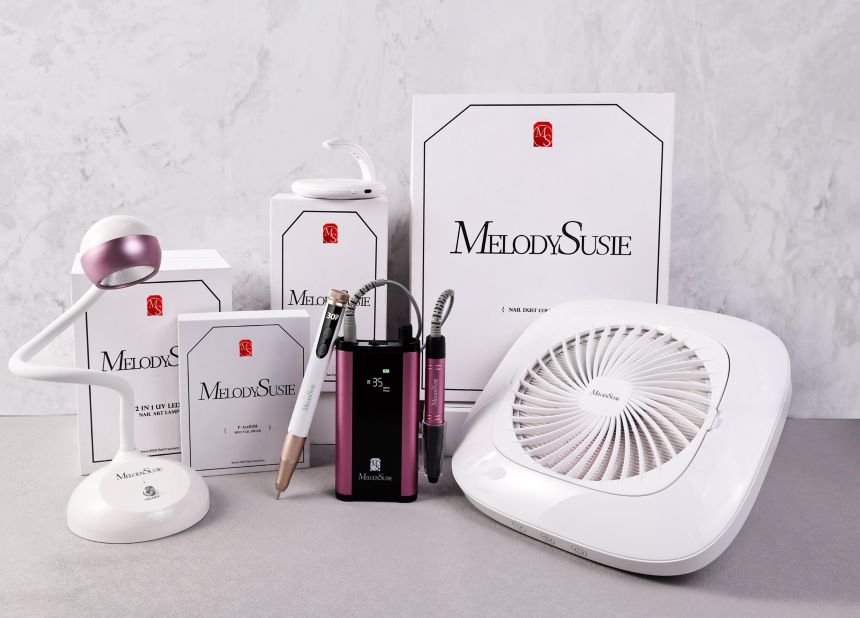
6 Colors Nail Extension Gel Beginner Kit
This Set Contains:
- 6 Colors Nail Extension Gel Kit
- Scarlet Electric Nail Drill 30,000RPM-white
- Nail Art Dust Remover Brush

4 Colorful New UV Shield LYCRA Gloves
Thank Jassica for the series of photos provided. She recently joined our company and it's her first time to DIY an extension nail using our tools. She did it so well the first time, how about you?
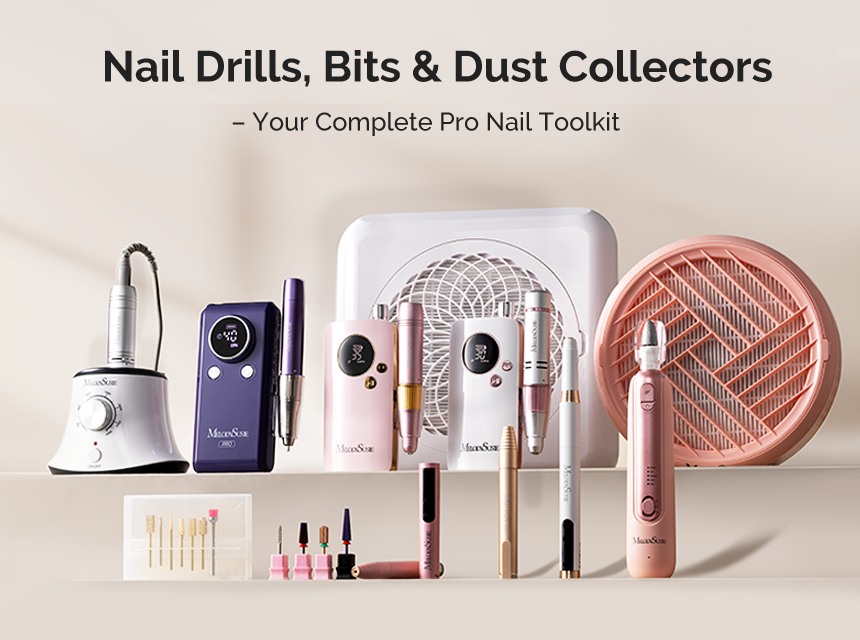
Wanna know more about Best Nail Drills? Check this out!





Leave a comment
All comments are moderated before being published.
This site is protected by hCaptcha and the hCaptcha Privacy Policy and Terms of Service apply.