


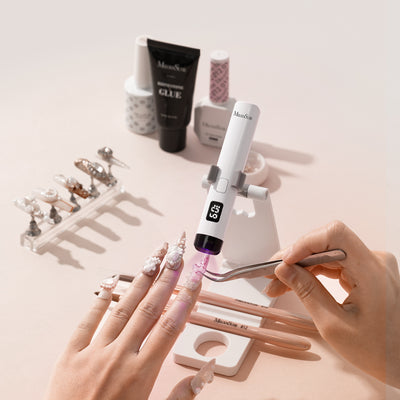


Thanks to their high efficiency and versatility, nail drills have become an indispensable tool for both salon nail technicians and self-taught beginners. However, changing nail drill bits can often be a tricky task. Incorrect bit selection or improper usage can cause the handpiece to operate roughly or even lead to damage.
In this article, we’ll provide you with the ultimate guide to securing nail drill bits for two common types of handpieces: direct insertion and twist lock. We’ll explore their internal structures, key features, and tutorials, finally helping you choose the best bits for your beloved nail drill.
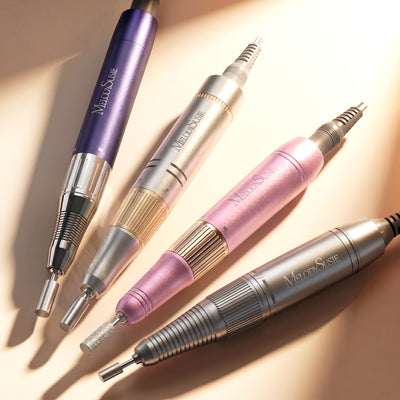
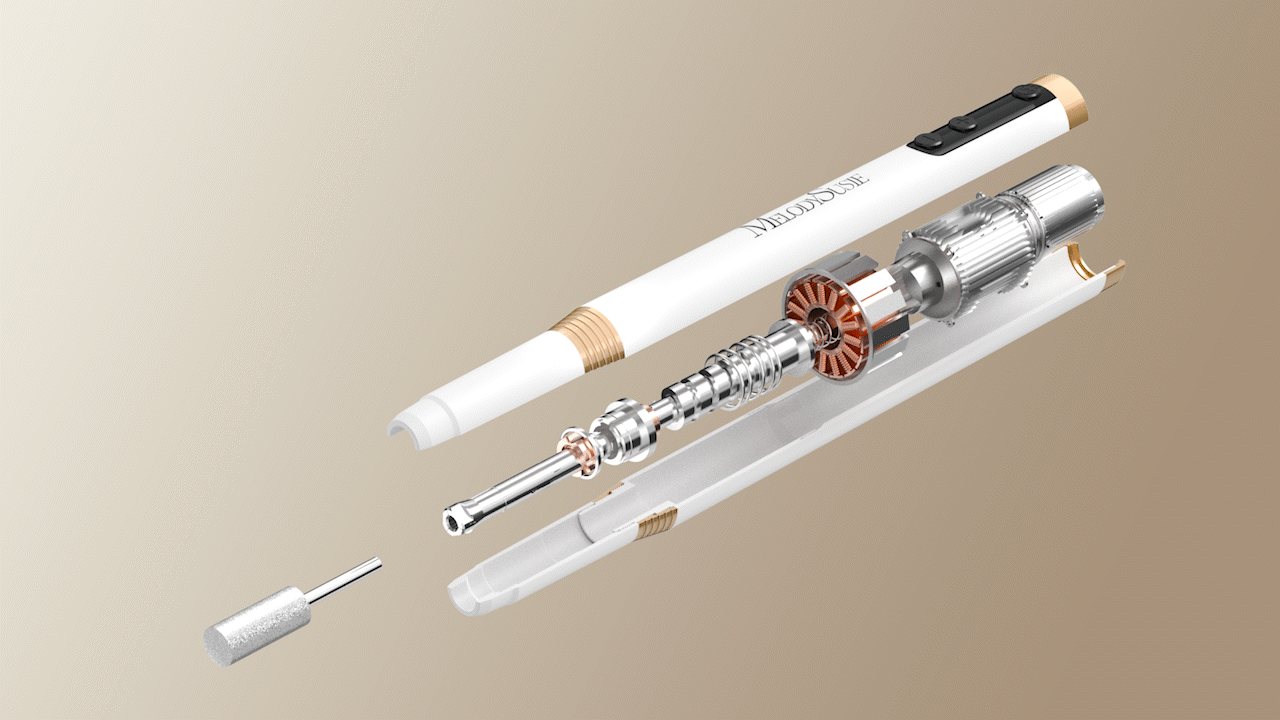
Understanding Nail Drill Handpieces
For a direct insertion handpiece, the chuck is essential for securing the bit. The bit is inserted through the front opening of the handpiece directly into the chuck. Once inserted, the chuck automatically adjusts and grips the bit tightly through friction.
As for a twist lock handpiece, the bit is secured through a locking mechanism. The user rotates the locking ring, which activates a spring, applying mechanical force to tightly grip the bit.
1. Direct Insertion Handpiece: With its relatively simple internal structure, this type of handpiece is usually more affordable, making it ideal for beginners. However, it may lack stability at high speeds, requiring more careful selection of appropriate drill bits. It is best suited for light nail work that doesn't require high precision.
2. Twist Lock Handpiece: Its locking mechanism offers enhanced safety and stability, allowing a wider range of drill bit options. However, it is generally more expensive. It is suited for advanced users and professional nail technicians who perform more precise nail work.
3. The chart below can help you select the perfect handpiece for your needs:
| Feature | Direct Insertion | Twist Lock |
| Holding Mechanism |
Friction-based | Mechanical lock |
| Bit Stability |
Less stable at high speeds | Highly stable even at high speeds |
| Cost |
More affordable | More expensive due to advanced mechanism |
| Bits Options | Requires more careful selection | Wider range of options |
| Recommended For |
Home manicure, lighter nail art work | Professional use, high-precision nail art work |
Do’s and Don’ts of Changing Nail Drill Bits for Smooth, Safe Use
Both types of handpieces require proper bit changes to ensure optimal performance. Check the following dos and don'ts to maximize the efficiency of your drill.
1. For Direct Insertion Handpiece

Do: Gently and vertically insert the drill bit to avoid misalignment, which can lead to repeated insertion and removal.
Don't: Repeatedly insert and remove the drill bit in a short period. This will cause the chuck to shrink, making it more difficult to insert.

Do: Wrap a paper towel around the nail drill bit to increase friction.
Don't: Forcefully insert or remove the drill bit, which may damage the chuck or cause the bit to break.
2. For Twist Lock Handpiece
Do: Gently twist the locking collar, but ensure it is fully secured to prevent the drill bit from loosening or falling off, which may pose a risk.
Don't: Apply excessive force when rotating the lock, which may cause damage.

Do: Regularly check the condition of the lock; if there is any wear or looseness, stop using it immediately.
Don't: Allow water or other liquids to enter the locking mechanism. This can cause rust and damage the components.
3. Both Types of Handpieces Require Attentions:
*Regularly clean dust to prevent clogging the chuck.
*Avoid dropping to prevent damage to internal components.
*Inserted the bit in an appropriate position, not too close or too far, to improve safety and durability during use.
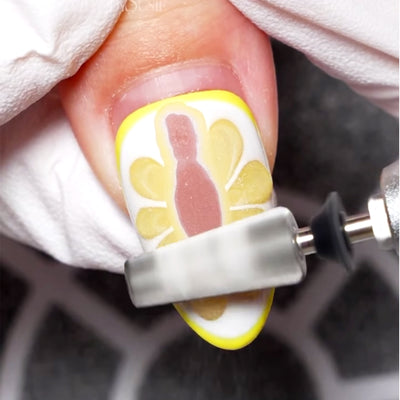
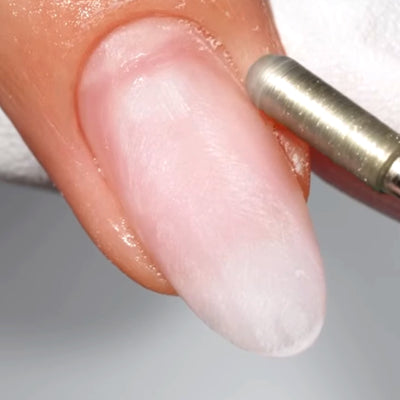
The Key to Stable, Vibration-Free Nail Drilling: Choosing the Right Bits
For better stability and smoother operation, it's important to use high-quality drill bits that are moderately sized and well-balanced. Oversized, heavy, or poor-quality bits can lead to excessive wobbling and vibration, making it difficult to secure the bit properly and potentially damaging the handpiece.
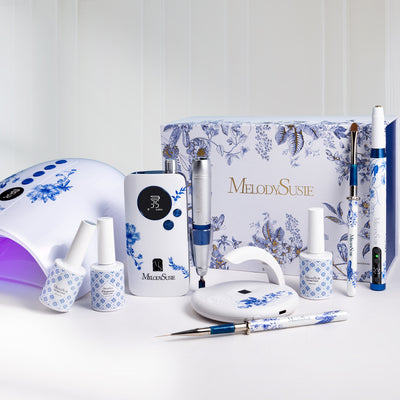
A good way to assess drill bit quality is by checking the cutting surface—neat, precise edges usually indicate higher craftsmanship. For example, MelodySusie drill bits are designed with smooth, clean-cut finishes that offer superior performance and long-lasting durability.

Recommended Nail Drill Bits
Whether you choose a direct-insertion or twist lock nail drill pen, it's crucial to replace the drill bits properly. Additionally, it's recommended to select high-quality drill bits from reputable brands. MelodySusie drill bits are known for their versatility and stability, ensuring a smoother experience and extending the lifespan of your device.
Here are some premium drill bits for your consideration:
1. MelodySusie Super Long 5 in 1 Nail Drill Bits

*Longer head for faster acrylic removal
*Sharp teeth design for powerful cutting
*Easy removal with minimal pressure
2. Tornado Tungsten Carbide Nail Drill Bits

*Rounded tip protects cuticles and sidewalls
*Sharp teeth design for quick removal
*Removes tough nails with minimal pressure
3. Tapered Nib Multi-function Carbide Tungsten Nail Drill Bit

*Cross-cut design for quick and smooth shaping of gel or natural nails
*Top nib removes dead skin precisely without damaging the skin
*Pointed tip reaches tight or tricky areas with ease
Don't forget to check out our other blogs for more information on drill bits!
A Comprehensive Guide - Top 5 Nail Drill Bits for Effective Gel Removal
Setting the New Standard: MelodySusie's Enhanced Nail Drill Bits for Cleaner and Smoother Manicures
Leave a comment
All comments are moderated before being published.
This site is protected by hCaptcha and the hCaptcha Privacy Policy and Terms of Service apply.