


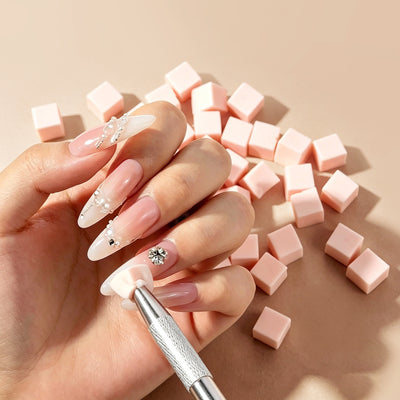


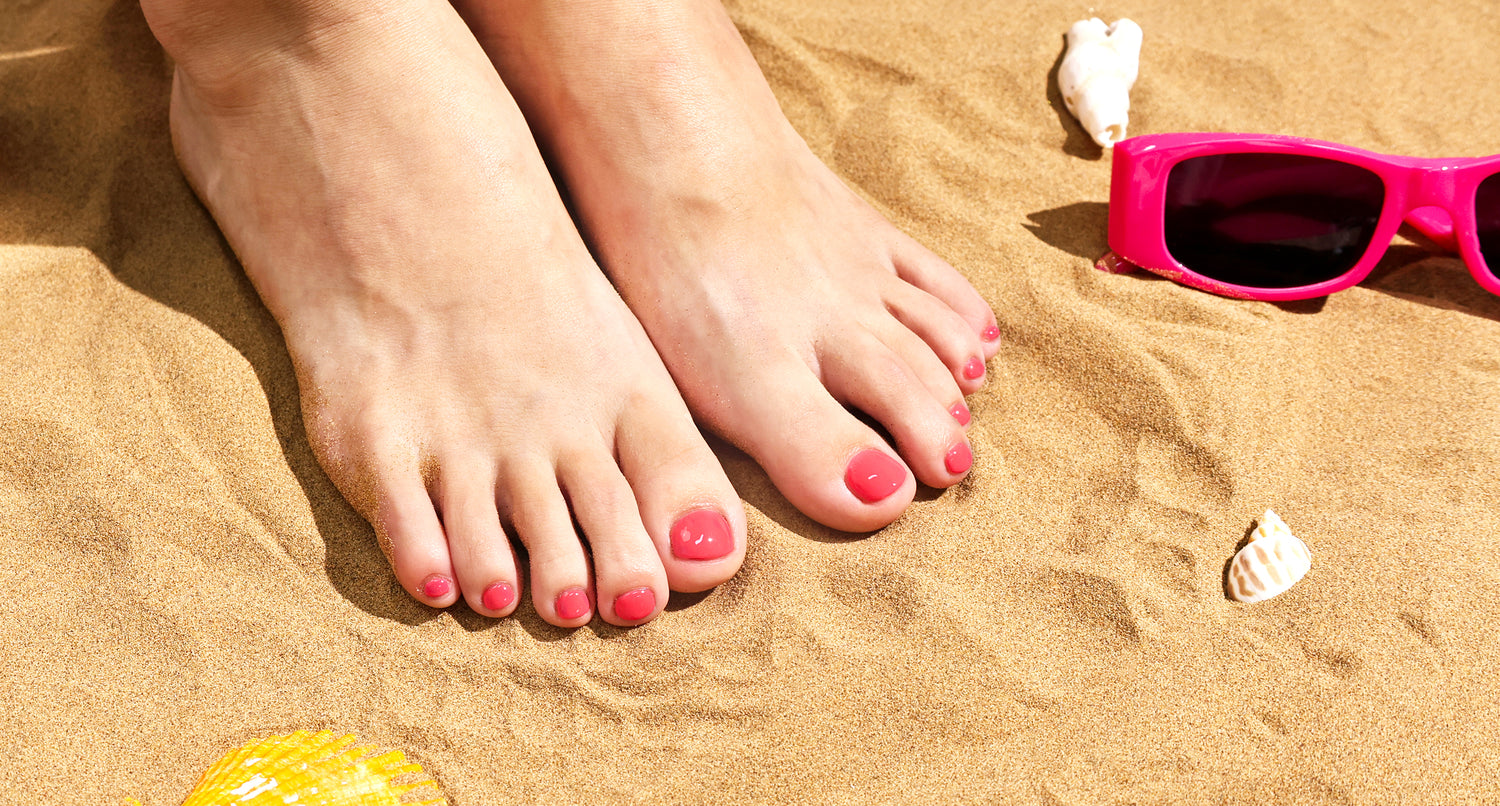
Getting excited about a tropical vacation? The season of relaxing seaside and basking in the warm sun is almost here, and we know that a beach vacation is a perfect way to unwind. Whether you want to work on your tan or play in the ocean, you’ll have a fantastic time surrounded by salt water and palm trees! Get a pedicure before you go and turn yourself into the queen of the beach!
A regular pedicure, or pedi, once a month is essential for healthy feet. It helps remove dead skin cells through gentle exfoliation, leaving your skin soft and smooth. In this blog, we'll guide you through a simple and effective DIY pedicure routine that you can easily do at home. Skip the salon, save money, and get stunning feet all on your own!
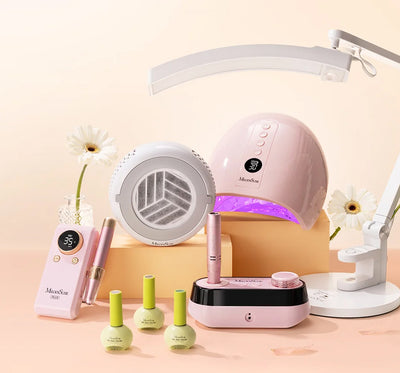
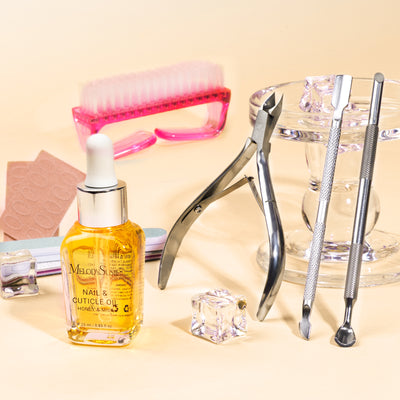
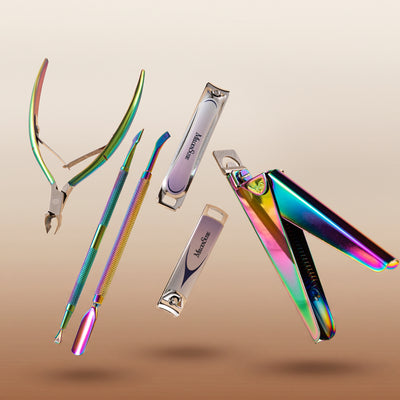
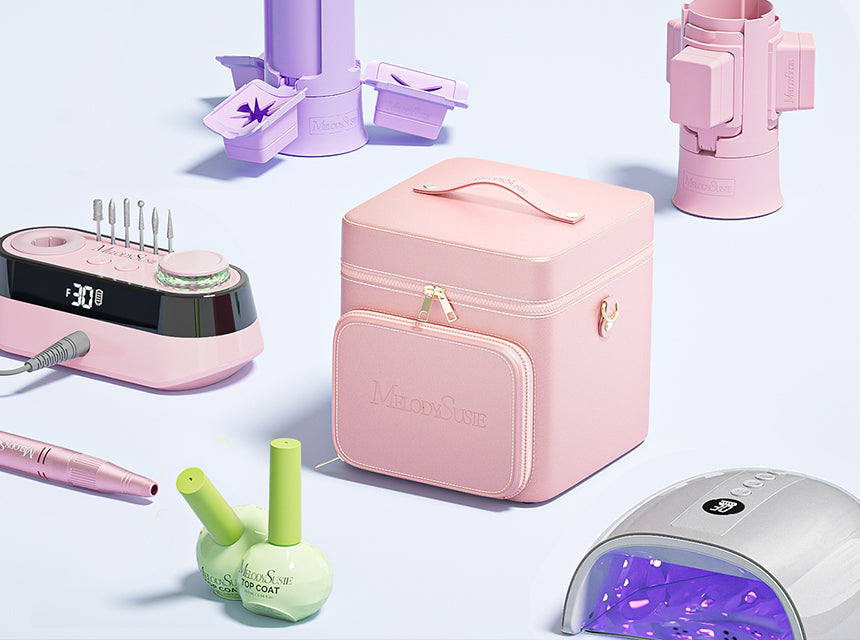
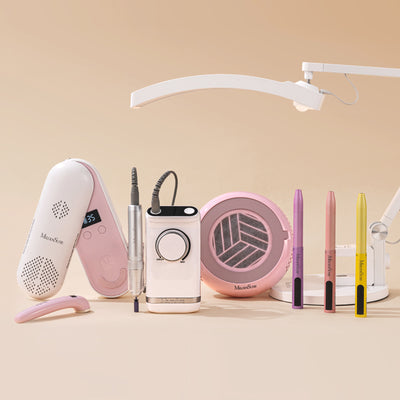
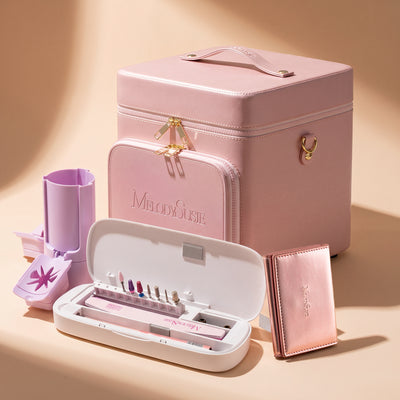
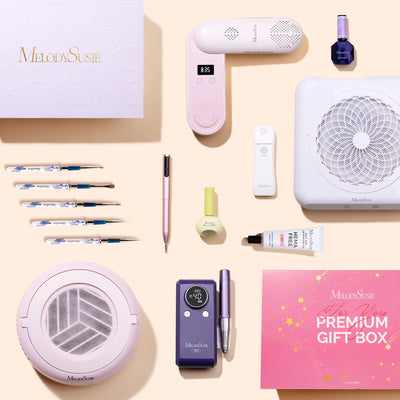
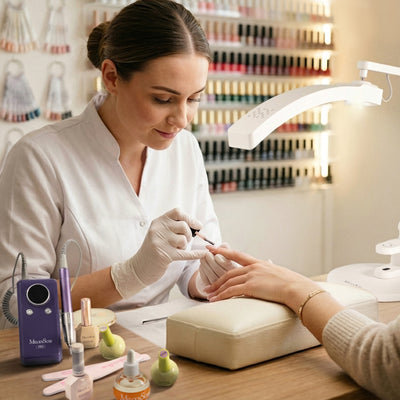
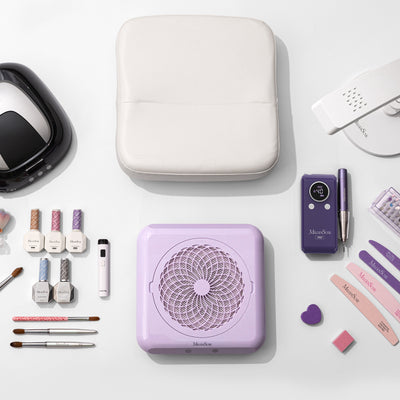
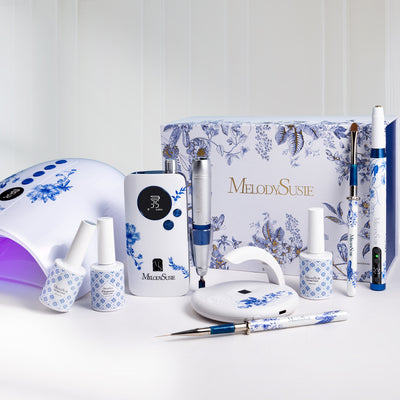
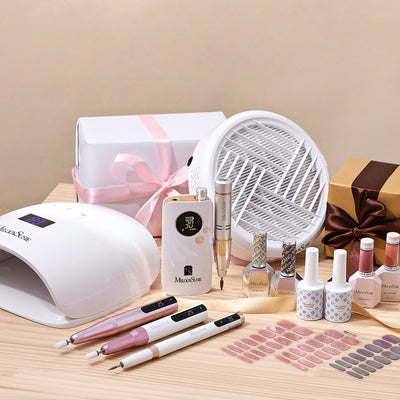
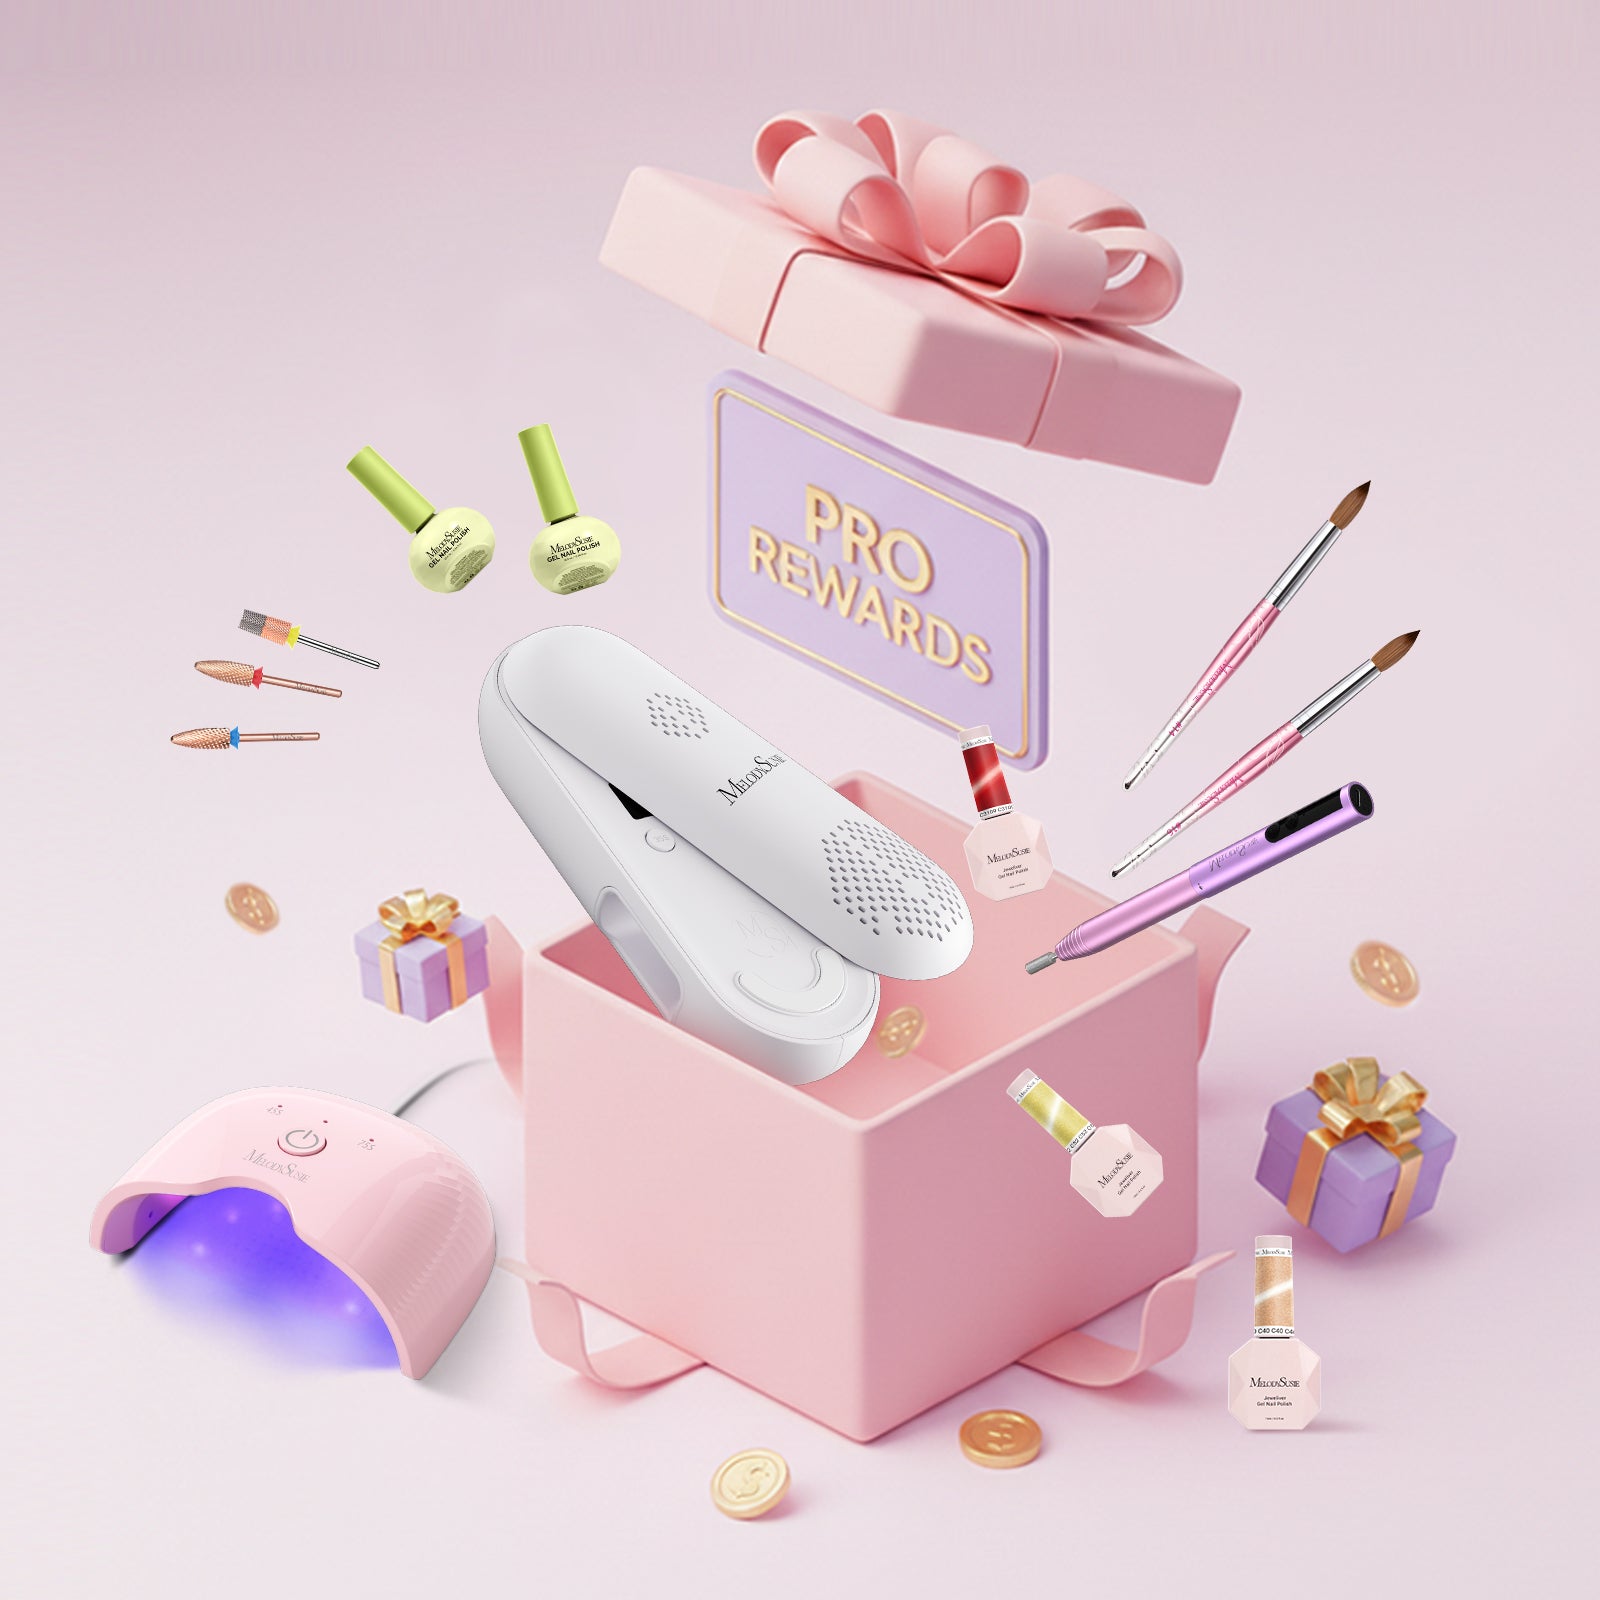
1. The Essential Tools for a Perfect DIY Pedicure
- Lint-Free Nail Wipes
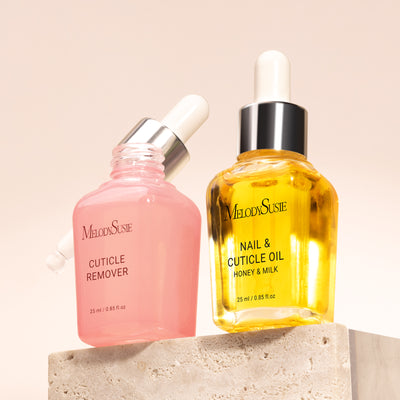
- Oils or Bath Salts
- Foot Cream
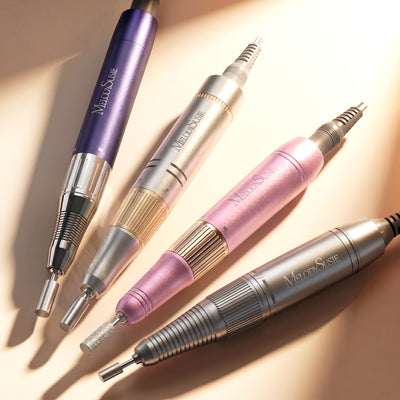
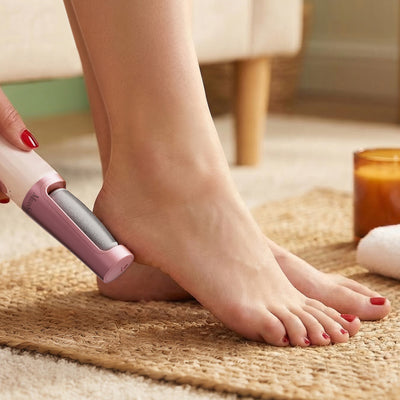
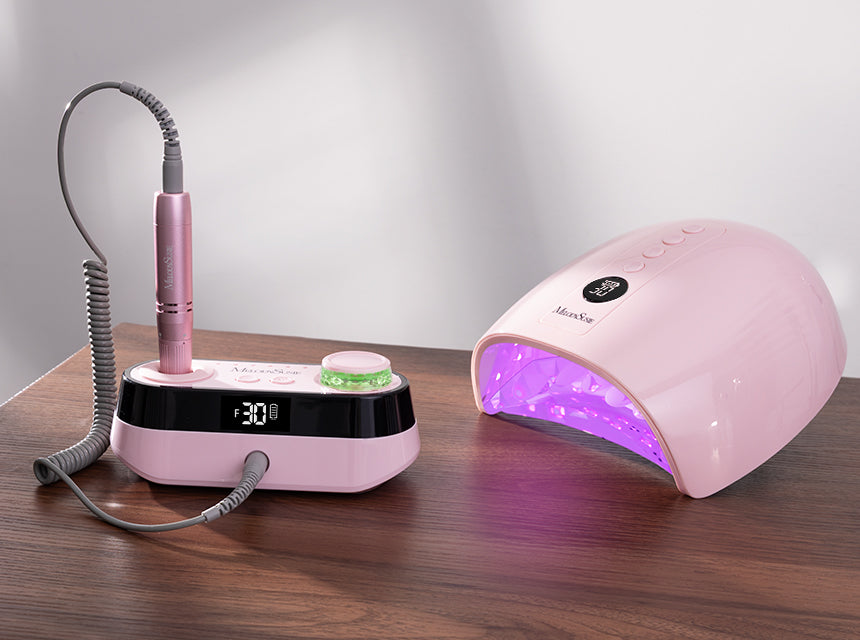
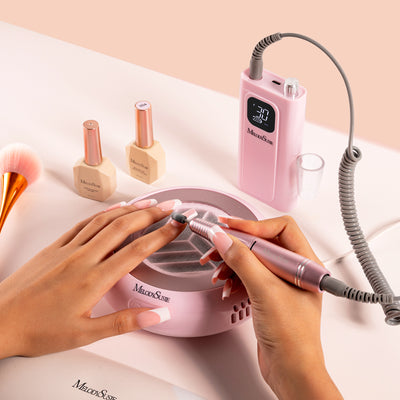
- Pedicure Nail Drill
- Nail Dust Remover
- Top and Base Coat
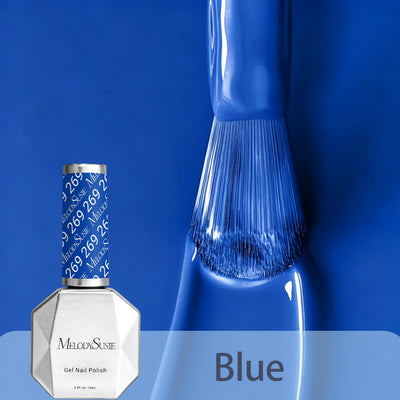
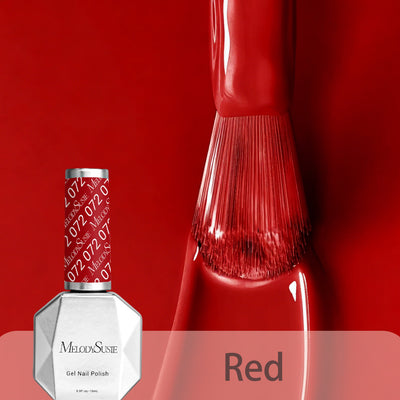
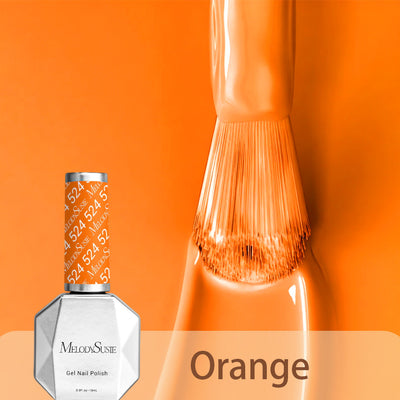
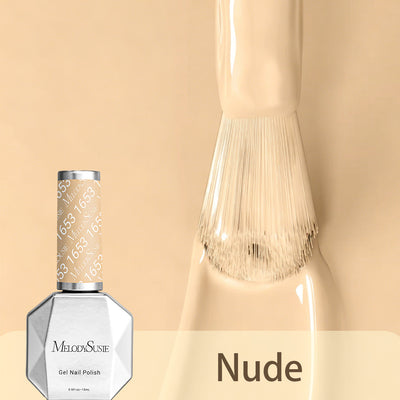
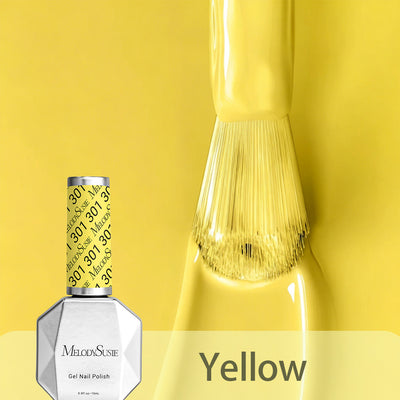
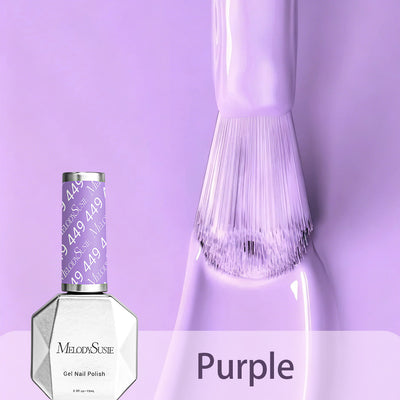
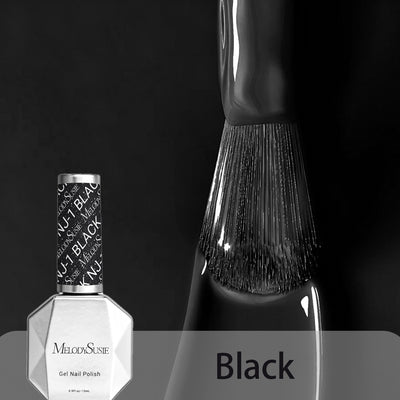
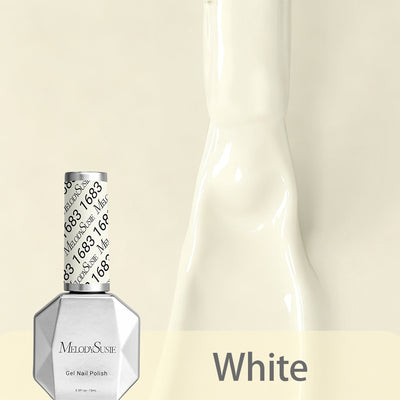
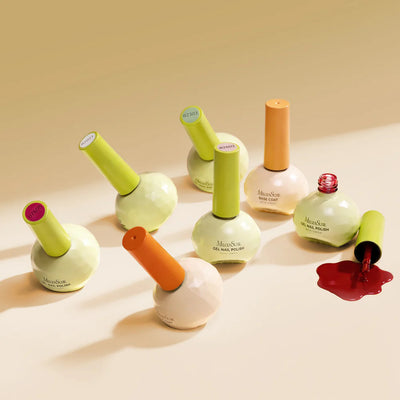
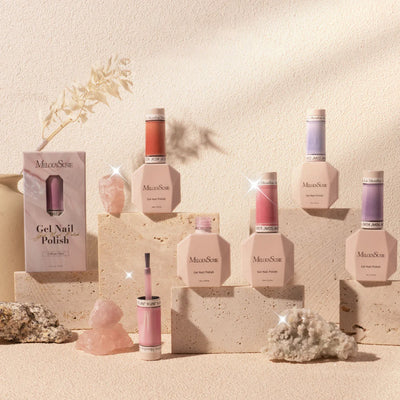
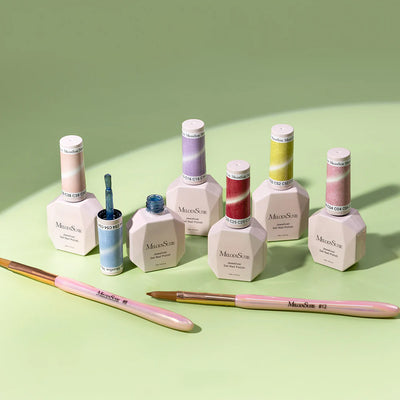
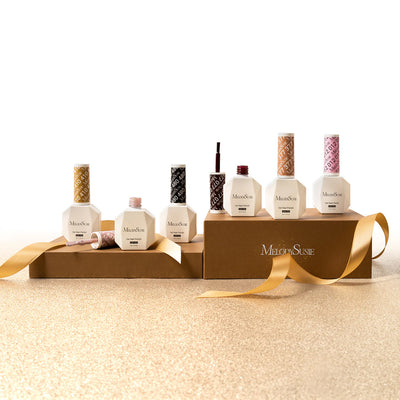
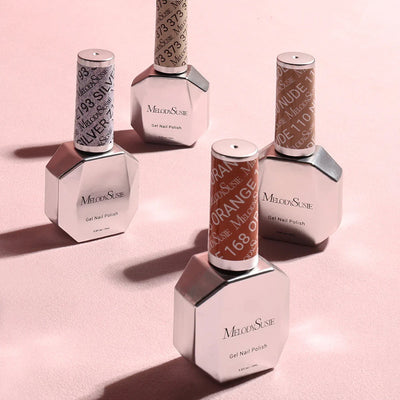
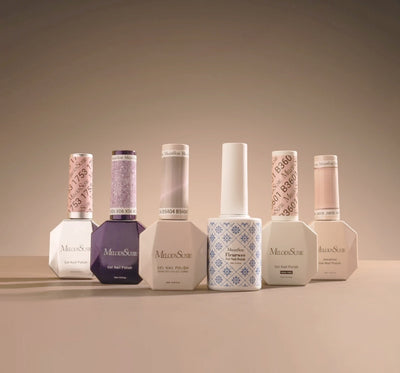
- Nail Gel Polish
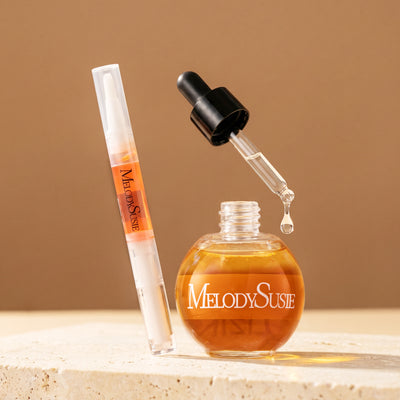
- Nail Cuticle Oil Pen

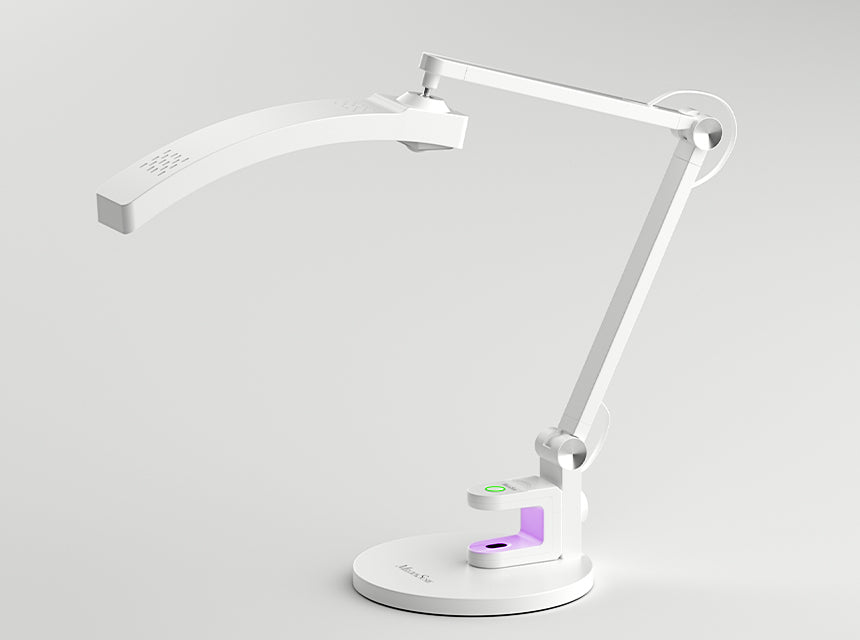
Traditionally, dead skin cells are removed using foot files, pumice stones, or exfoliating scrubs, while nail clippers or scissors are used to trim nails. However, with a professional pedicure nail drill, the process becomes effortless and takes care to to all your needs and it is essential for home use and convenient for travel, making it a must-have addition to your pedicure routine. For more insights, check out the ''New Easy-to-Use Pedicure Nail Drill''.
2. Step-by-Step Guide to a Flawless DIY Pedicure
Step 1: Prep Your Toes
Once you have gathered all the necessary materials for your DIY pedicure, it's time to prepare your toes.
- Start by removing any nail polish from your toes. If you have gel polish, a pedicure nail drill with a professional drill bit is ideal for quick removal.
- Fill a foot spa or basin with warm water, and add a few drops of essential oils or bath salts to enhance relaxation.
- Soak your feet in the foot spa or basin for at least five minutes. This step softens the nails and skin, making the pedicure process more effective.
- If you don't have a foot spa or basin, a regular bowl filled with warm water will work perfectly for soaking your feet.
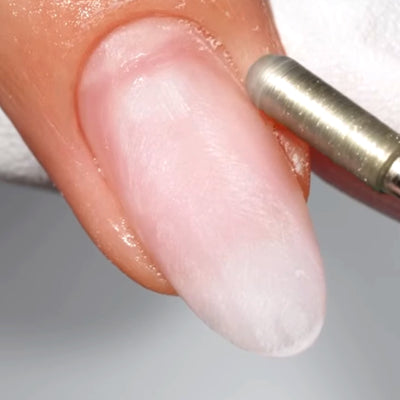
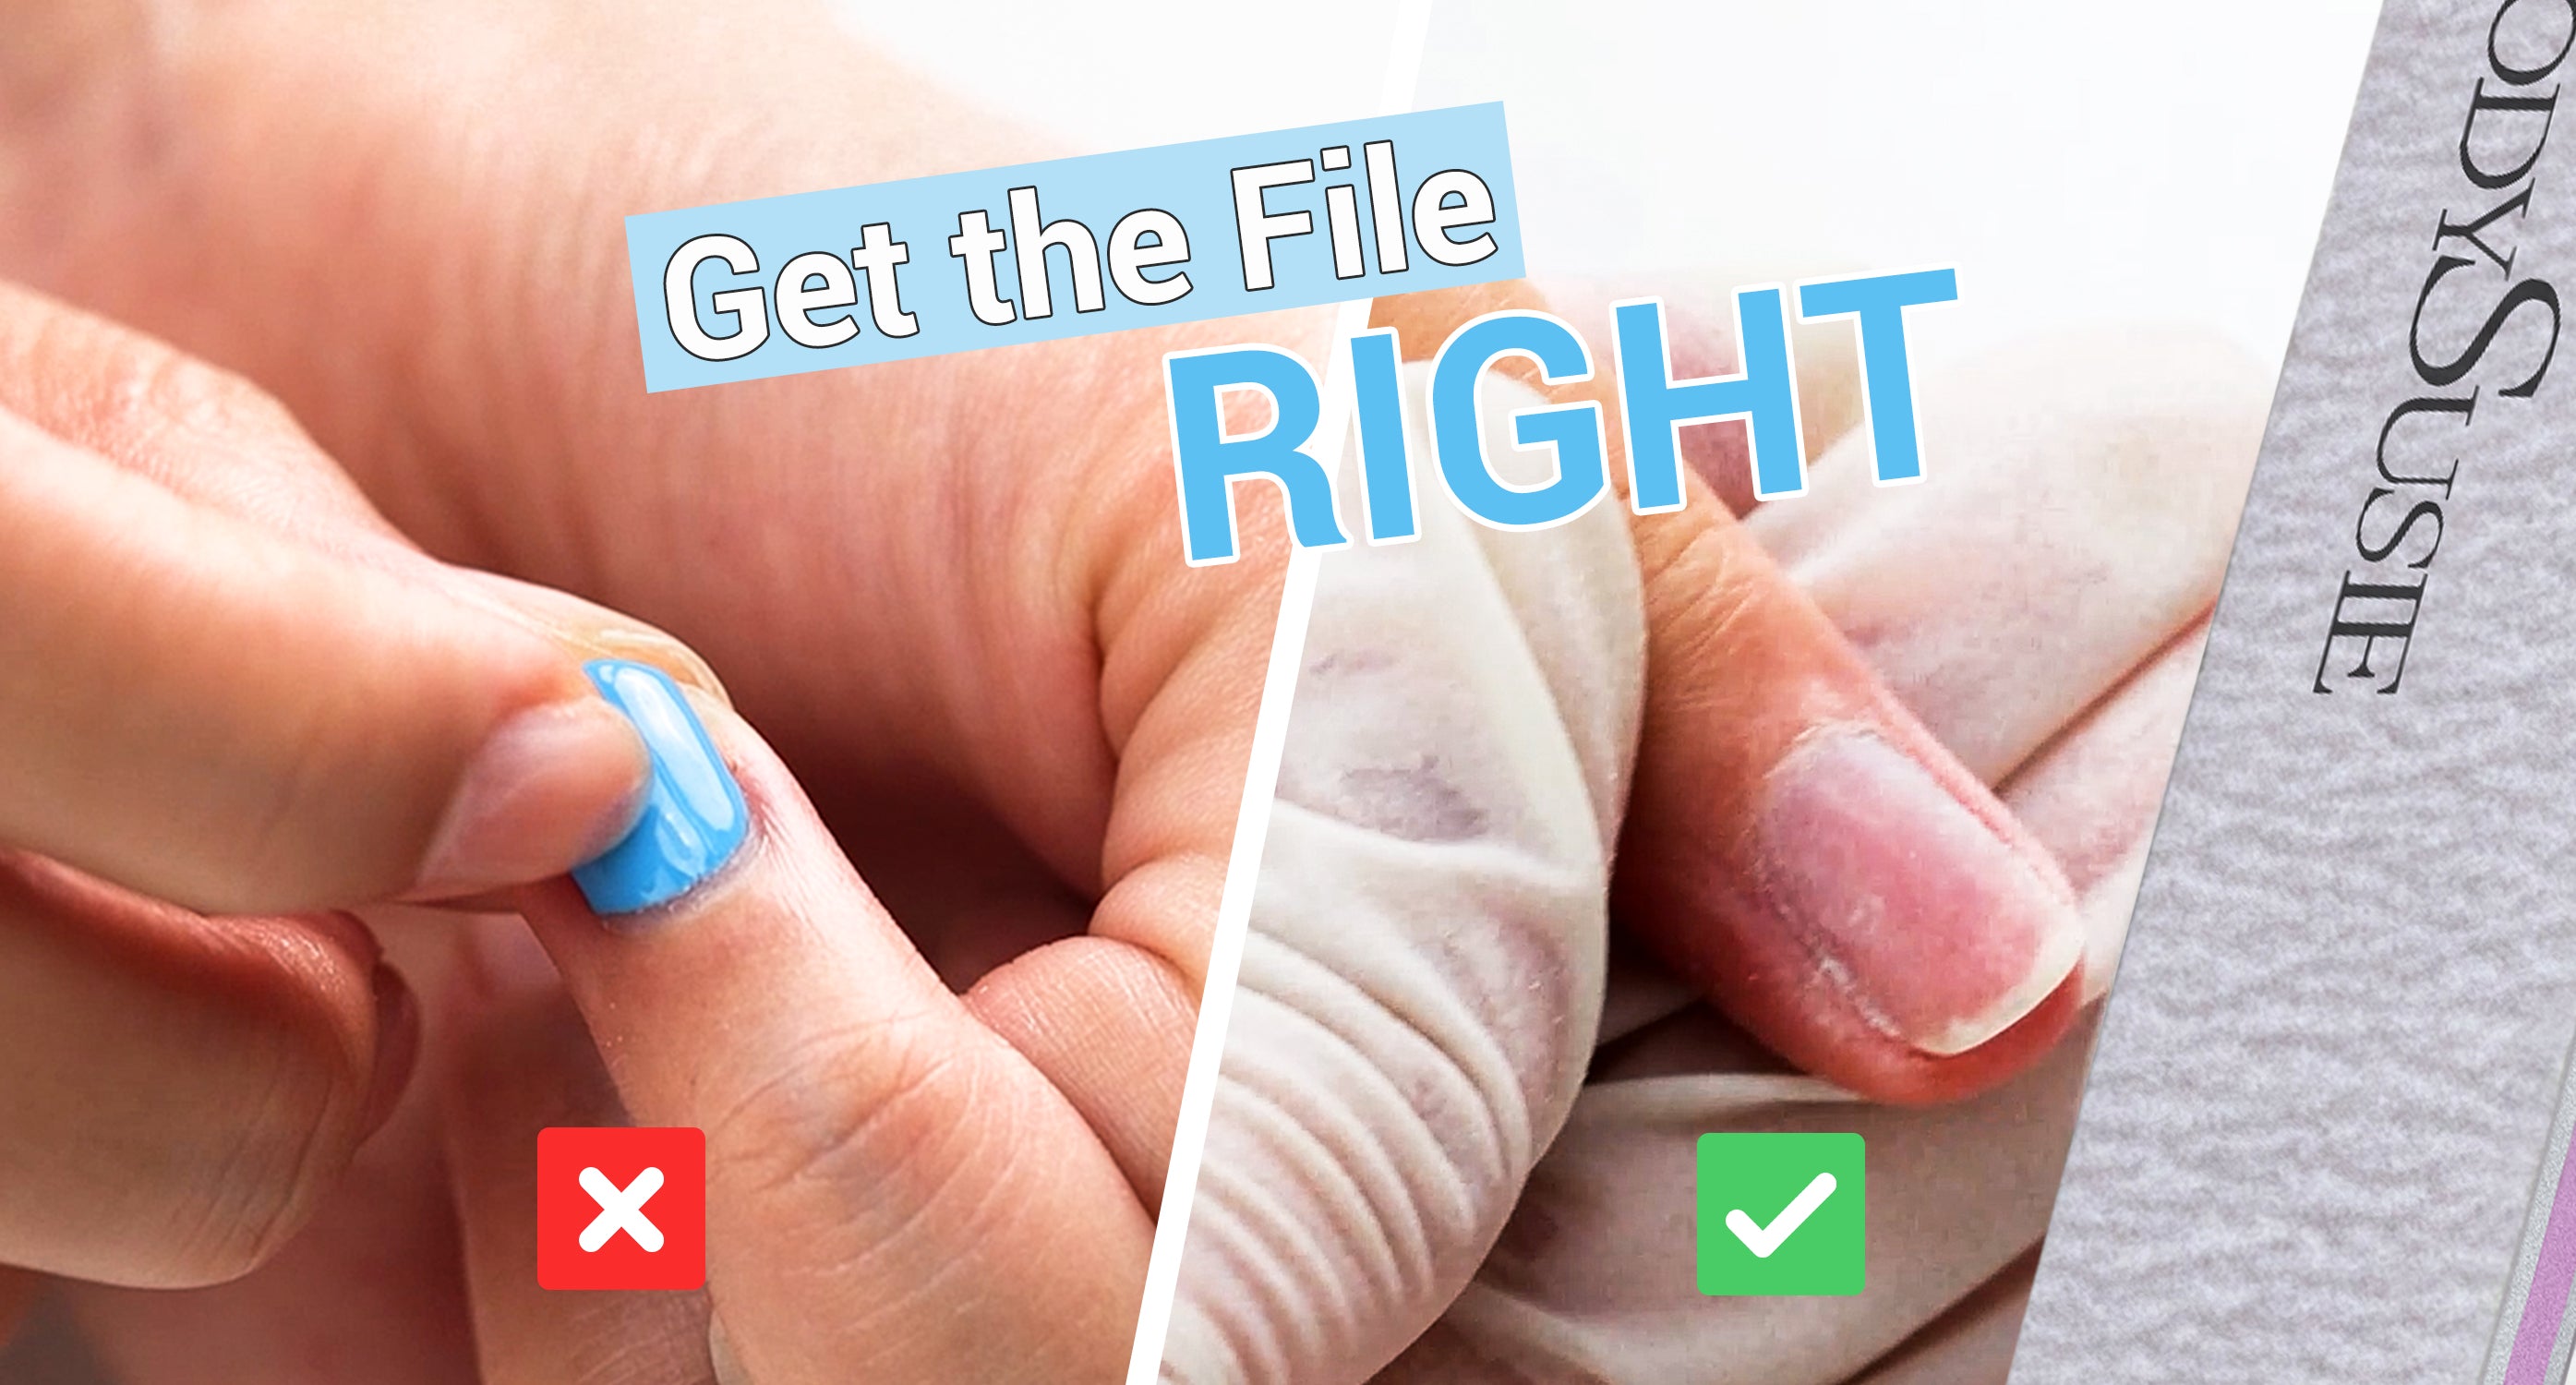
Step 2: Remove Dead Skin
Exfoliation plays a vital role in effectively removing dead skin cells from your feet, leaving them soft and smooth.
- Utilize the pedicure nail drill equipped with one of the 8 interchangeable nail drill bits specifically designed for exfoliation and dead skin grinding.
- Gently and carefully sand the areas with dead skin, ensuring a gentle touch for optimal results.
- Rinse your feet with warm water to cleanse away the removed dead skin cells.
- Thoroughly dry your feet to create a fresh and rejuvenated canvas for the next steps of your DIY pedicure.
Step 3: Take Care of Your Toenails
Taking care of your toenails is essential to achieve a polished look for your DIY pedicure.
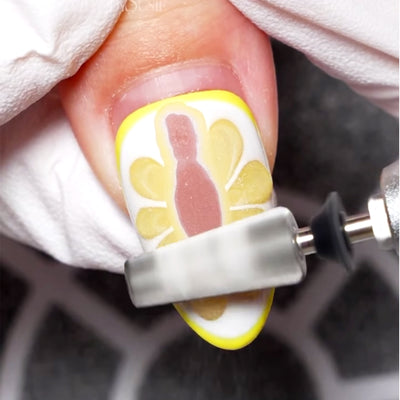
- Choose the appropriate drill bits from your pedicure nail drill for trimming your toenails and smoothing out any rough edges.
- Start by gently sanding the sides of your nails, ensuring a precise and neat shape.
- Softly sand the top of each nail in a circular motion to create a smooth and even surface.
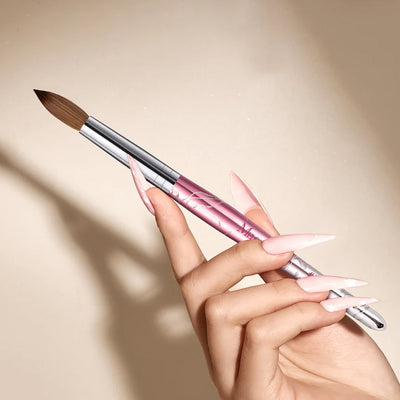
- Complete by cleaning your cuticles, giving your toes a well-groomed appearance.
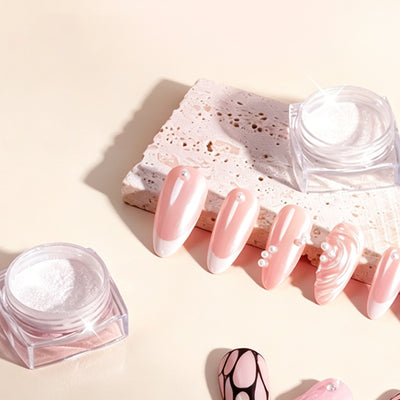
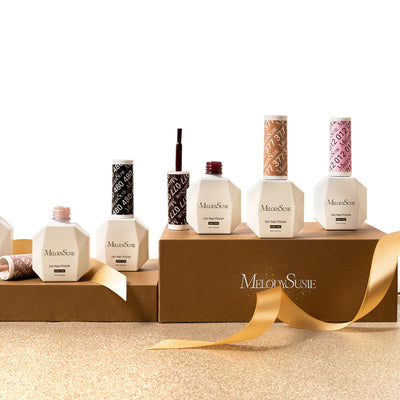
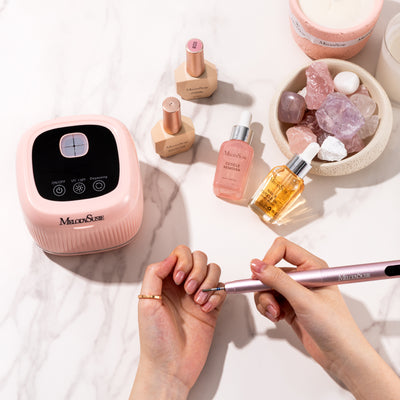
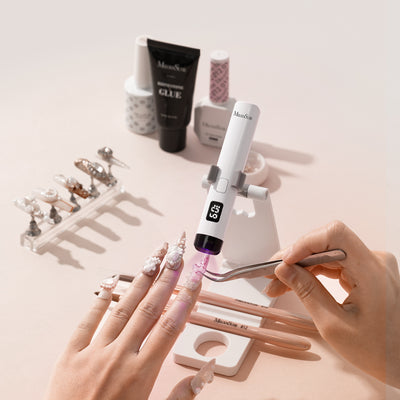
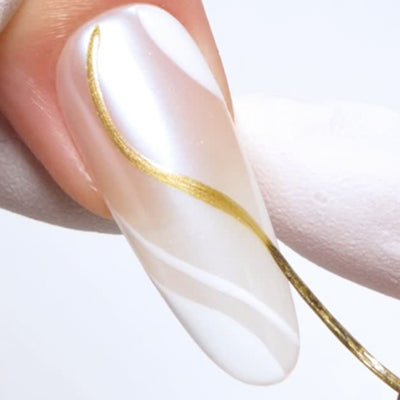
Step 4: Apply Nail Gel Polish
Enhance the beauty of your DIY pedicure with nail gel polish, achieving long-lasting and vibrant colors.
- Start by applying a base coat to your nails. This step enhances the adherence of the nail polish and prevents staining. A single coat of the base coat is typically sufficient.
- Follow up with two color coats of your favorite nail gel polish, ensuring even and smooth application for rich and eye-catching colors.
- To seal and protect your beautiful nails, apply a final coat of sealer. This top coat not only extends the longevity of your pedicure but also adds a glossy finish, making your toes truly stand out.
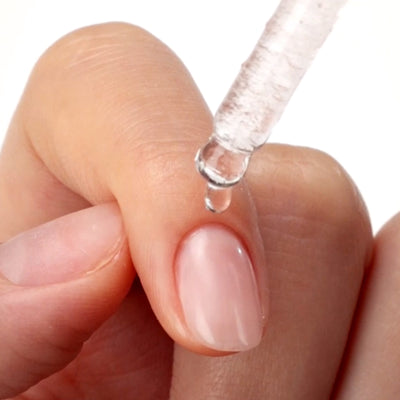
Step 5: Moisturize Your Toenails
 Keep your toes healthy and shiny by using a nail cuticle oil pen. This handy tool nourishes your cuticles and surrounding skin, leaving them moisturized and radiant.
3. Reminders for an Enhanced Pedicure Experience
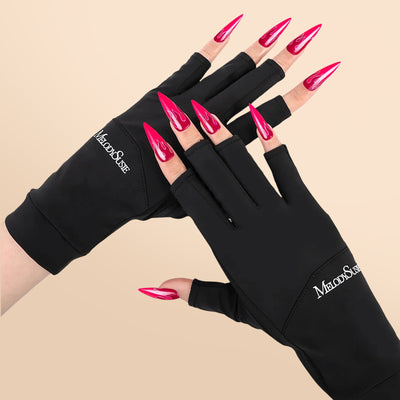
- Cleanliness is key: Always clean your pedicure tools after each use to maintain proper hygiene and prevent the spread of infections. Consider using a nail tool UV light sanitizer box to clean the pedicure nail drill bits.
- Deep Moisturization: For drier skin on your feet, use a feet cream and wear socks to lock in hydration.
- Regular Pedicures: Make it a habit to schedule regular pedicure sessions, aiming for at least once a month. Consistency leads to shinier, healthier, and happier feet!
- Relax and Enjoy: Make your pedicure a moment of relaxation and self-care. Indulge in a soothing foot soak, play your favorite music, or read a book.
Remember, a little extra attention to your pedicure routine goes a long way in ensuring your feet beautiful and happy. Enjoy the process and treat yourself to a delightful pedicure experience – you deserve it!
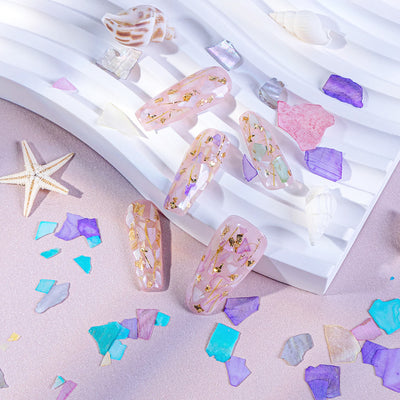
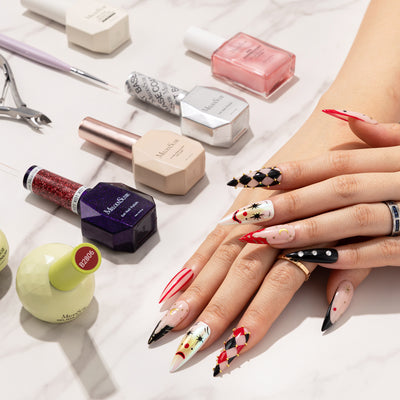
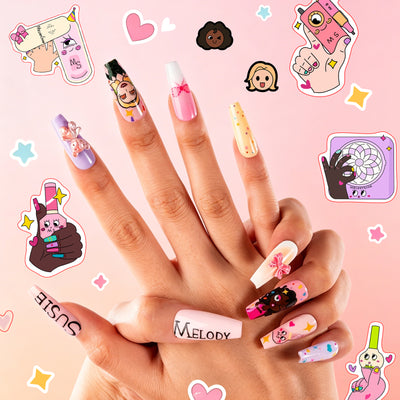
4. More Pedicure Designs Inspiration
For inspiration, check out these amazing pedicure designs from talented artists and nail enthusiasts on social media.
 @luha_nails
 @nail_inn
 @lily_nails
 @iamkatychmela
As a special treat, you can enjoy an 8% discount on the MelodySusie pedicure nail drill. Click here to explore more and get ready for the perfect vacation-ready pedicure!
Leave a comment
All comments are moderated before being published.
This site is protected by hCaptcha and the hCaptcha Privacy Policy and Terms of Service apply.